How do I make accommodations for learners with special needs?
Classes can be composed of a wide diversity of learners. Some learners might need a longer time to finish activities or take RATs. This article will teach you two ways of how to make accommodations for learners with special needs.
This Guide is for:
- Super Admin
- Admin Teacher (Full-Access)
- Teacher (Owner Full-Access)
Steps on How to Make Accommodations for Learners with Special Needs
Method 1 (Re-sectioning the Class)
As the Instructor, you will be managing two dashboards. One for the main group and one for the special needs group. You can run the same activity for both sections and extend time-limits or activity durations for the special needs section.
Step 1 – Click the button “Courses” on the left-side navigation.

Step 2 – Click on the course in which you want to make accommodations for learners with special needs.

Step 3 – Click the “Students” tab on the top left inside the course.

Step 4 – Click on the blue button “Organise Students” on the top-right of the screen.

Step 5 – Click the tab “+Add New Section” at the bottom of the page.

Step 6 – Click the tab “+Add New Team” at the bottom of the page.
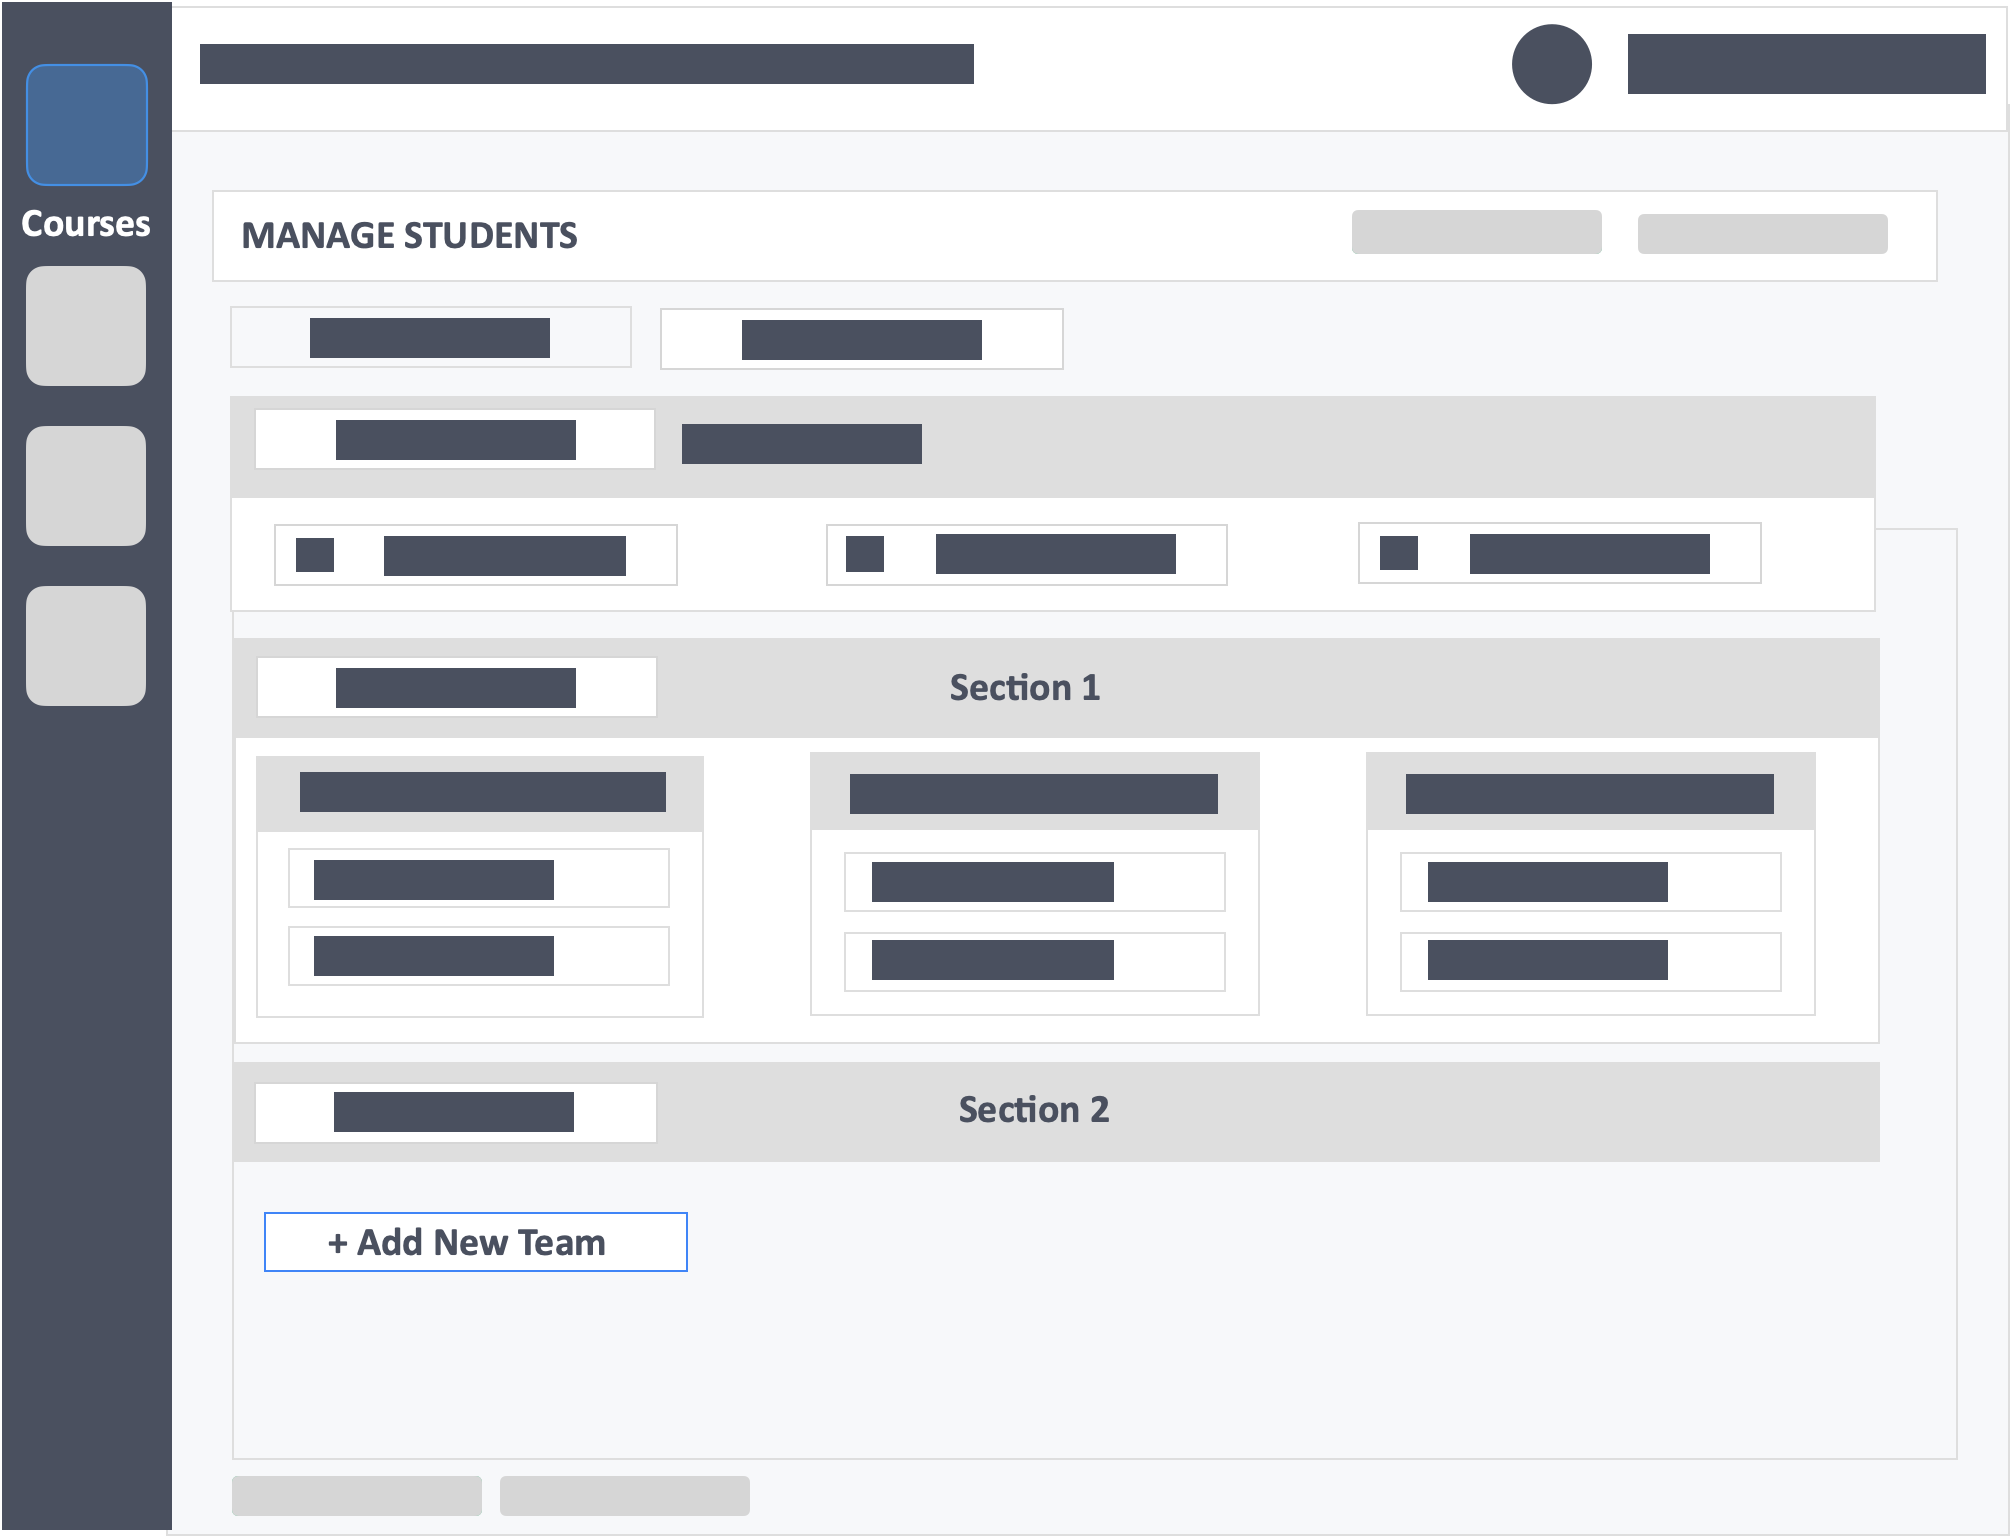
Step 7 – Drag-and-drop learners with special needs from section 1 into the team/teams you create within the new sections area.
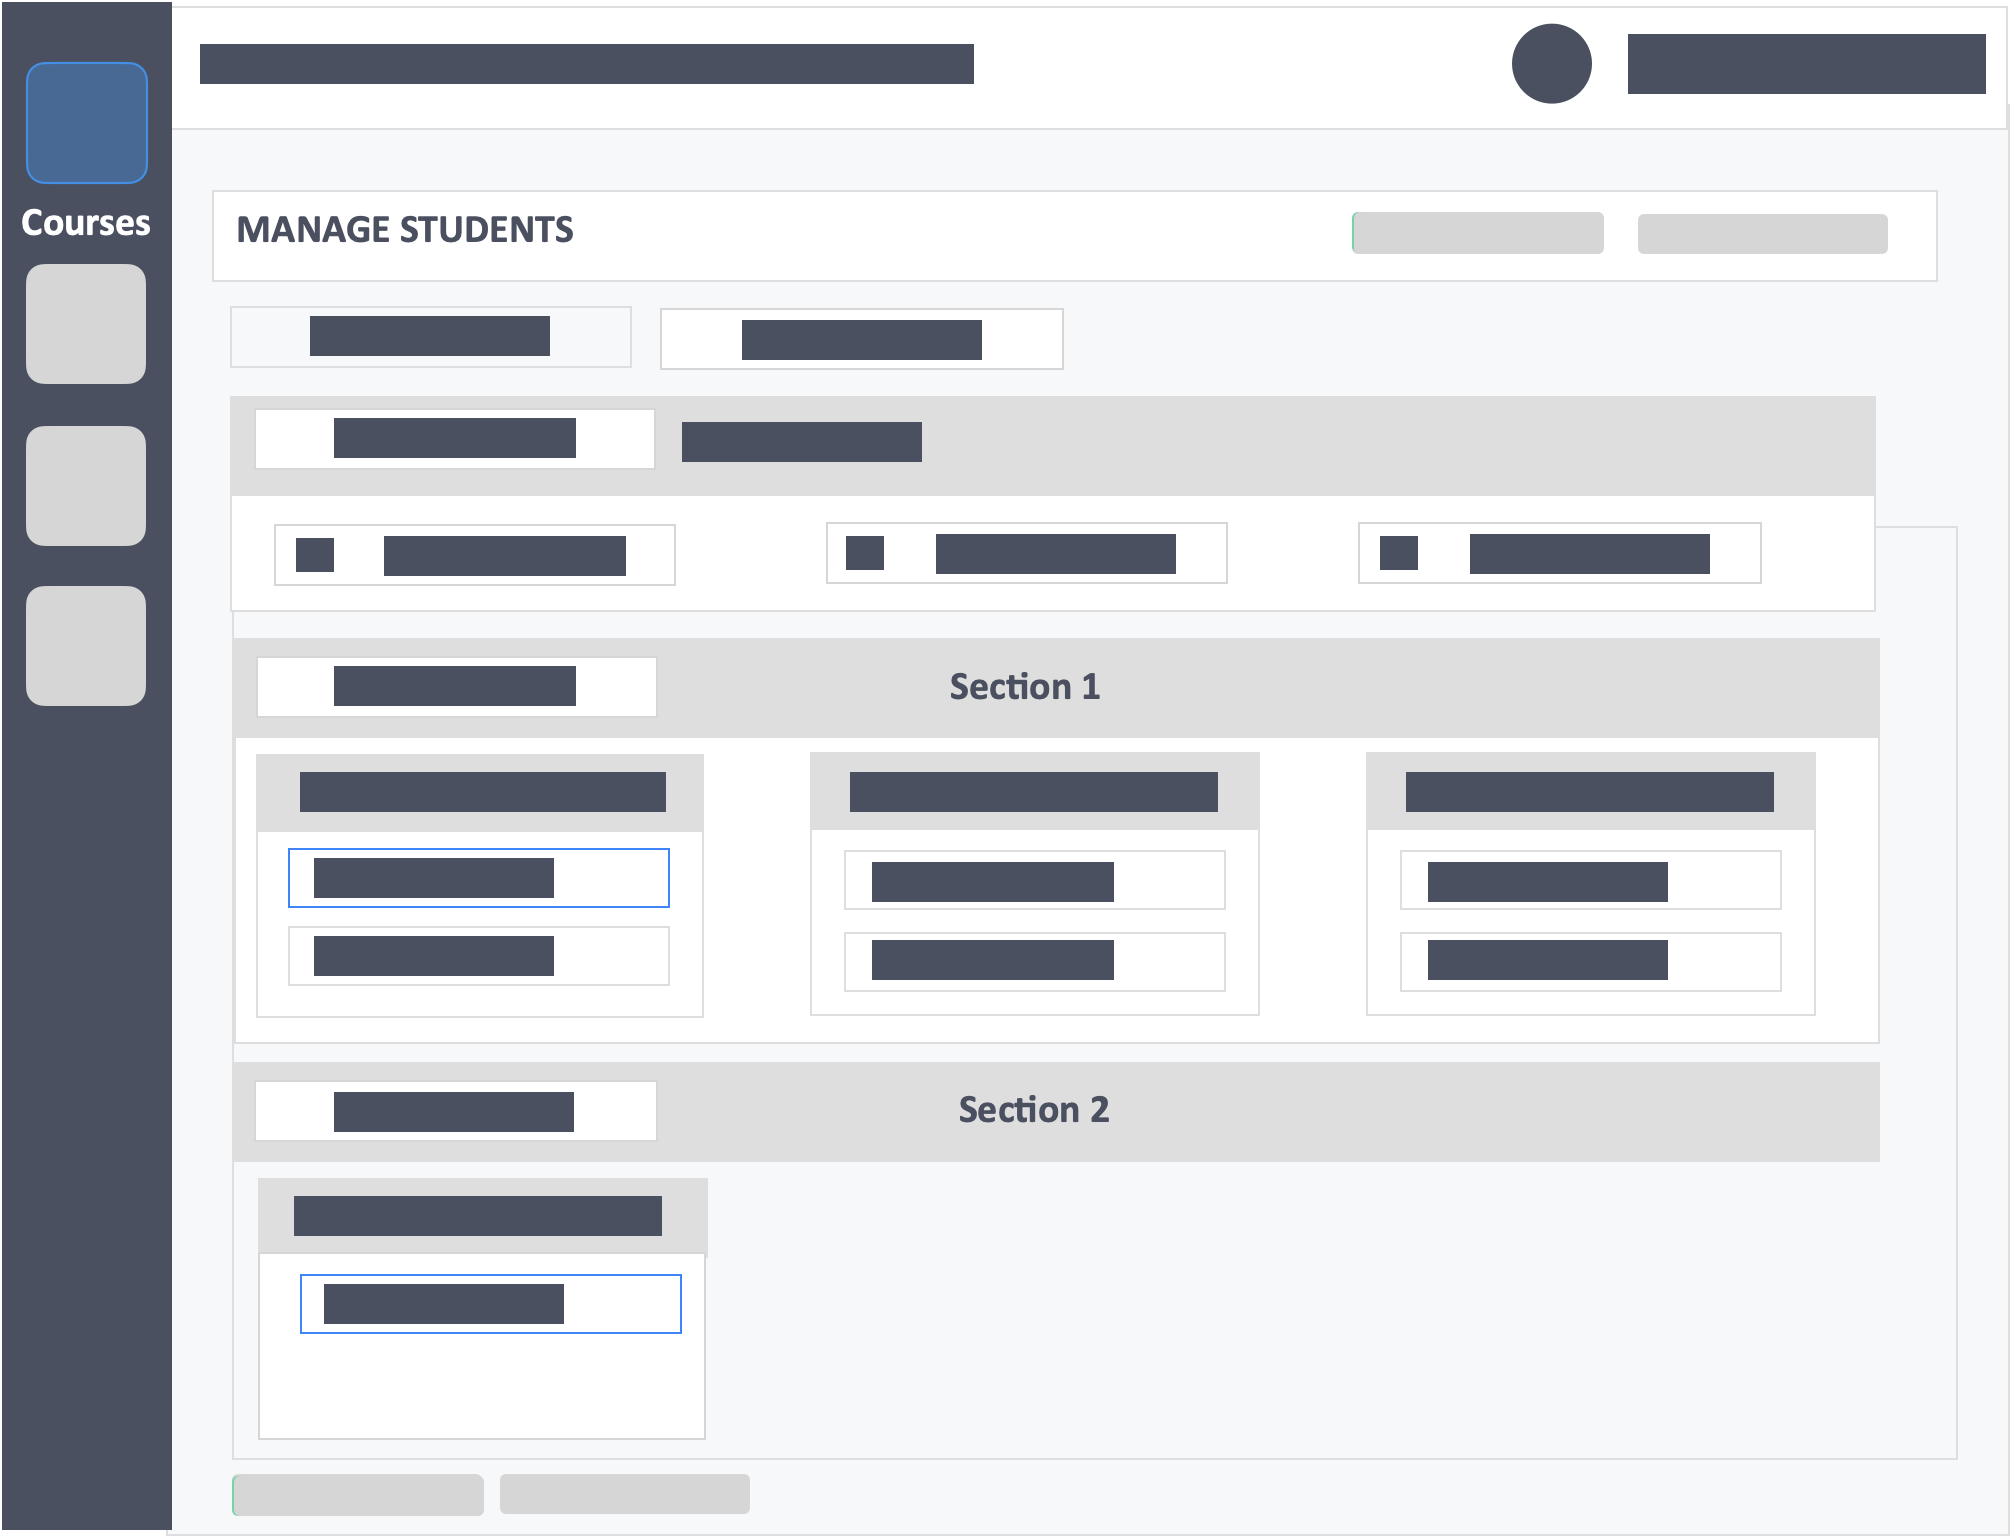
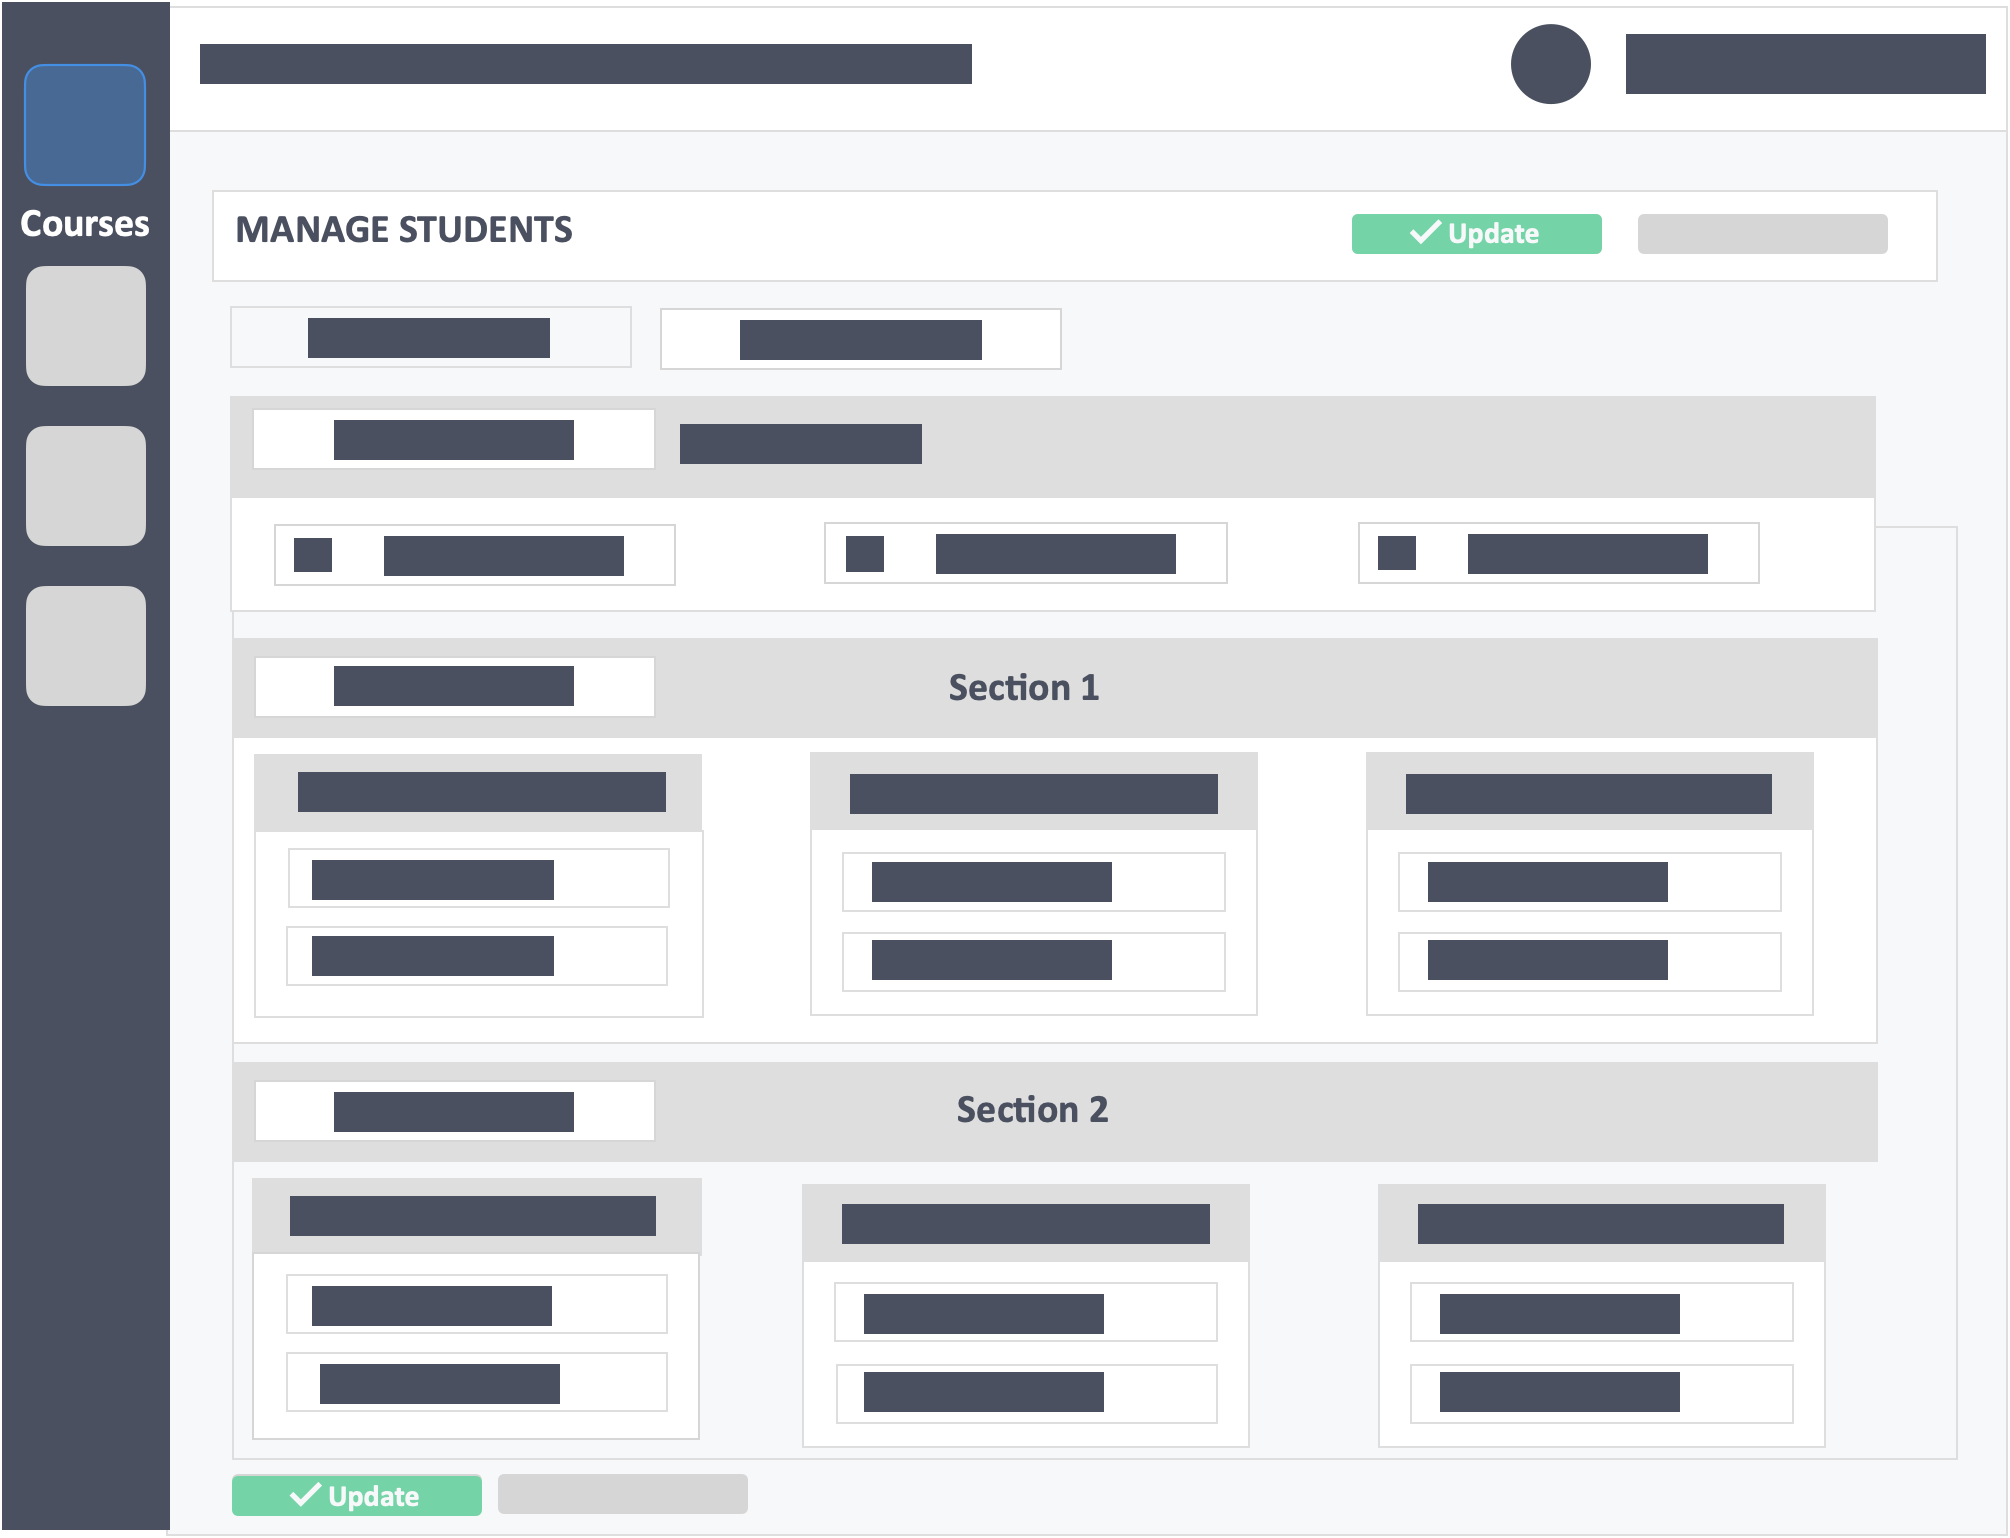
Step 8 – Click the green button “Update” on the top-right or bottom-left of the page to save your changes.
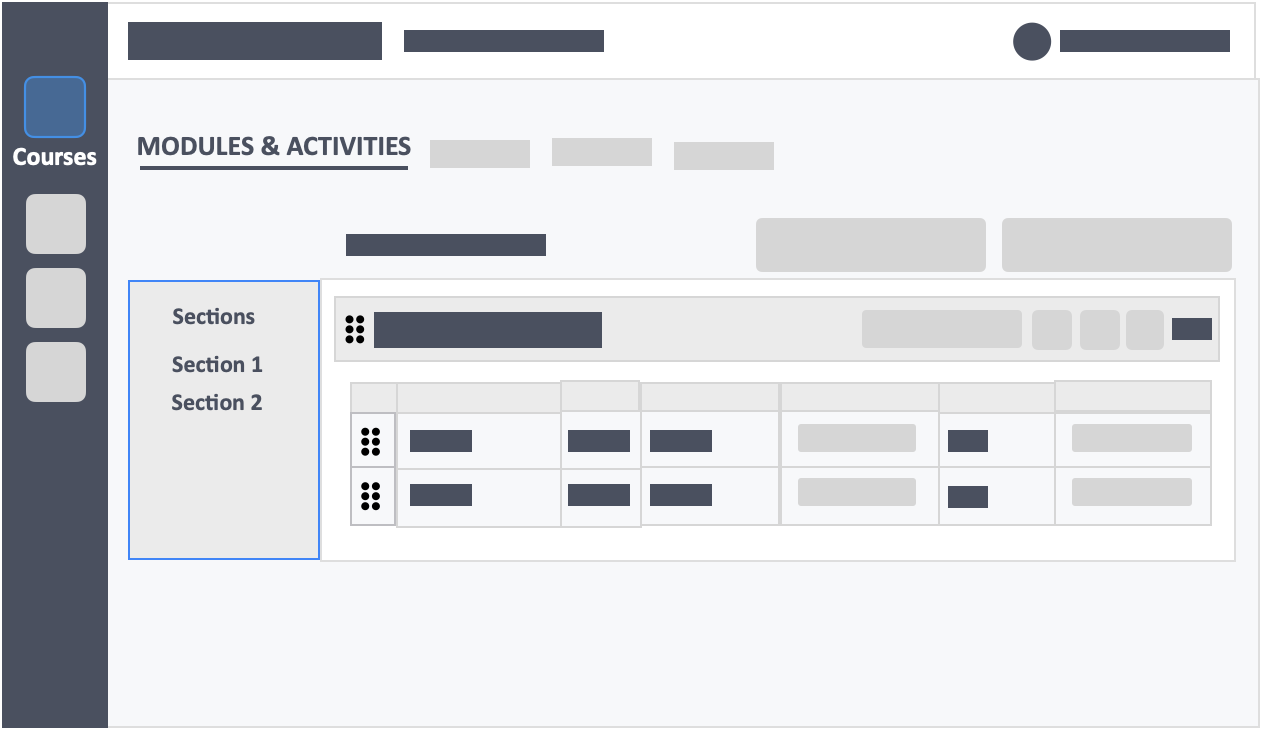
- You will be able to view your sections in the Modules & Activities tab.

- Everytime you create an activity. Intedashboard will create the same activity for both sections.
- You will have separate dashboards for each section which means you will have separate gardes data. You will have to export them separately and manually combine them.
- You can extend the time specifically for the special needs section by clicking the “Extend Time” button in the dashboard
Method 2 (Setting up a Password for Special Needs Learners)
In this method, you will not need to create an additional section for the learners with special needs. This would be helpful in particular if you would be having the special needs learners participate in TRATs with the rest of the class. The idea is to set a password on the IRAT and give it to the special needs learners to give them a head start, then give the password to the rest of the class after a certain amount of time. Do note that this only works for synchronous activities.
Step 1 – Go to stage 6 (Publish) of your activity setup.
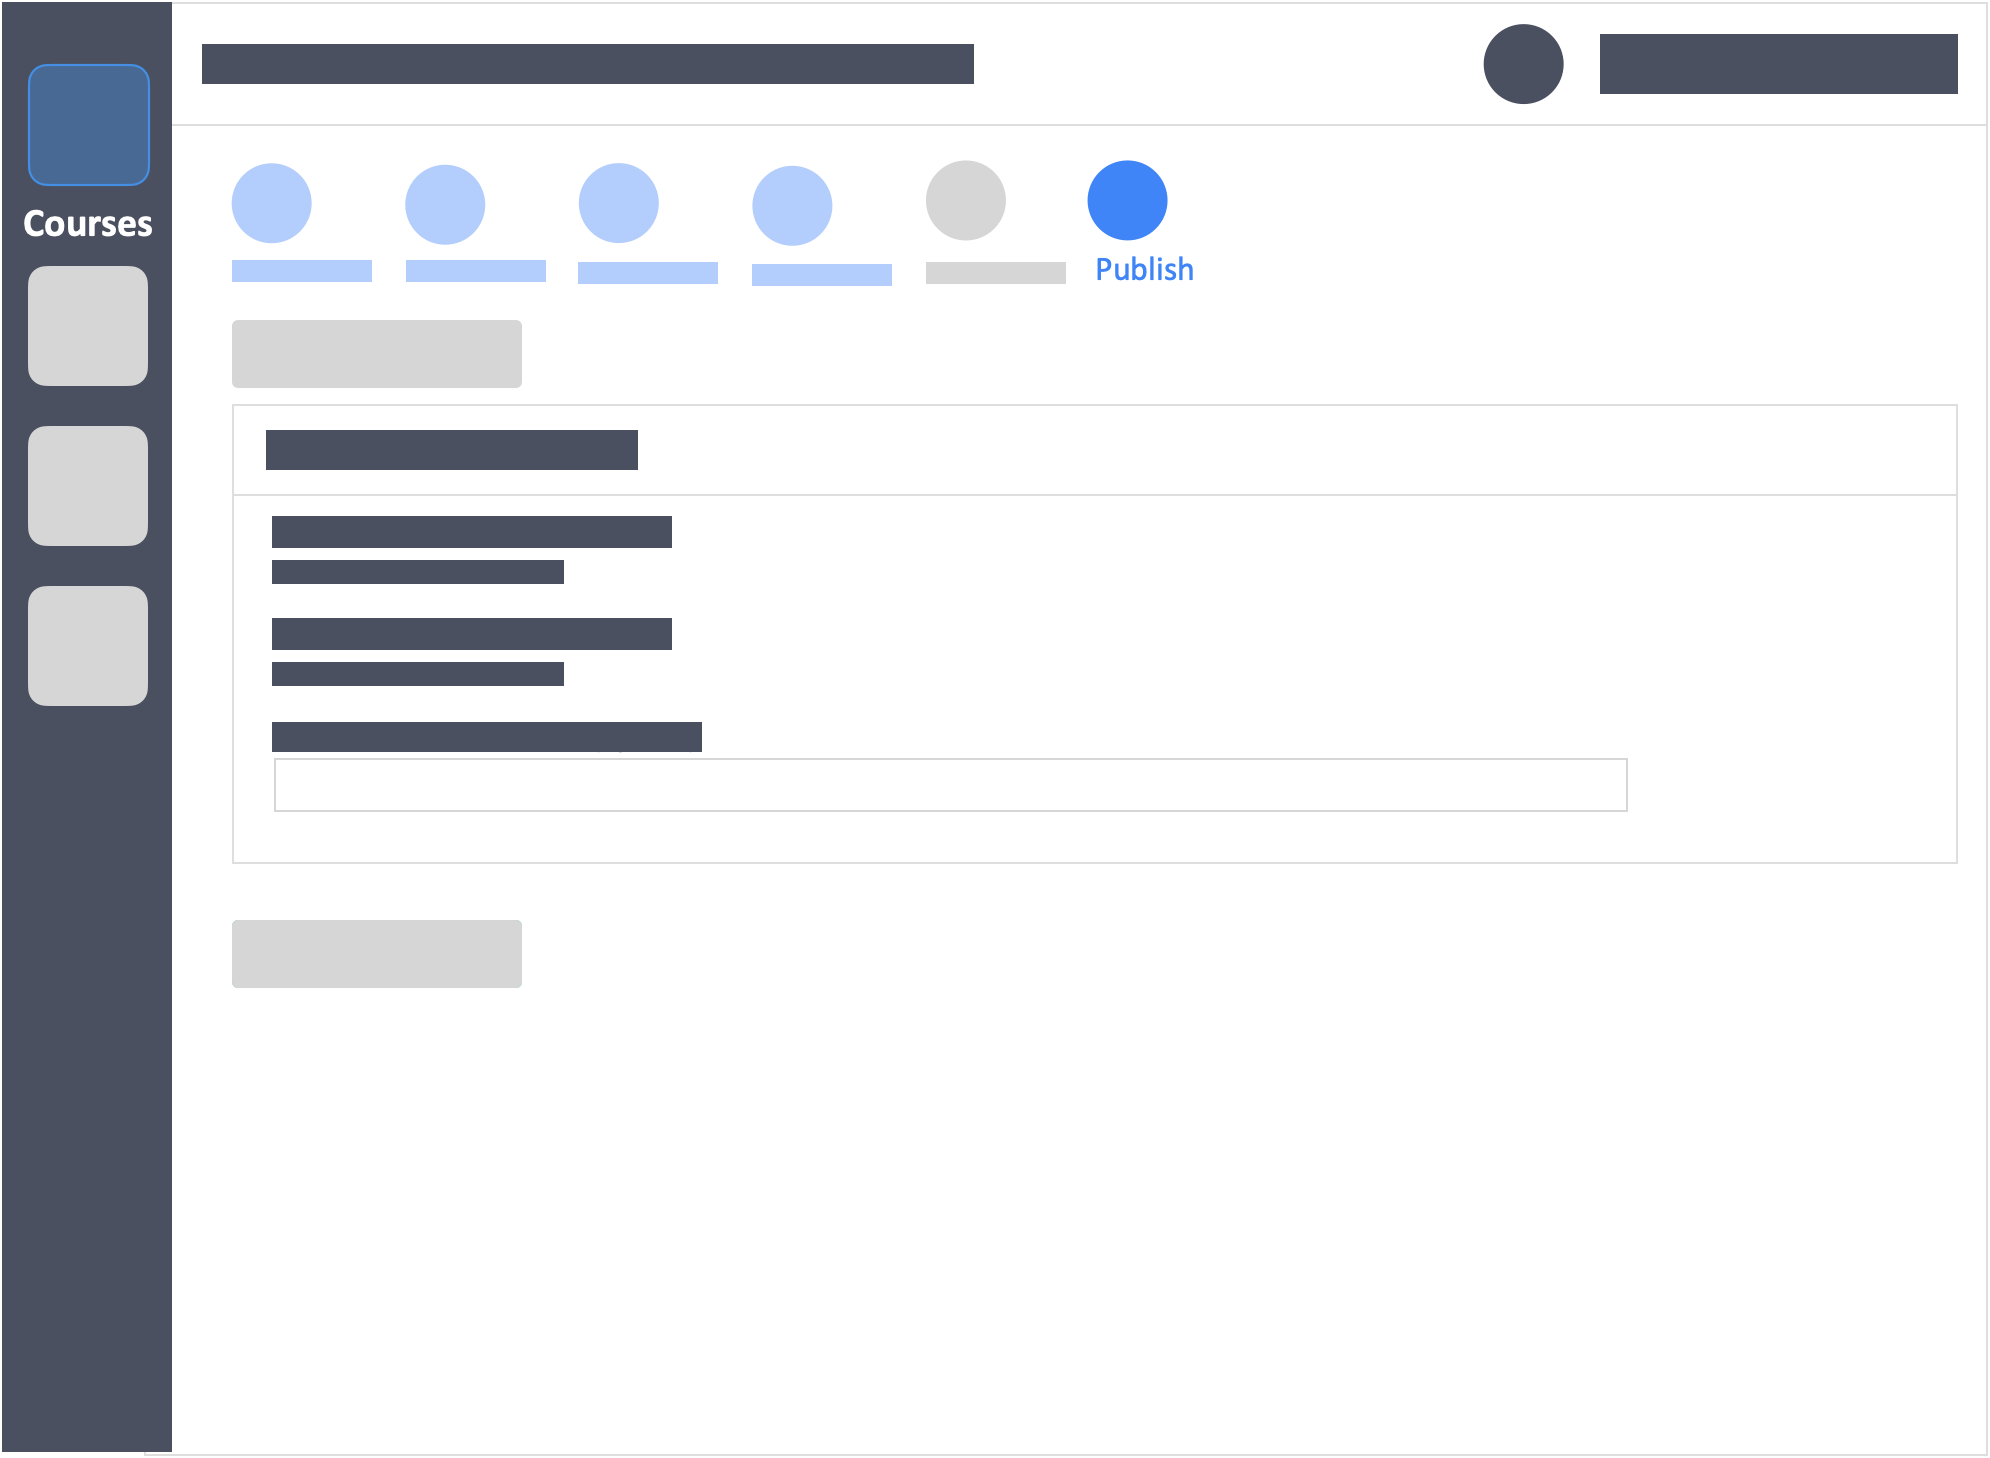
- To get to this stage of the setup, start by creating an activity on your course dashboard or click continue setup.
Step 2 – Adjust the duration of the activity so that it will accommodate your special needs learners.
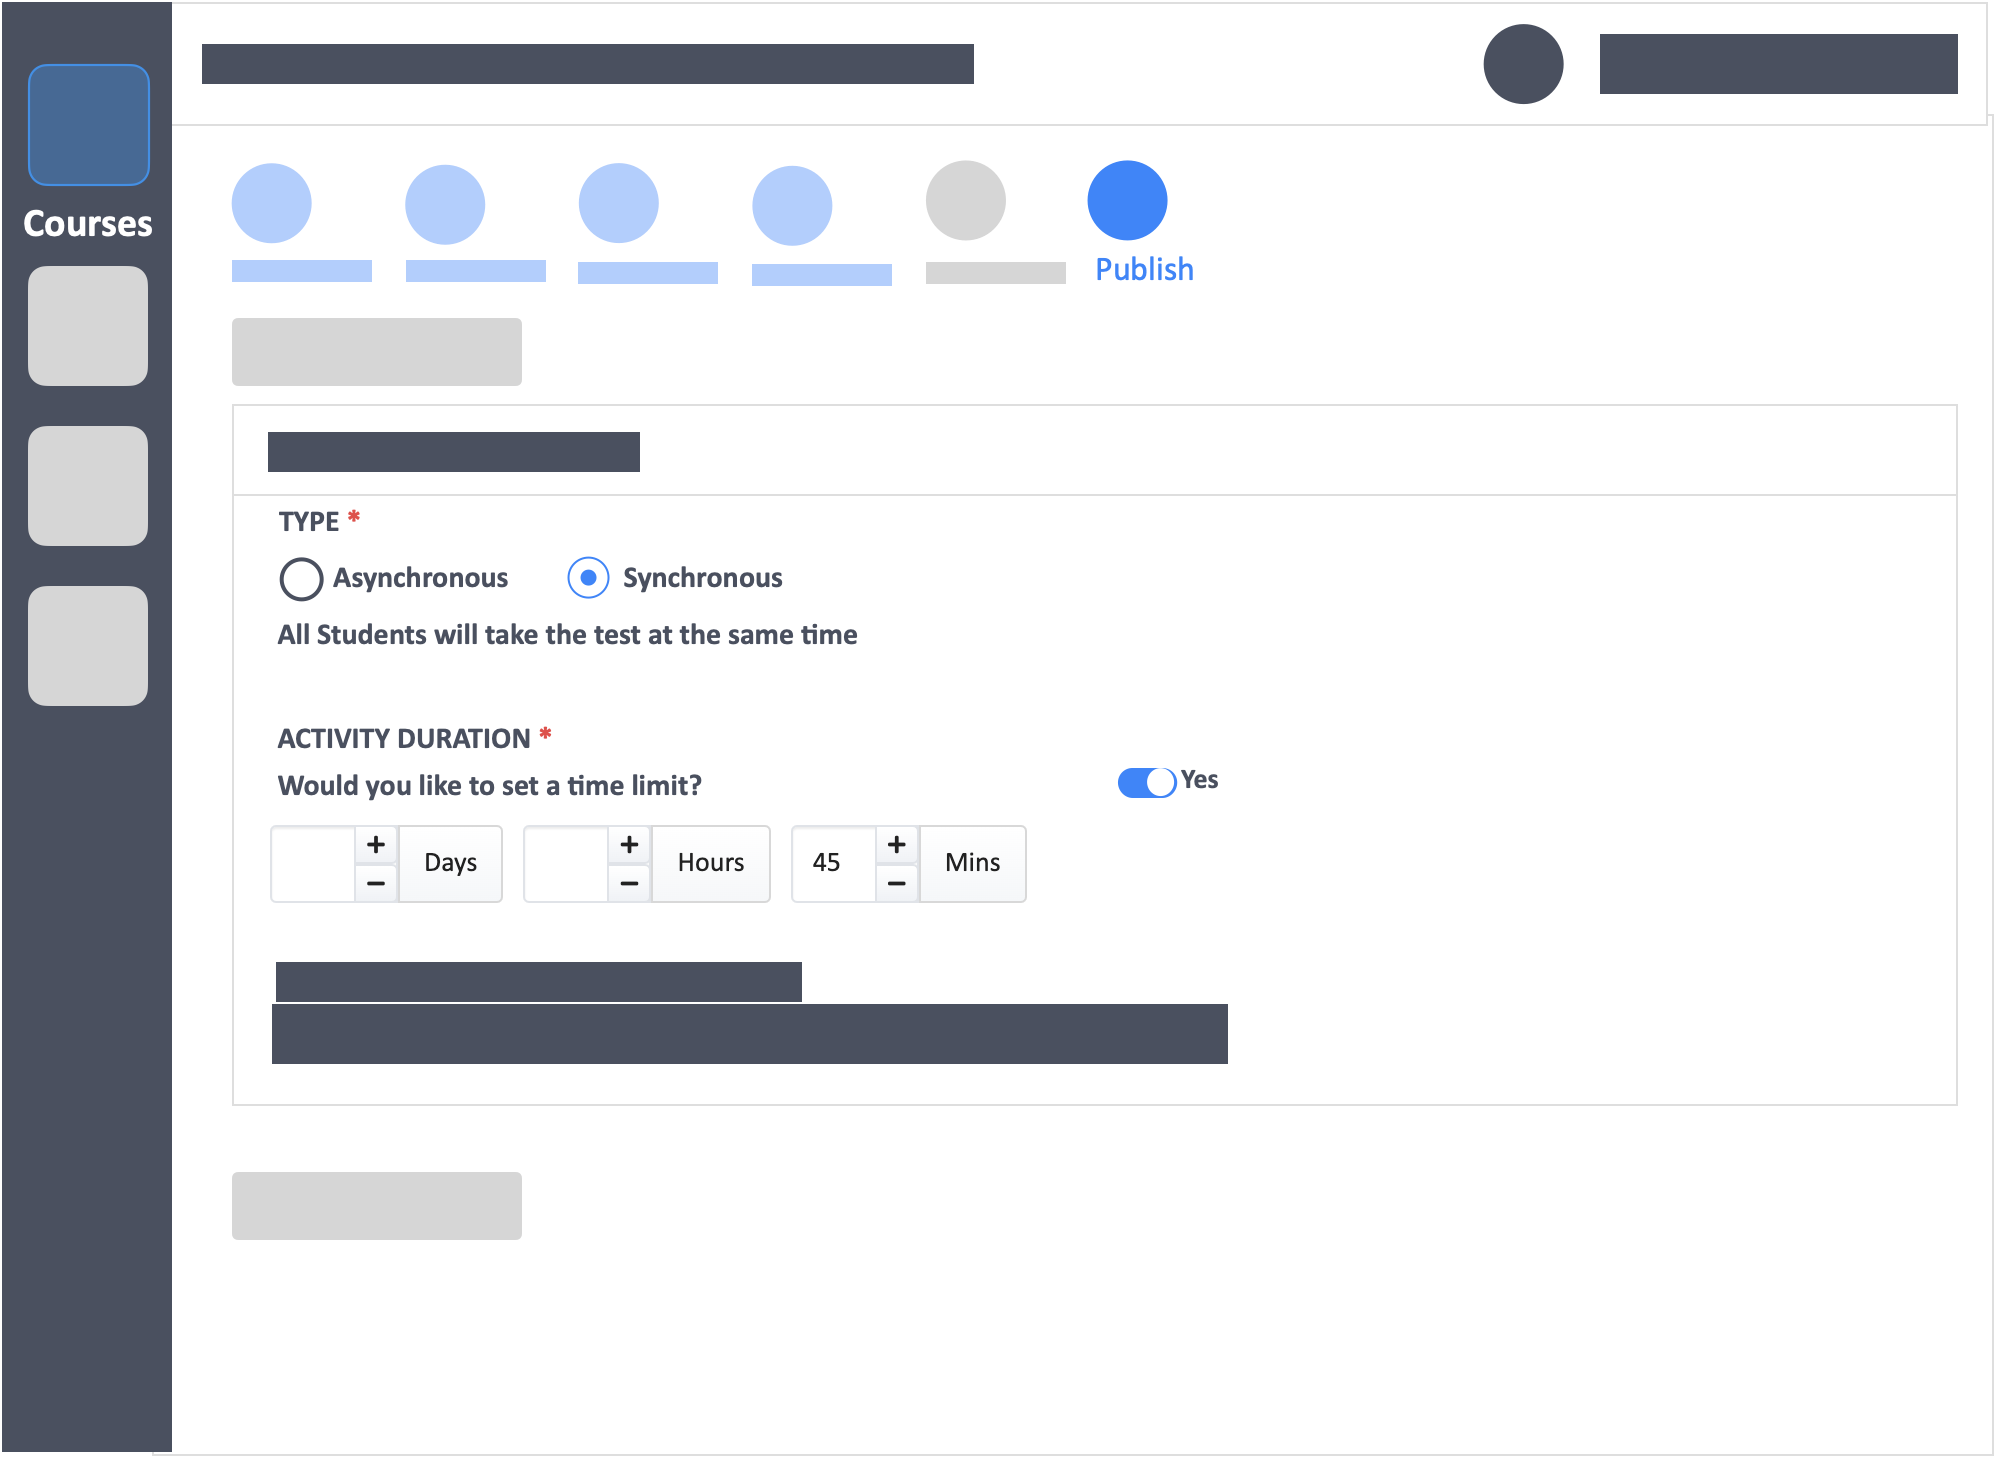
- Example: If you will be having 30 minutes IRAT for the whole class, set the duration to 45 minutes (as shown in the above image). This way you will have a 15 minutes head start for the learners with special needs.
Step 3 – Set a password
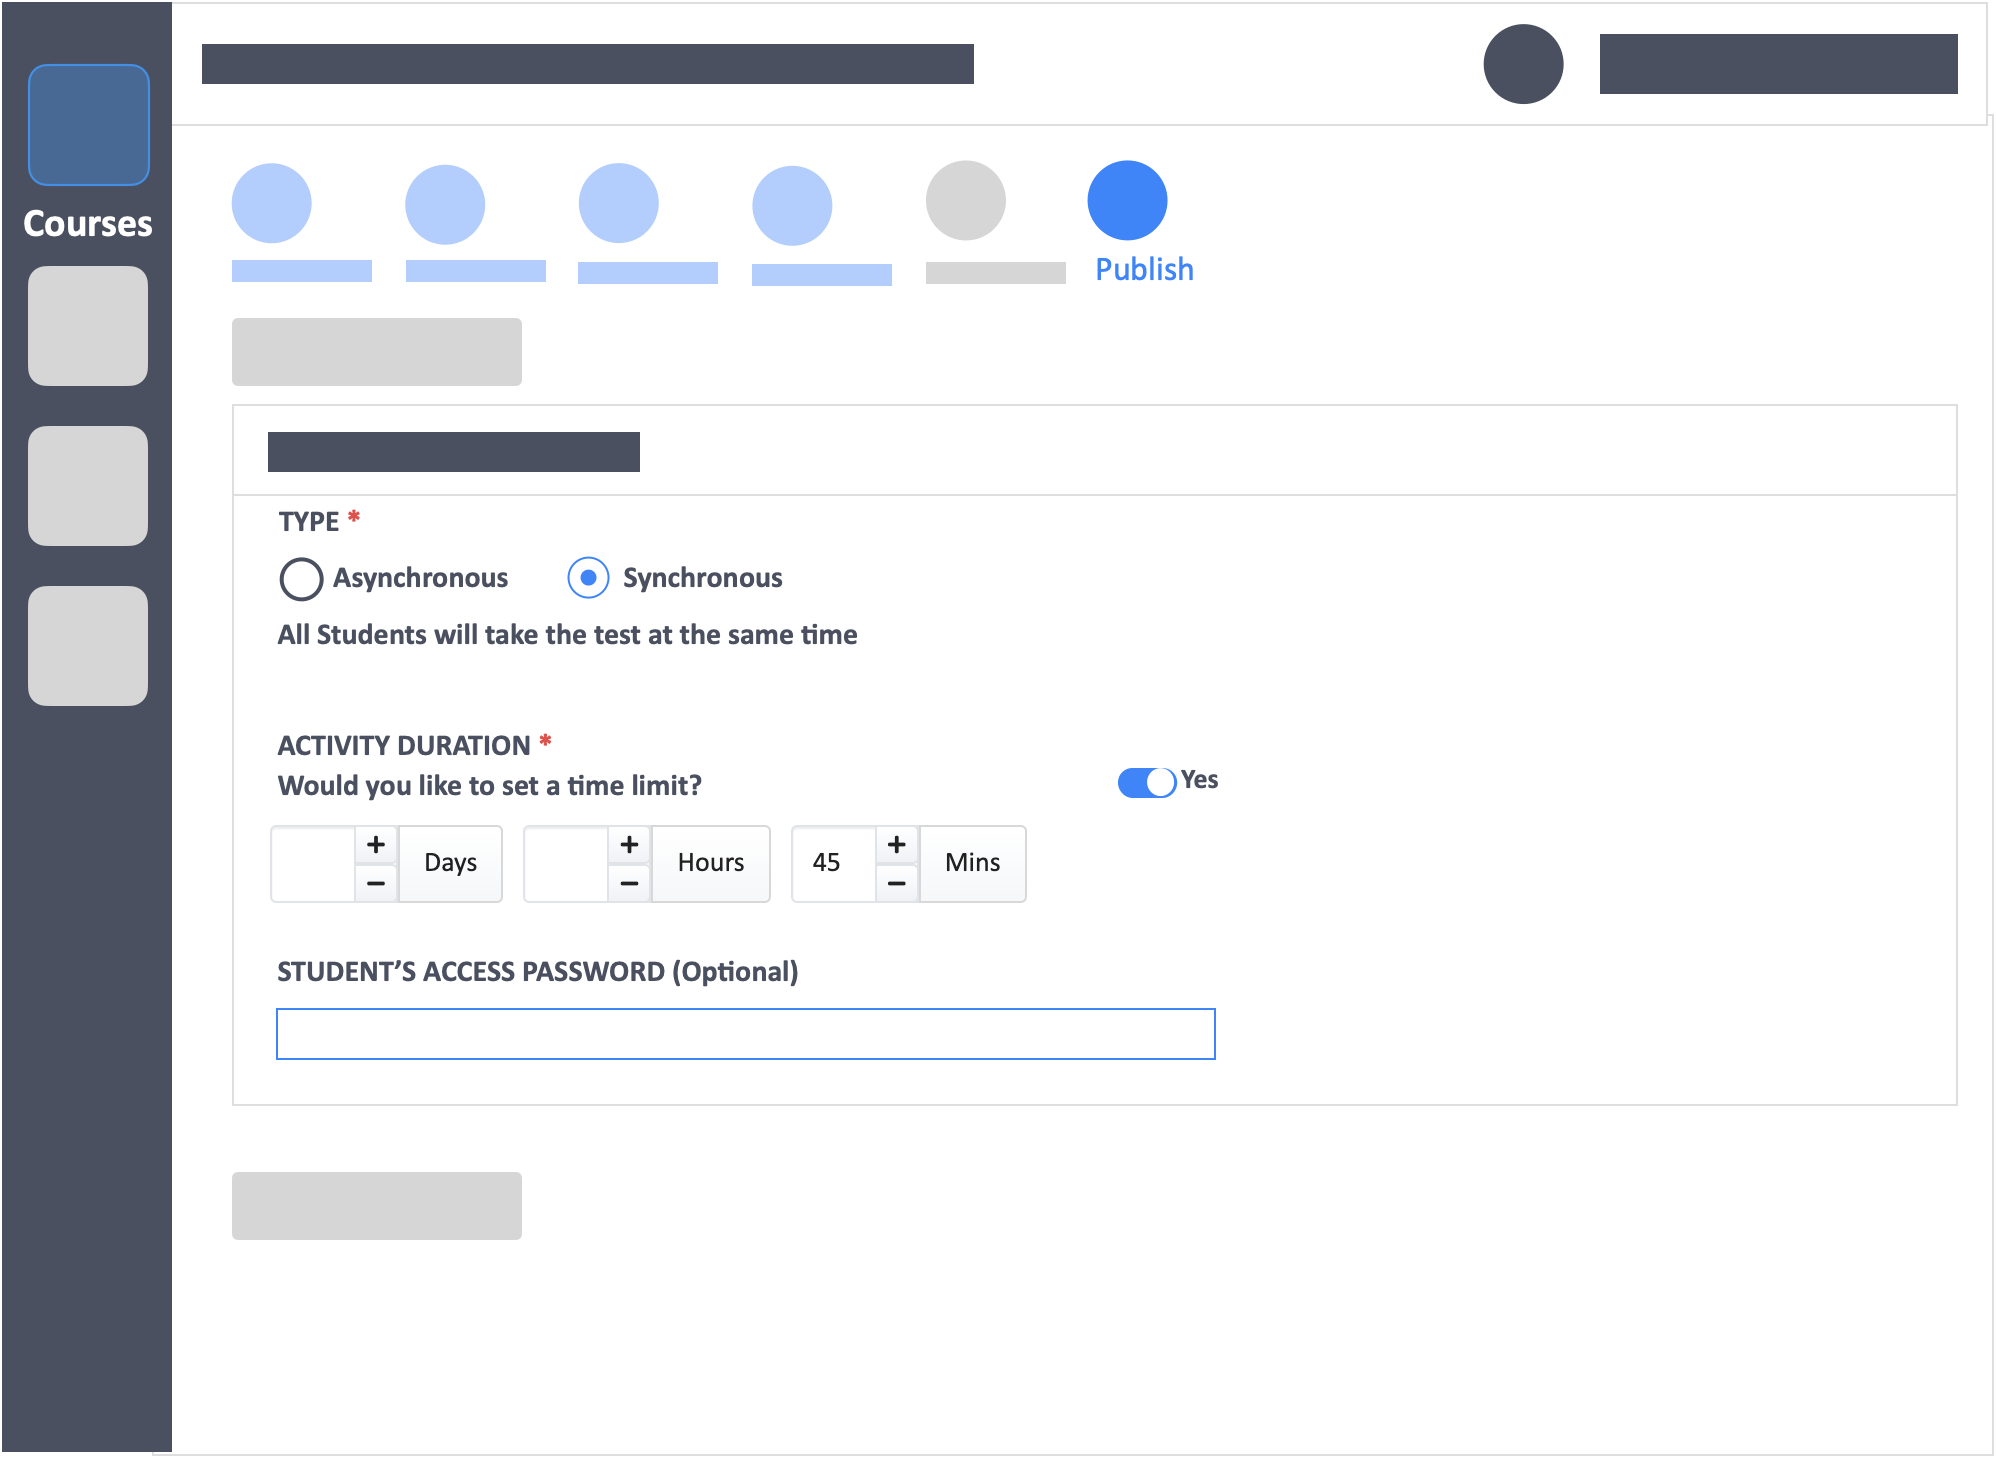
- The password is given to the learners with special needs which will allow them early access to the activity.
- Once the 30 minute mark is reached on your IRAT, give the password to the rest of the class so that they may access the activity as well.
- Your special needs learners should have made use of the additional 15 minutes (or more, as you see fit) that you have given them during this time.
- Once your IRAT is finished, proceed with your TRAT for the whole class.
![InteDashboard_Logo_V3.png]](https://help.intedashboard.com/hs-fs/hubfs/Branding/Logo/InteDashboard%20Logo%20(No%20Tagline)/InteDashboard_Logo_V3.png?width=250&height=63&name=InteDashboard_Logo_V3.png)