Pros: Requires no storage of personal learner data on the InteDashboard cloud servers. This makes it easier to get through your institutions compliance processes. It’s also useful in one time workshops where you have limited information about learners and need to quickly set up teams for your activities.
Cons: You won’t be able to easily maintain records of performance data regarding your learners on InteDashboard. This is because instead of seeing your learner’s name, you will see generic user accounts which can lead to organizational issues.
This Guide is for:
- Super Admin
- Teacher Admin (Full-Access)
- Teacher (Owner Full-Access)
Steps on How to Create Generic Learners in a Course.
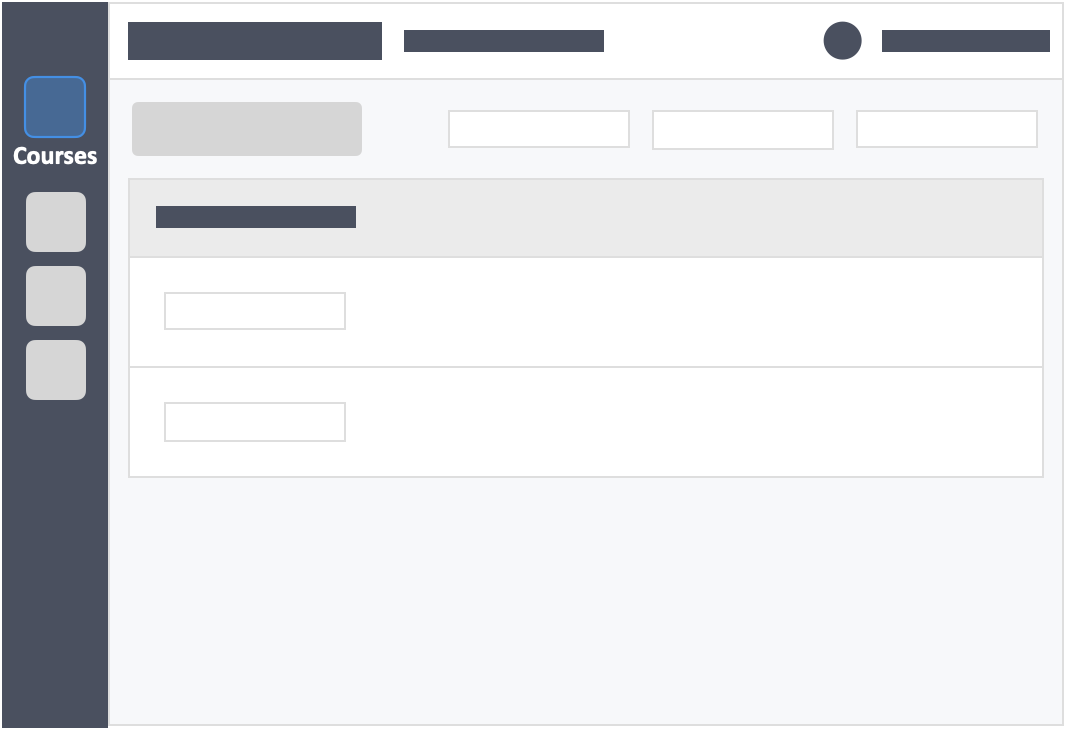
Step 1 – Click the button “Courses” on the left-side navigation.

Step 2 – Click on the course which you want to add your learners in.
Step 3 – Click the “Students” tab on the top left inside the course.
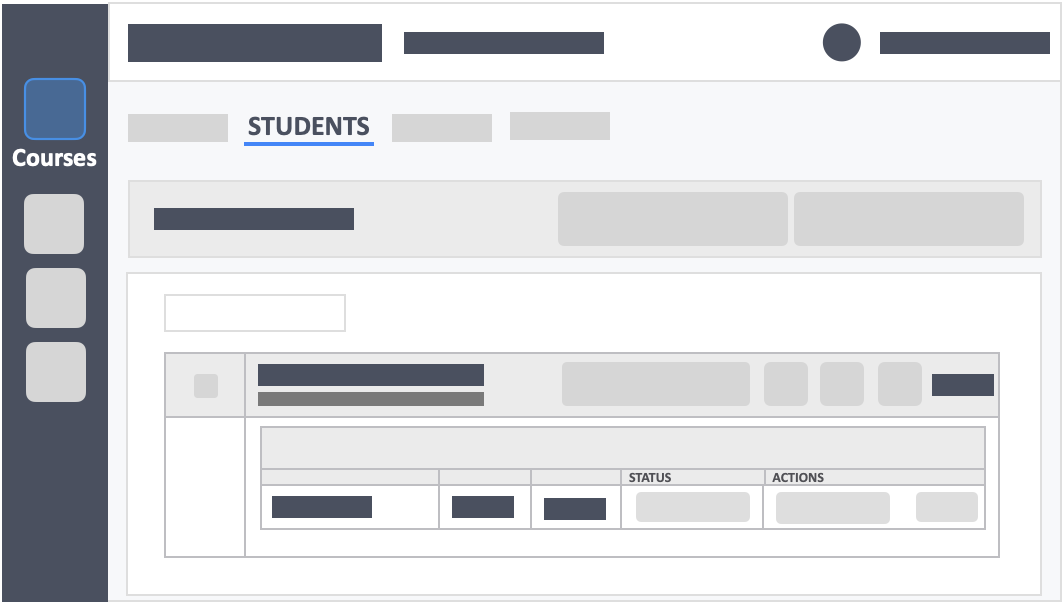
Step 4 – Click the green button “+ New Students(s)” on the top-right of the screen.

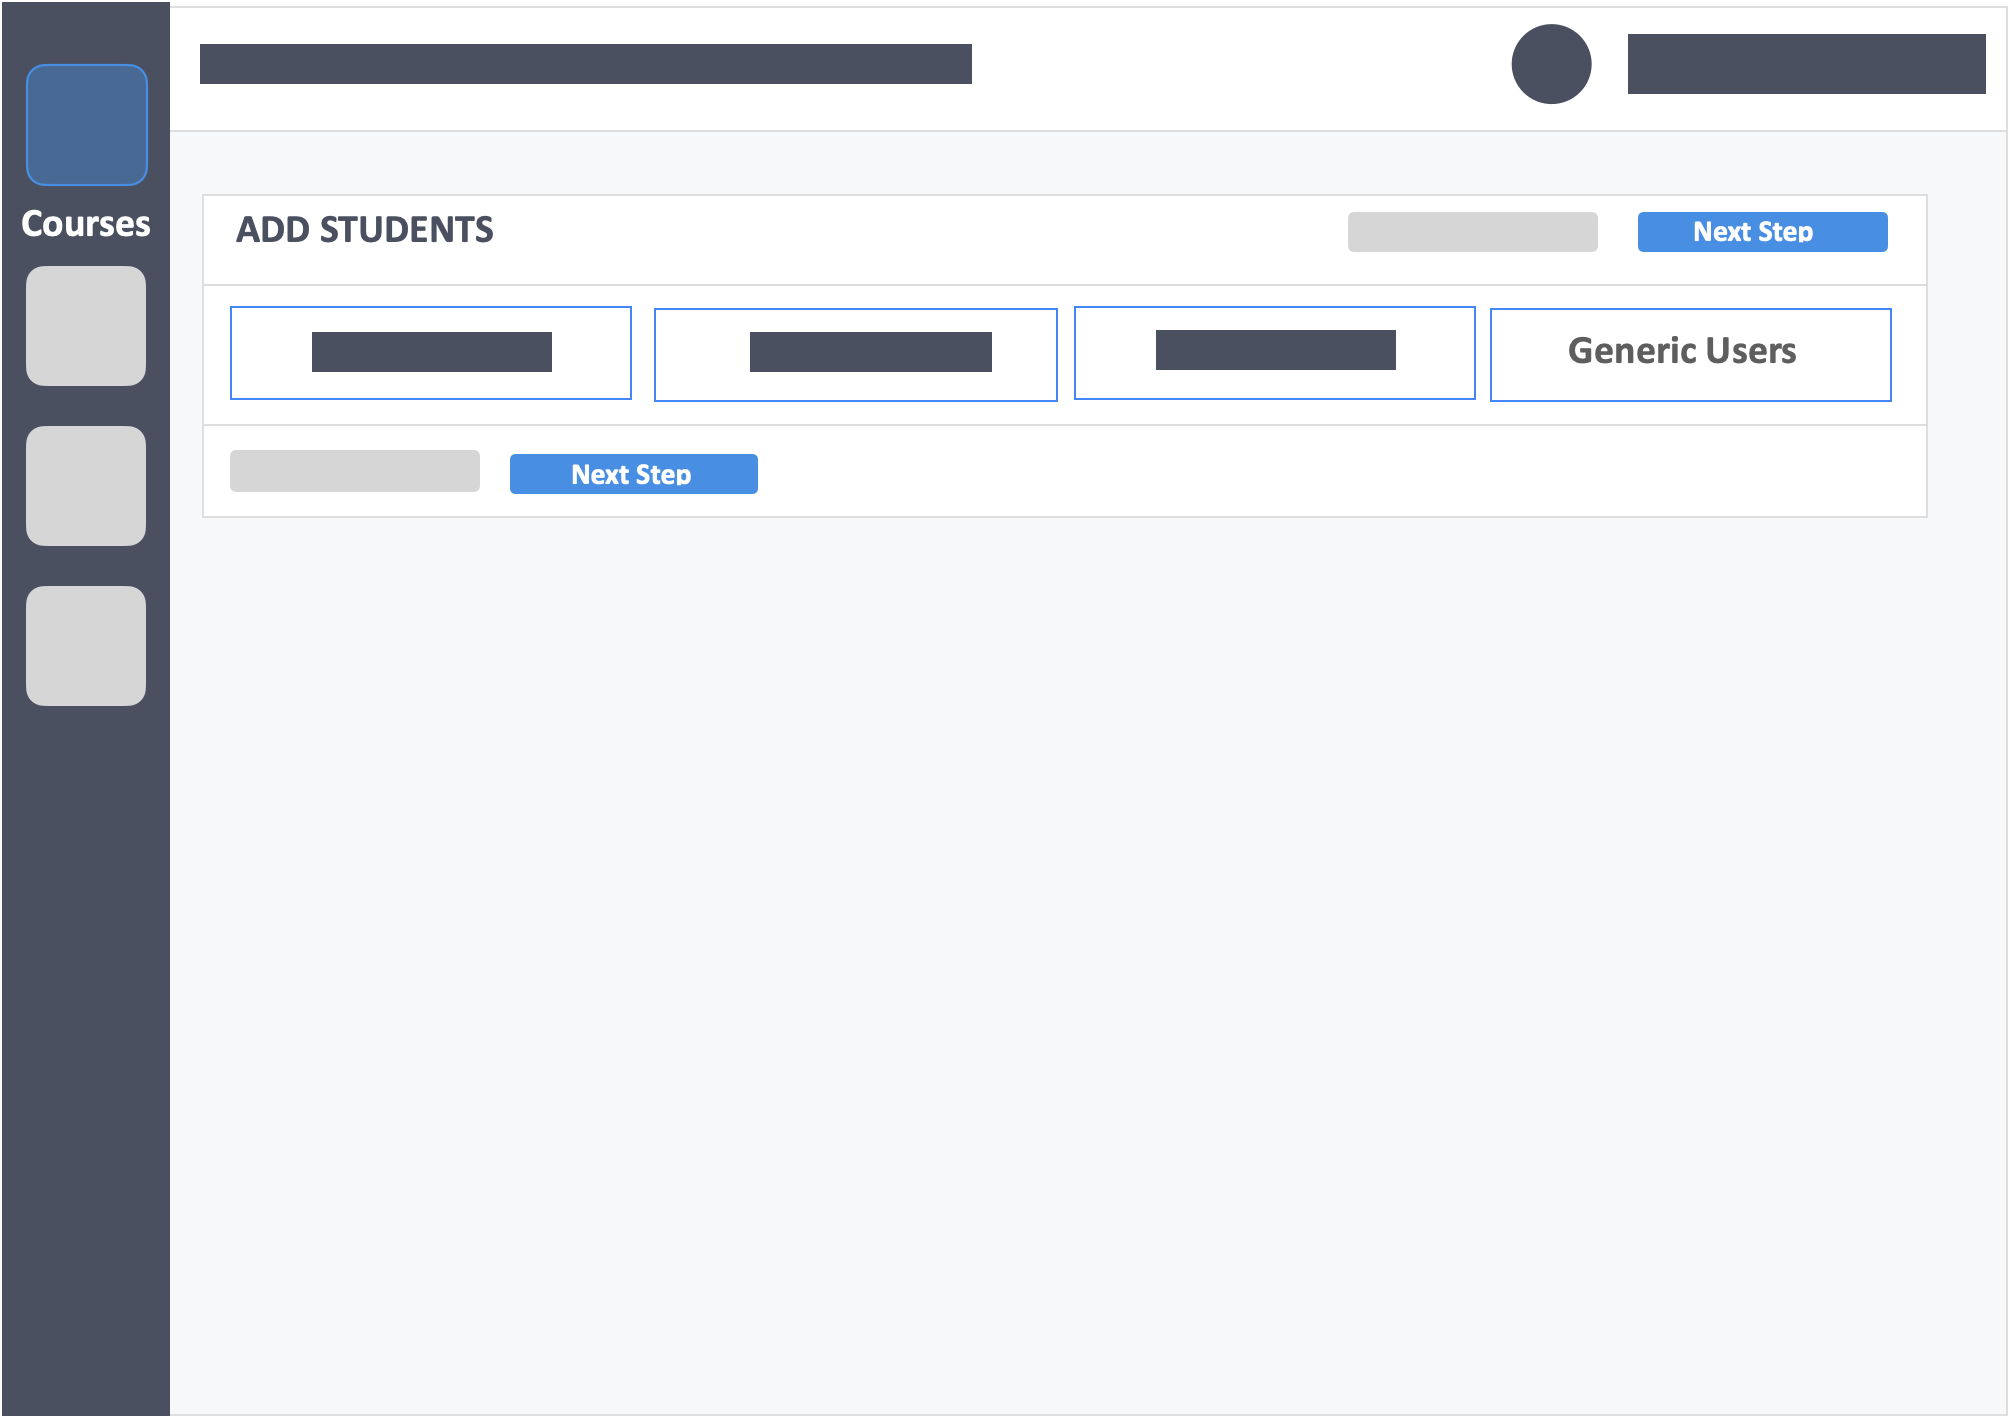
Step 5 – Click the button “Generic Users” in the select method tab.

Step 6 – Click the blue button “Next Step” on the bottom-left of the screen.
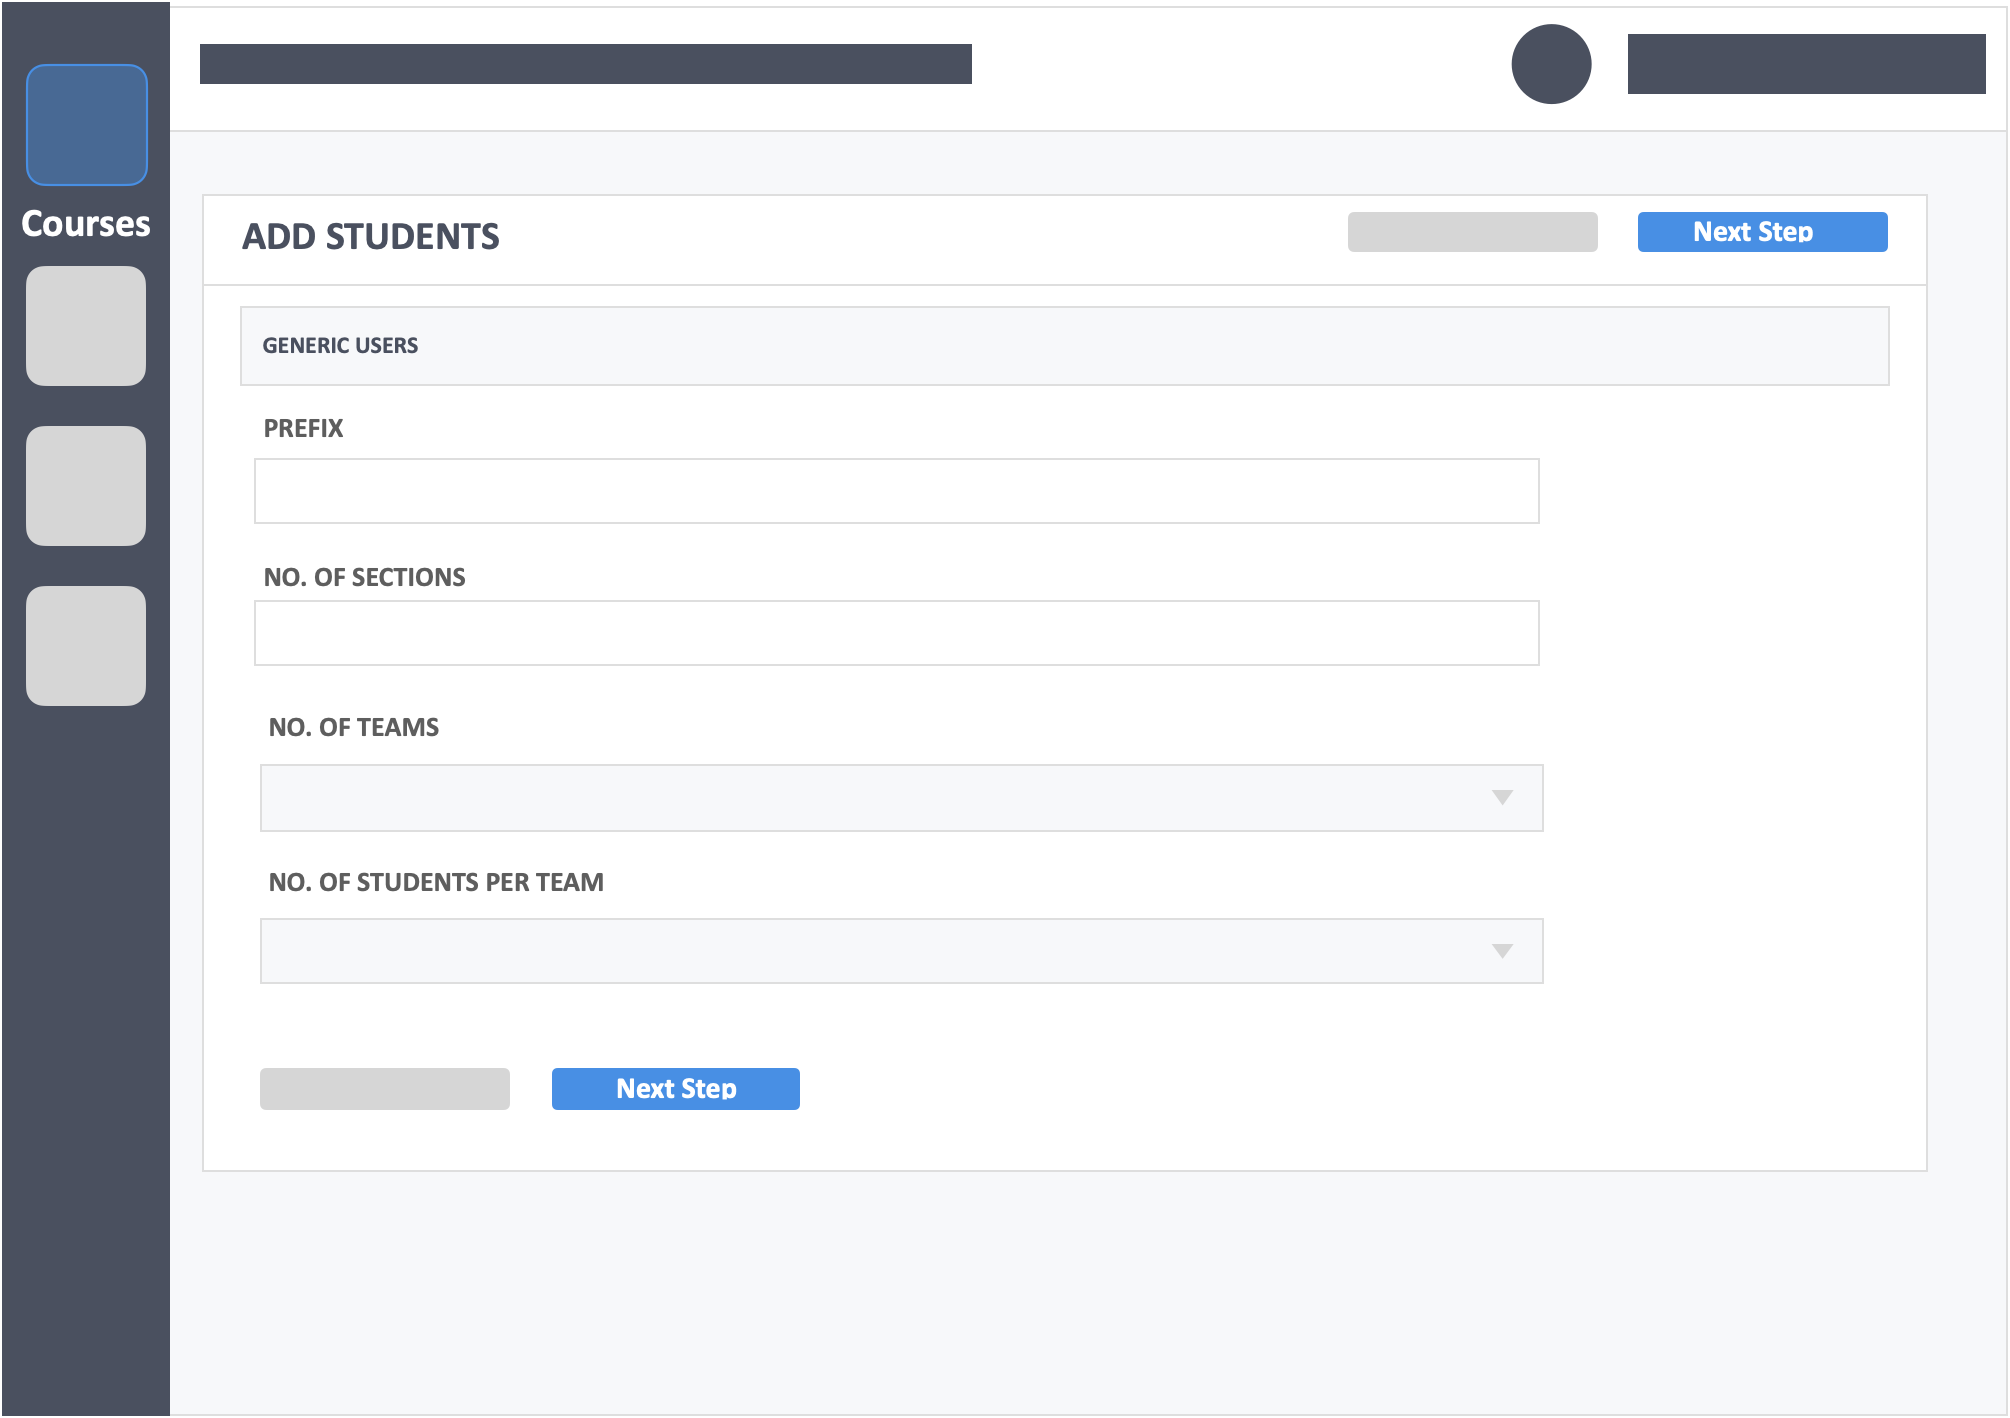
Step 7 – Fill in the details.
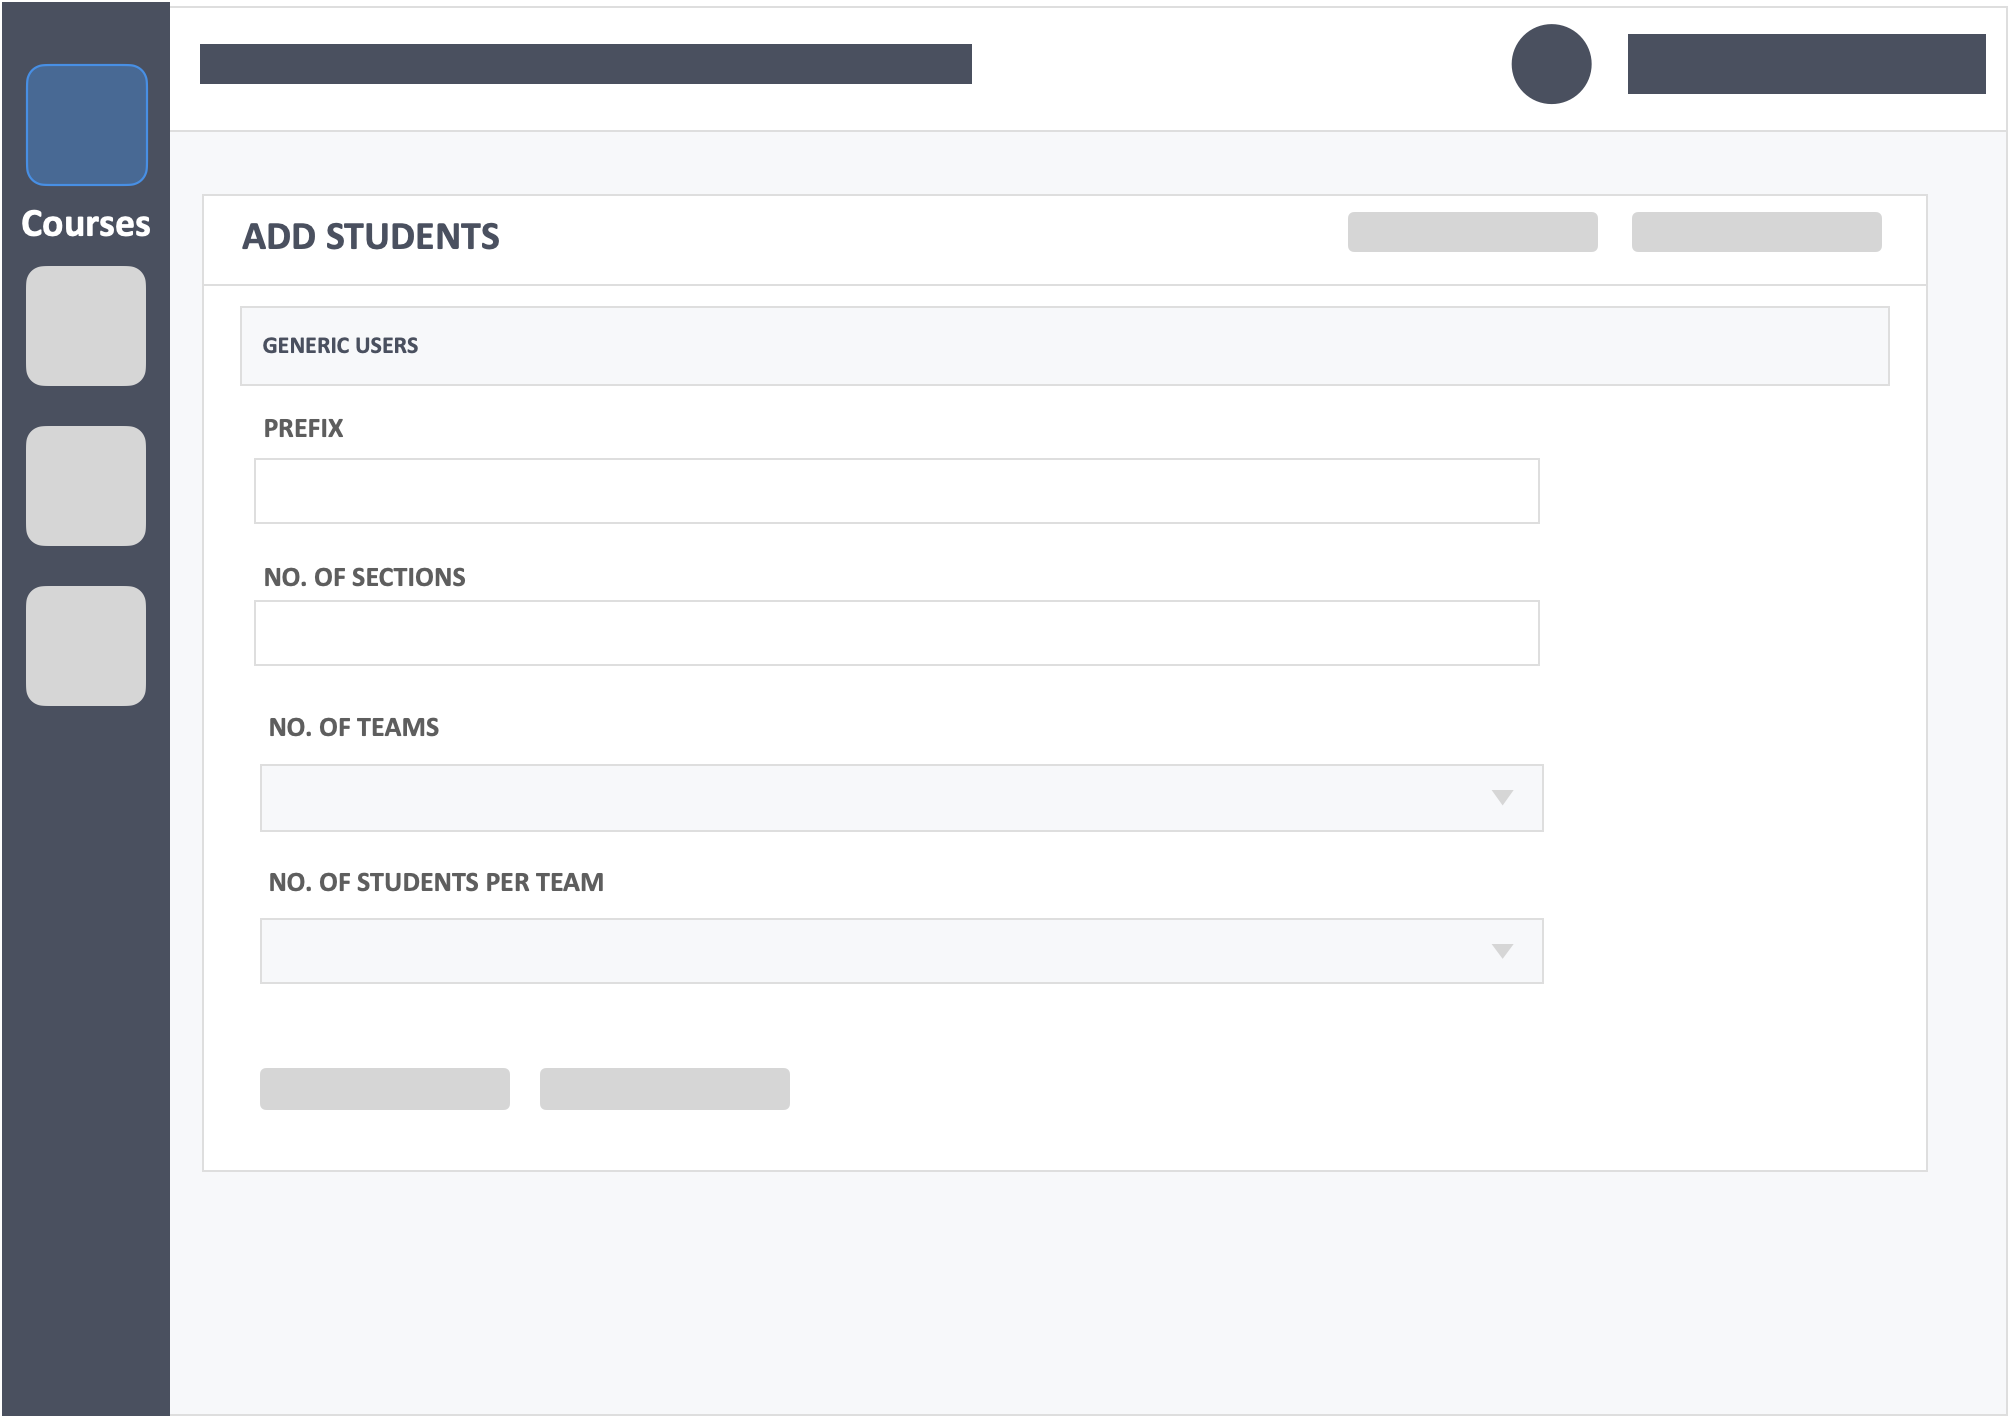
- PREFIX – Think of this as a unique code that will be attached to every generic username generated by the app. This code could be customized according to your preferences. (Ensure this is unique).
- NO. OF SECTIONS – This signifies the amount of sessions that you will conduct with the learners that are being added.
- NO. OF TEAMS – This indicates the number of teams that you wish to create for your course.
- NO. OF STUDENTS PER TEAM – This indicates the amount of learners that you wish to have in each team created for your course.
Step 8 – Click the blue button “Next Step” at the top-right or bottom-left of the page.
Step 9 – Click the green button “Confirm” on the top-right of the page once you have confirmed your student list.
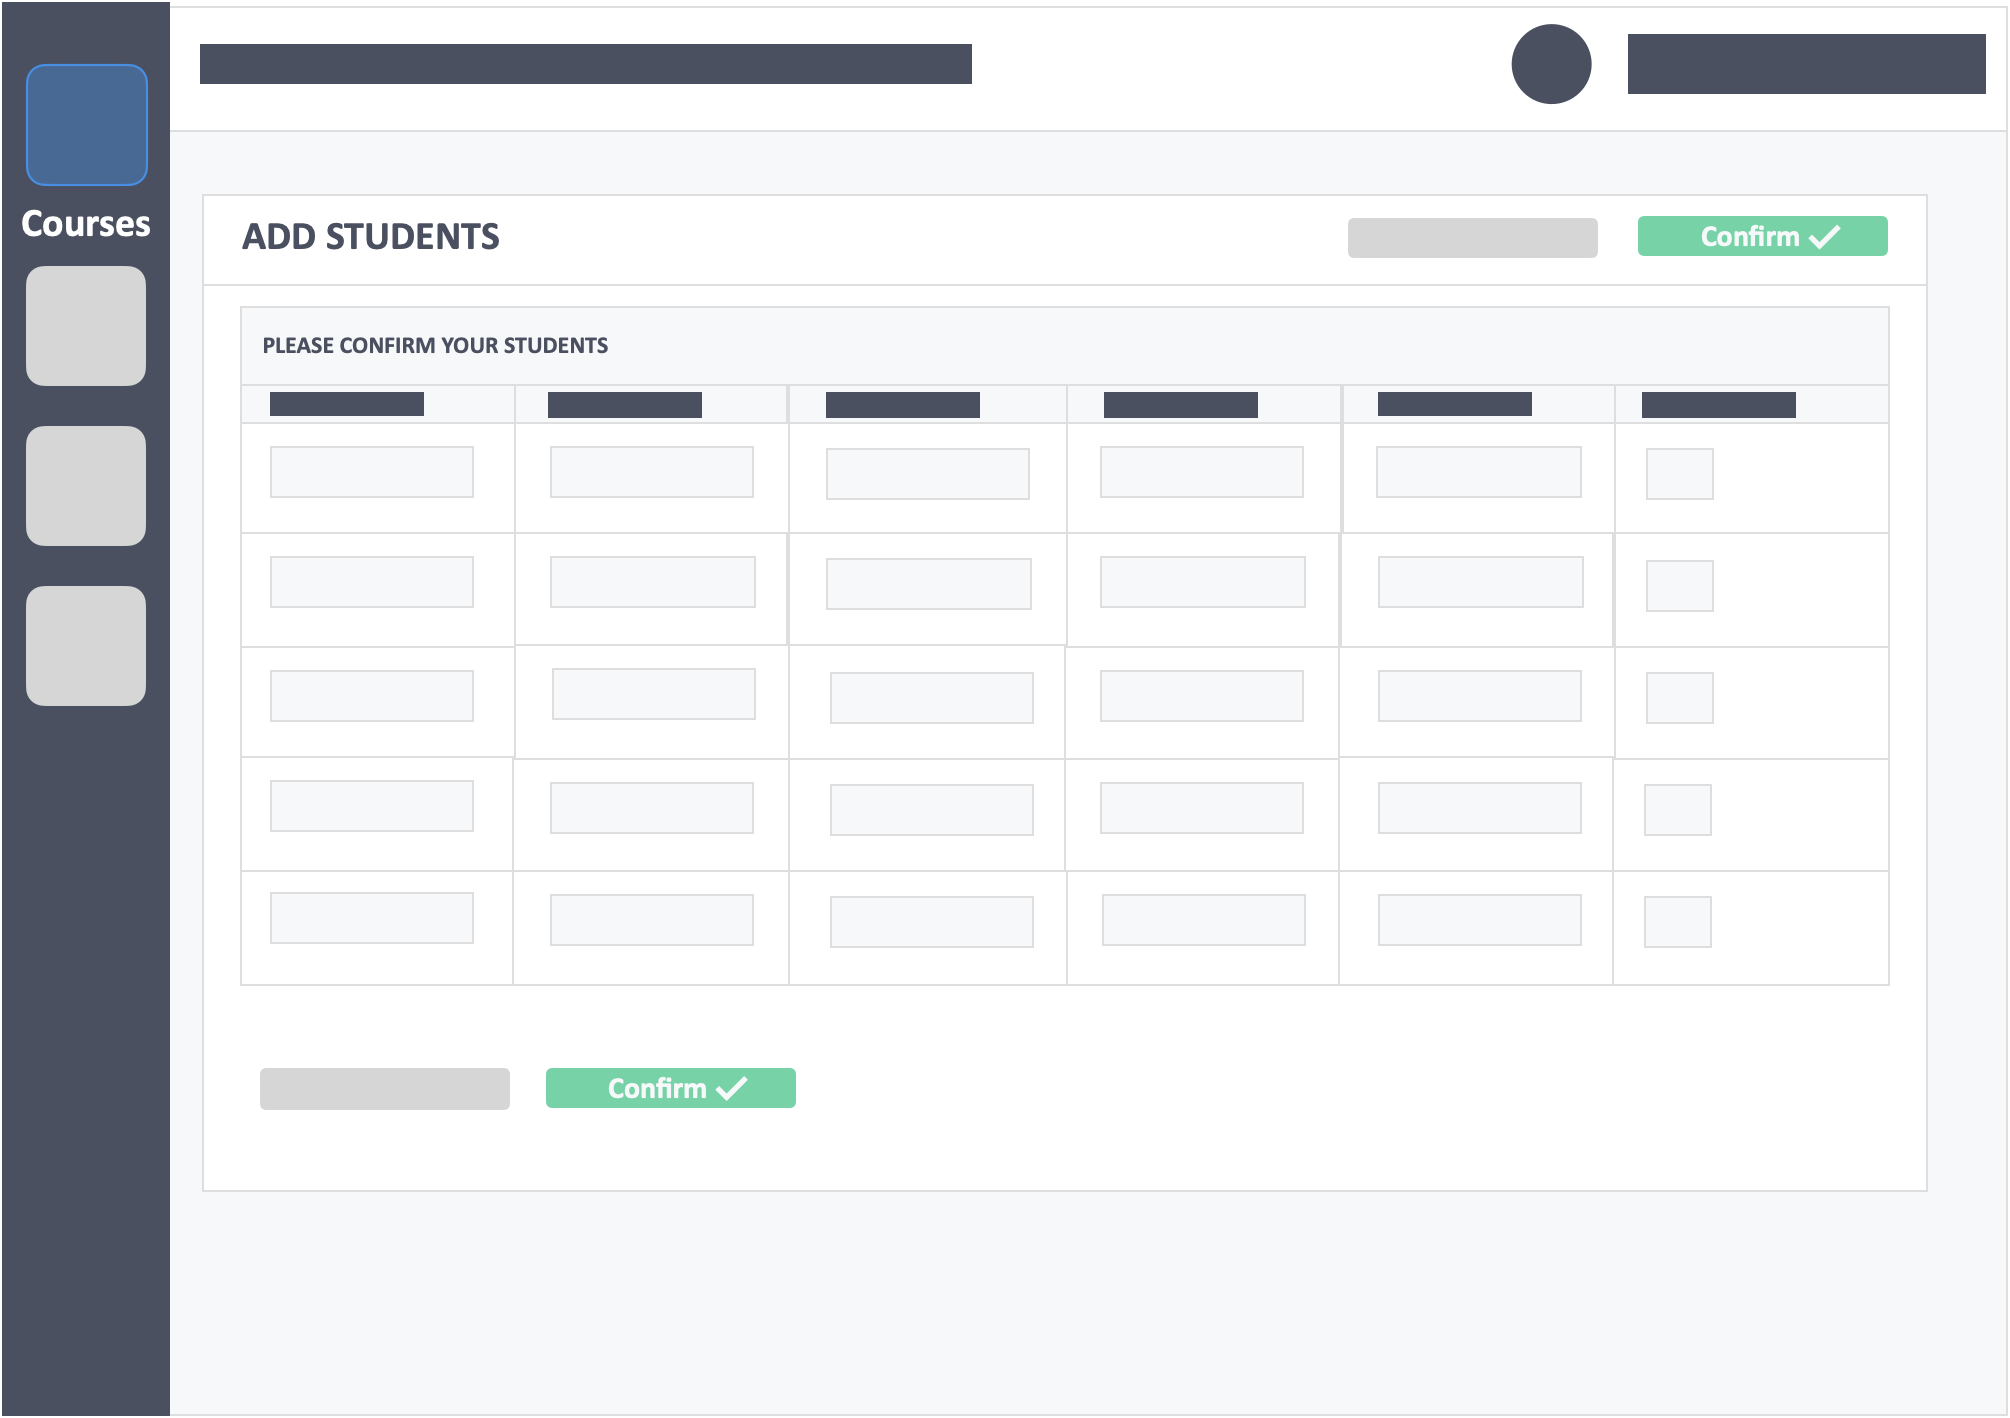
- Once confirmed, you’ll see your learners grouped in the specified section and teams.
Additional Information
- Learners can use the generic user login to access the student dashboard. The username and password are the same. For example, a learner is assigned the “Student-1-1s1” login. The learner will use “Student-1-1s1” as the username and password.
- There is no need to send invites.