This Guide is for:
- Super Admin
- Admin Teacher (Full-Access)
- Teacher (Course Owner, Full-Access)
Steps on How to Create an Activity
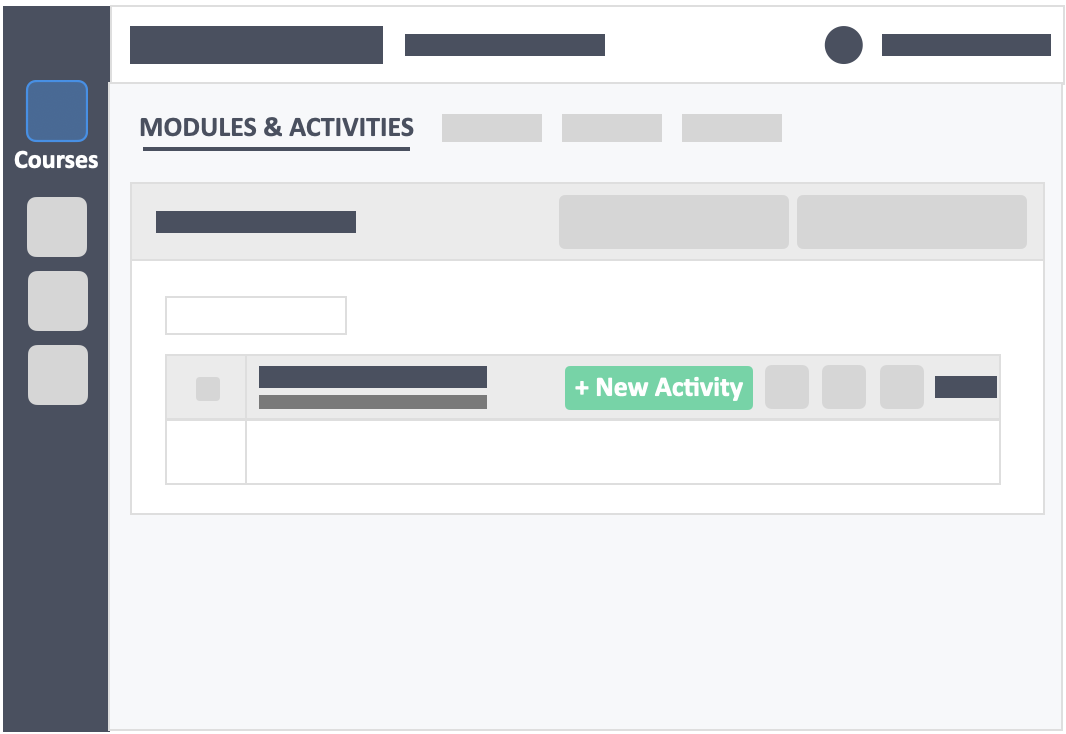
Step 1 – Click the green button “+New Activity” within the module header.
Step 2 – Fill out the activity details.
- Module – (required) Click the drop-down to select the module to add activity to.
- Activity Type – (required) Select the activity type you wish to conduct.
- Prework – Allows you to upload preparatory materials for your learners such as readings, presentation slides, audio lectures, or video lectures which provides the content learners should review before class.
- IRAT Only – Individual readiness assurance test is a short (5-10 question ; 5-20 minute) quiz taken by an individual learner prior to the start of class and is completed by learners individually.
- TRAT Only – Team readiness assurance test is a short (5-10 question ; 5-20 minute) quiz taken by assigned teams of learners.
- IRAT & TRAT – A short quiz that is taken by individual learners first, (IRAT), then the same set of questions are taken by teams (TRAT) after.
- Application Case – An activity that consists of questions accompanied by a problem, a predefined data set, scenario or application. Teams or individual learners develop solutions and answers to these questions. to add application exercises in the form of multiple-choice or free-response questions.
- Peer Evaluation: An activity in which learners provide qualitative and/or quantitative feedback to their peers.
- Peer Evaluation: Michaelsen’s Method – A type of activity that involves spreading points evaluating a teammate’s accountability and performance and providing each other with constructive feedback on their contributions.
- 360 Degree Evaluation – A type of activity containing is a set of rating scale questions with optional rubric descriptions and free response questions designed to evaluate a teammate, the self, the team or the instructor.
- Name – (required) This is the name of the activity you are teaching.
- Description – (optional) Concise statements which informs a learner about the subject matter, approach, scope, and applicability of the activity. This could include learning objectives or any details you would like to reference.
Step 3 – Click the green button “Go to Questions” on the bottom-left of the page (to save basic settings and go to the next step).
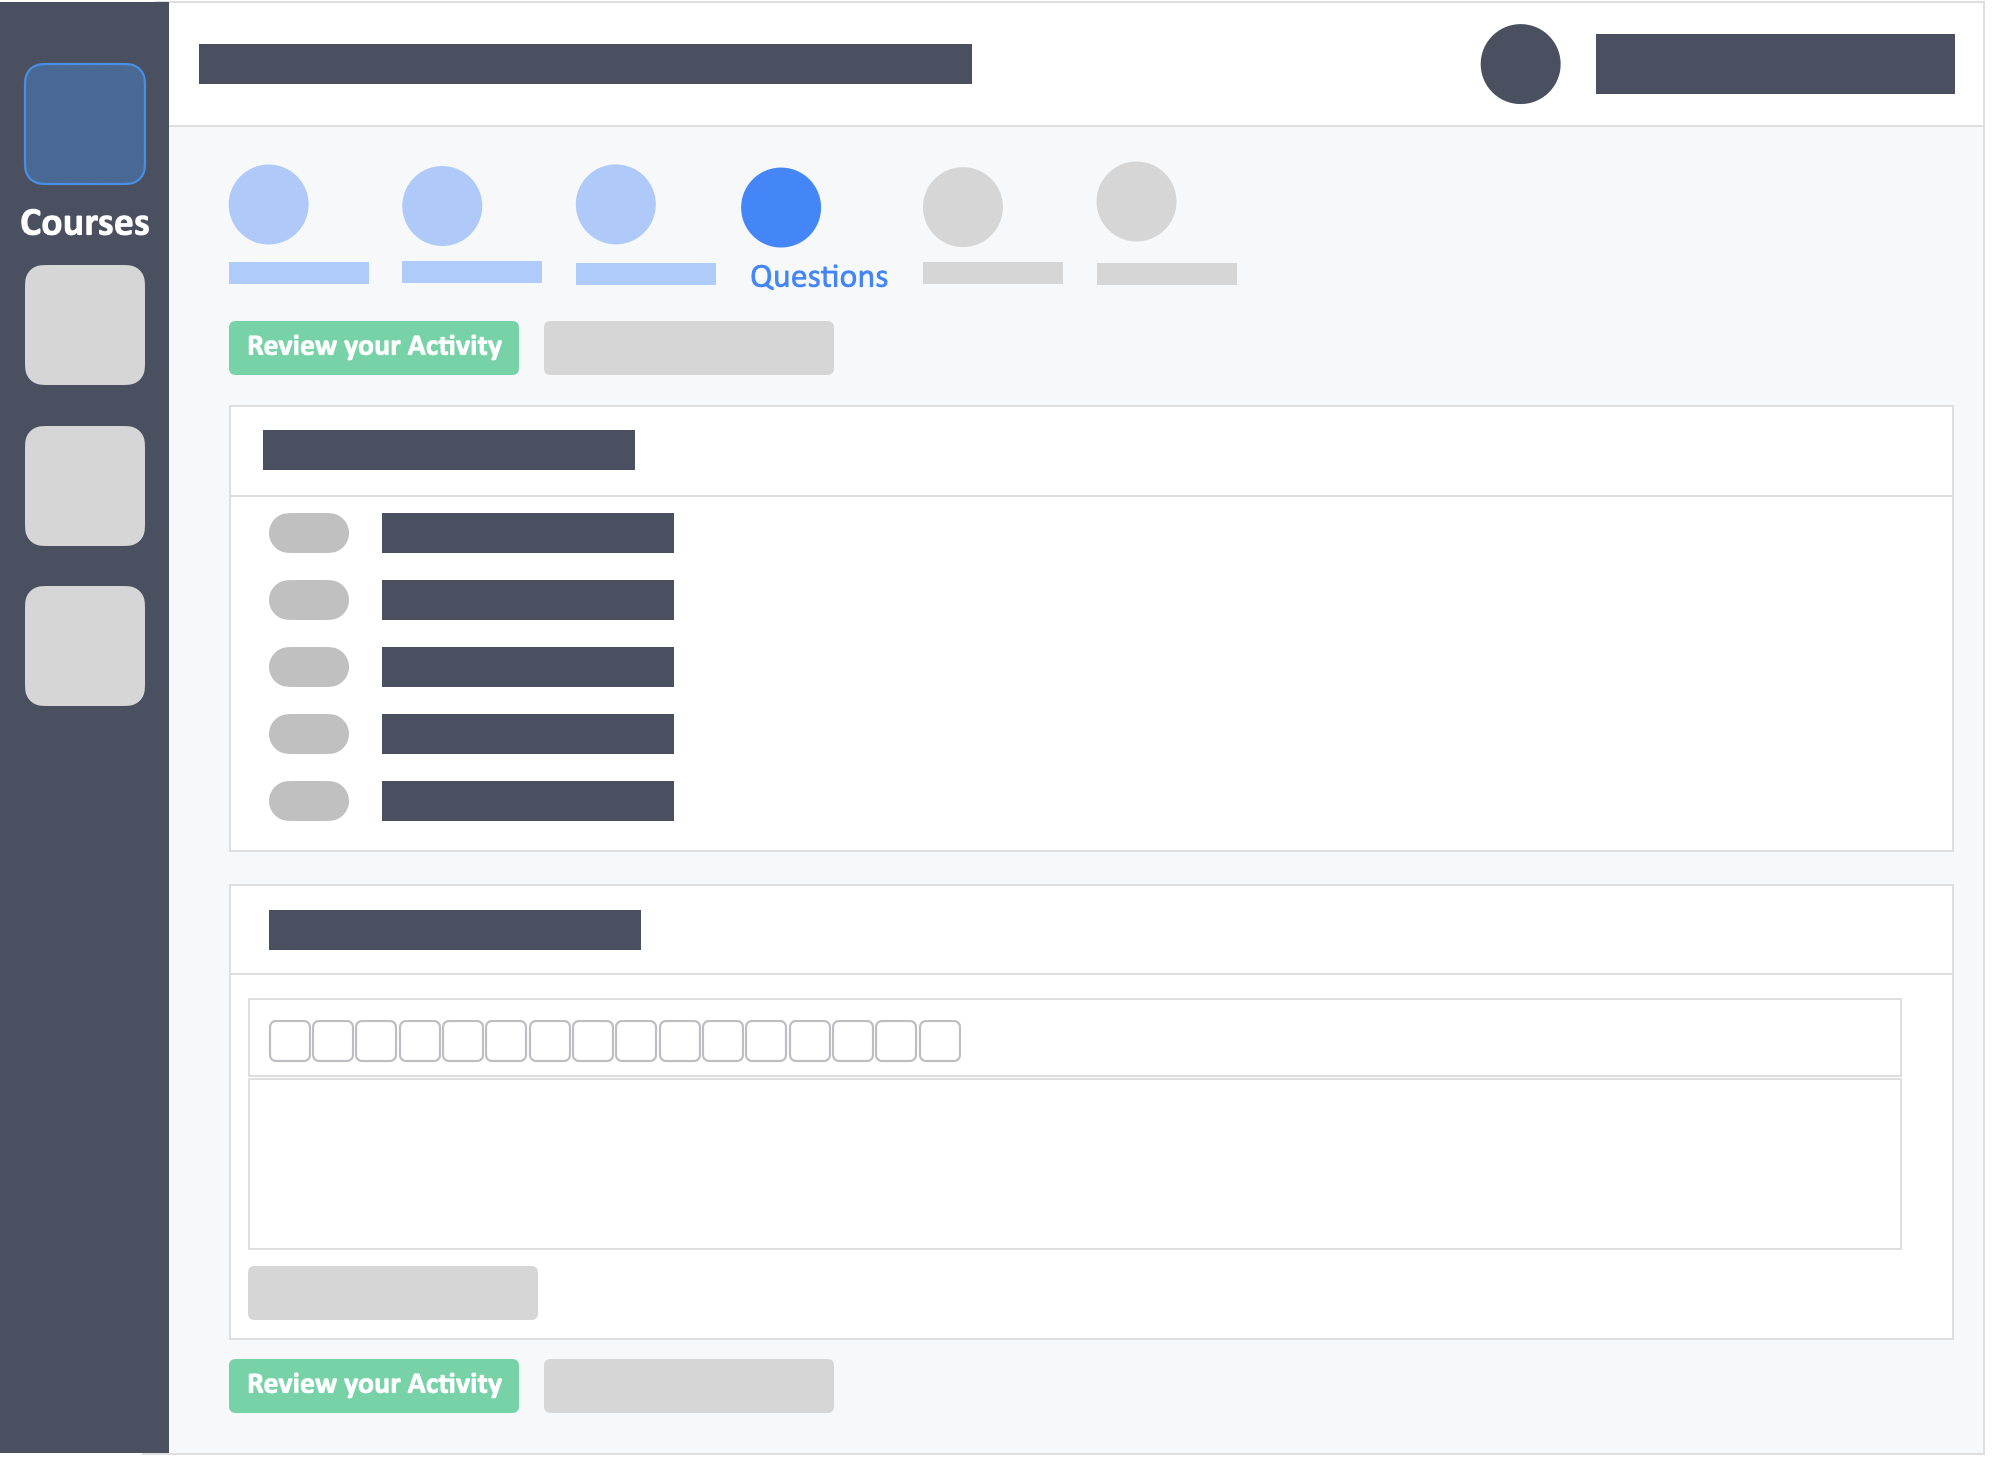
Step 4 – Add questions.
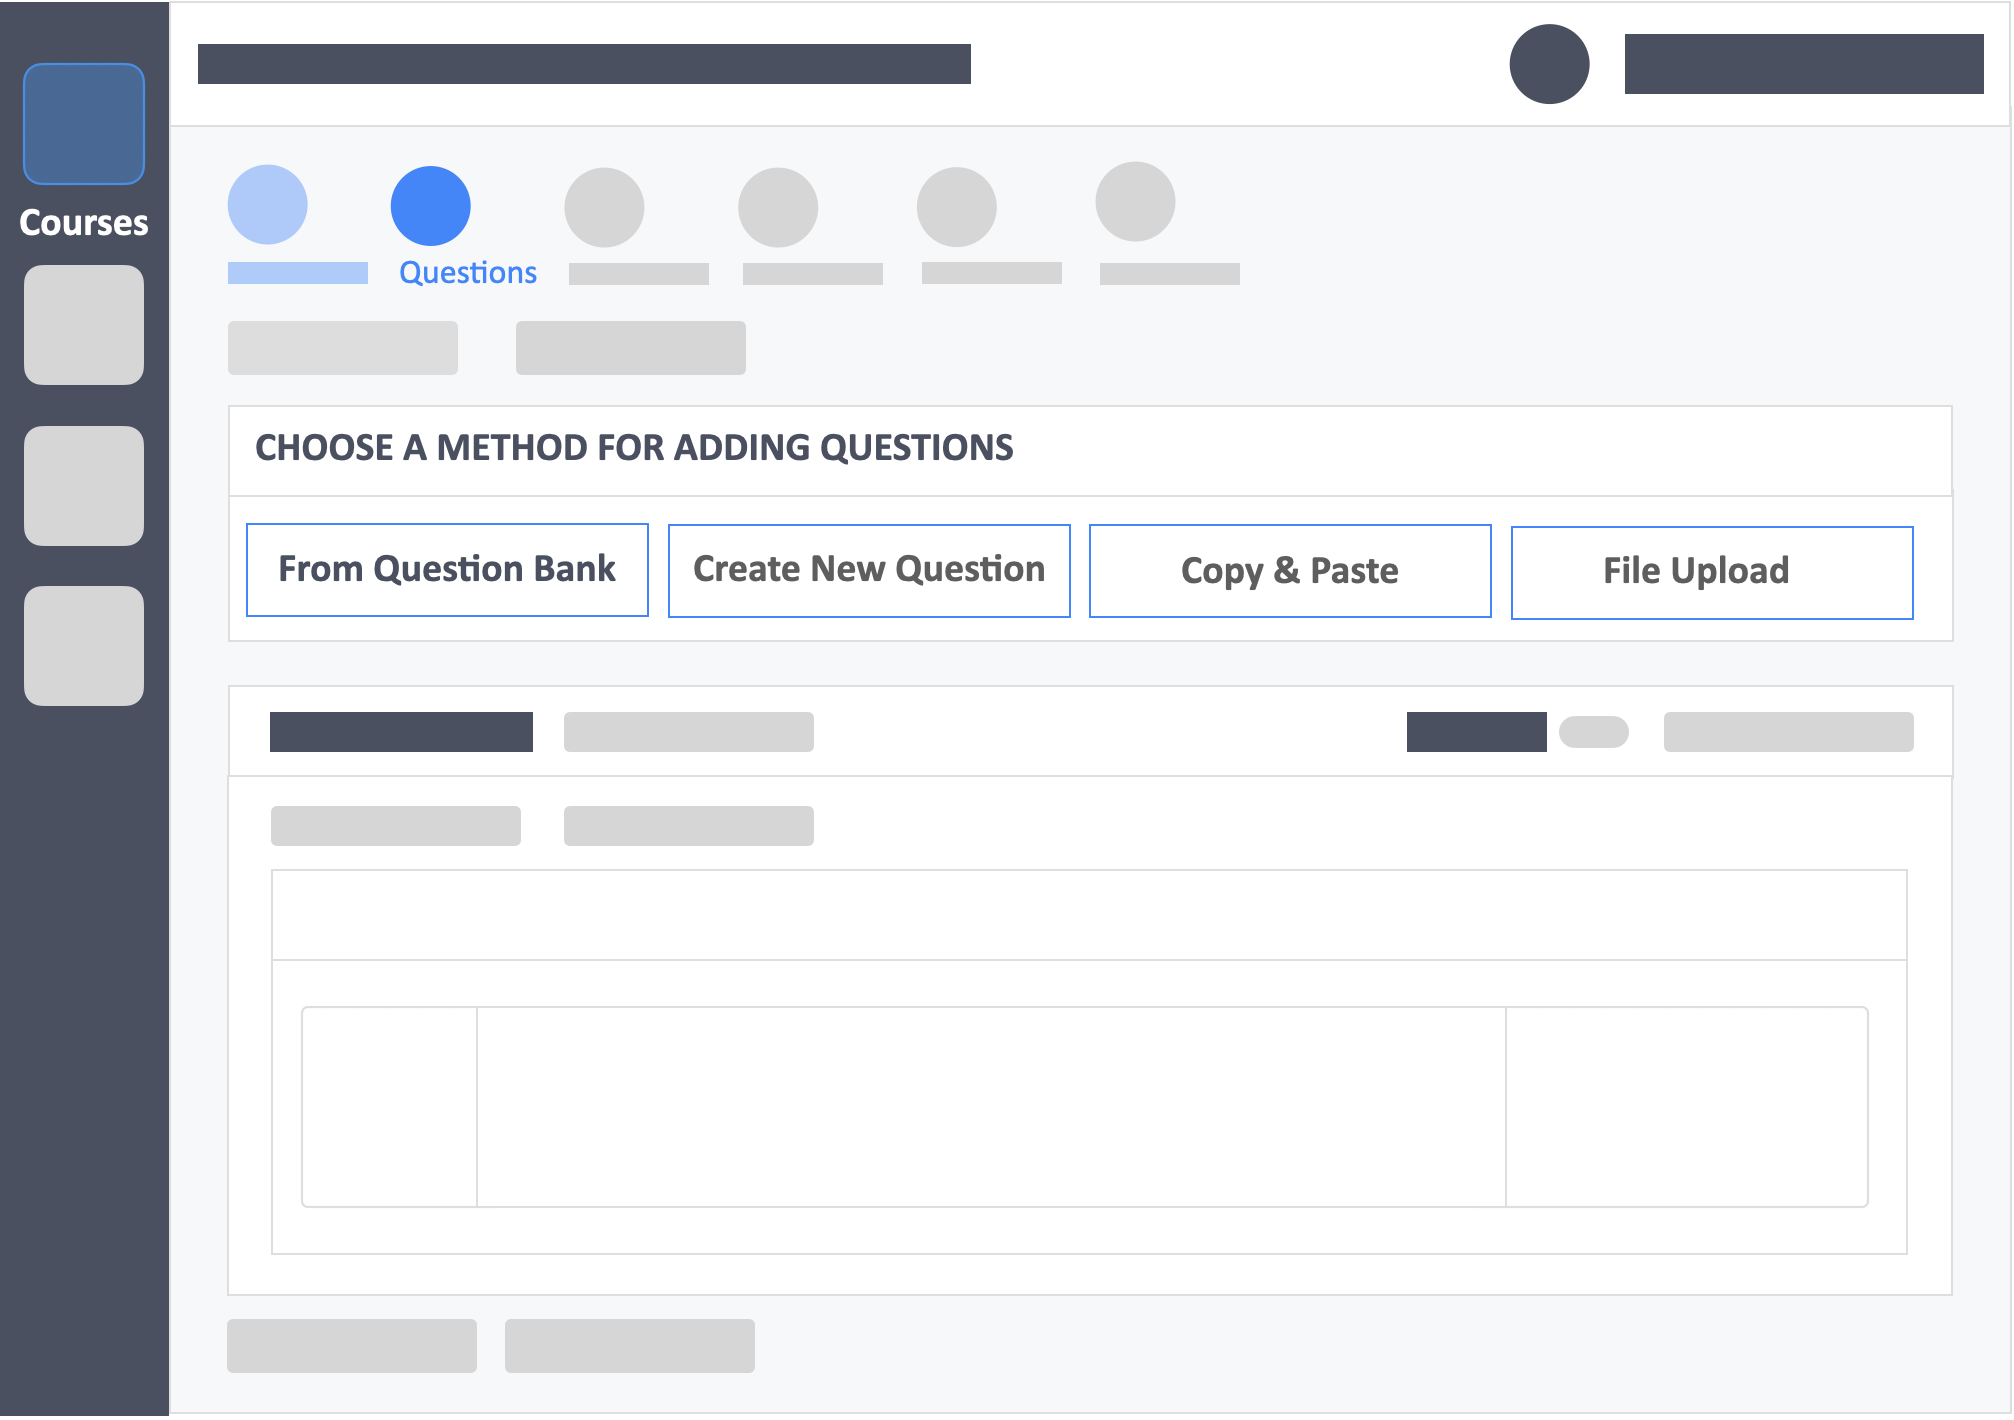
- Choose a method for adding questions:
- Question Bank – These are questions that you have already in your InteDashboard account.
- Create New Question – Add questions one at a time.
- Copy and Paste – Add questions in bulk using CSV file provided
- File Upload – Add questions in bulk using CSV file provided.
- AI Upload (beta) - Add questions using PDF file format.
- Edit questions:
- Export – Saves it as as excel file.
- Preview Activity as a Learner
- Set all in one Page – Puts all questions in one page.
- Create New Page – Creates a new page for the question.
- View Icon - allows you to see the question and correct answer.
- Edit Icon – Allows modification of questions
- Delete Icon – Removes question completely ** This cannot be reversed
- Drag and Drop Icon – Re-order question sequence
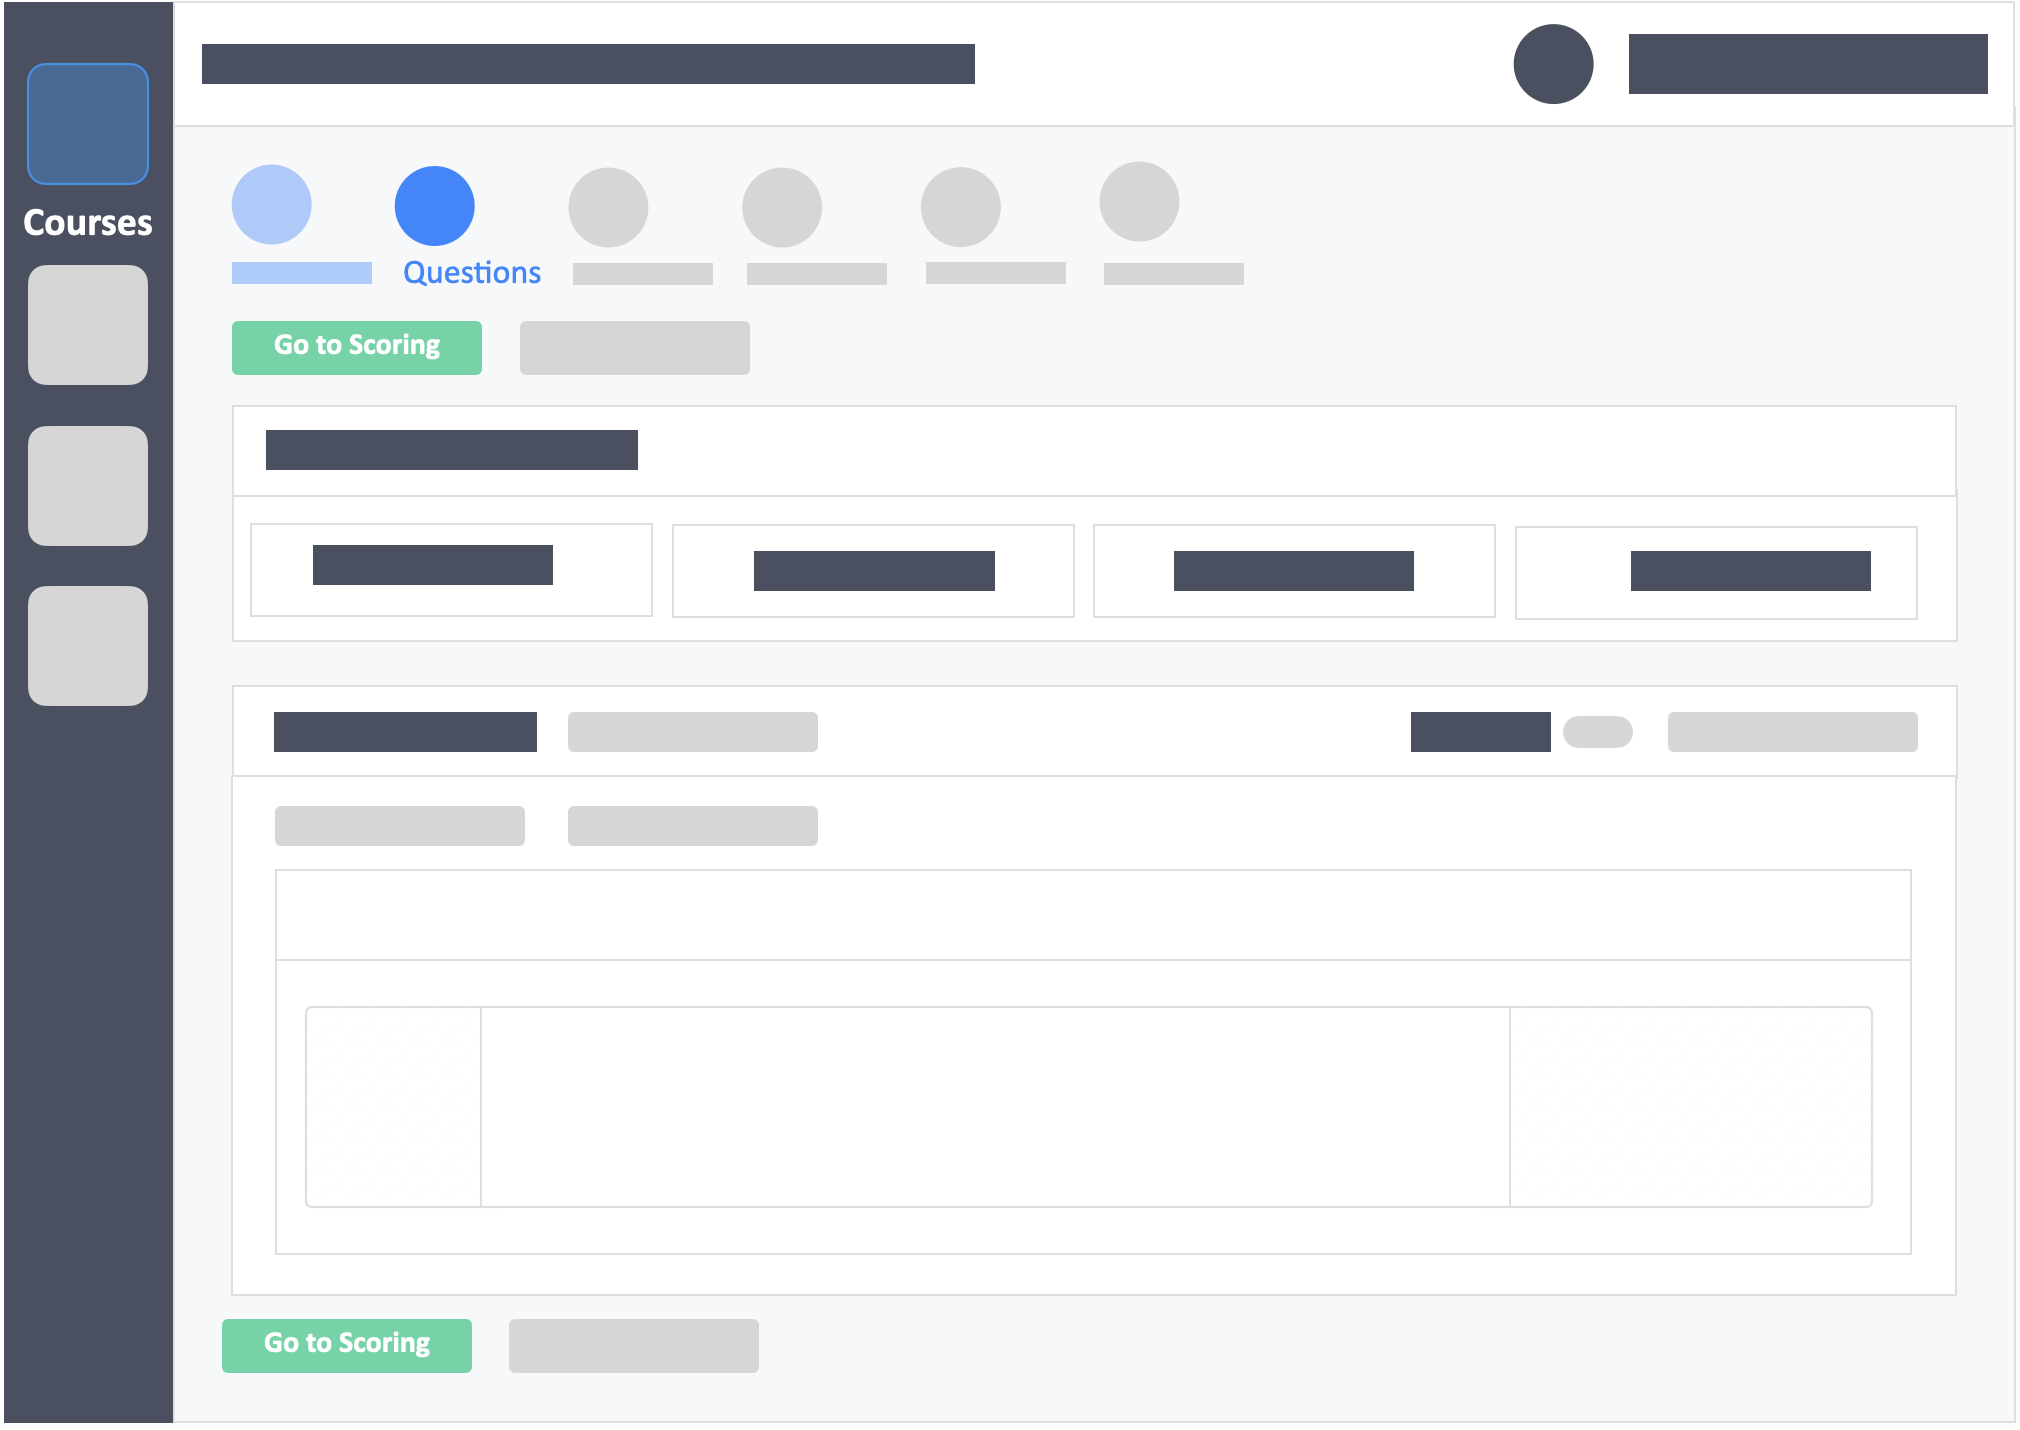
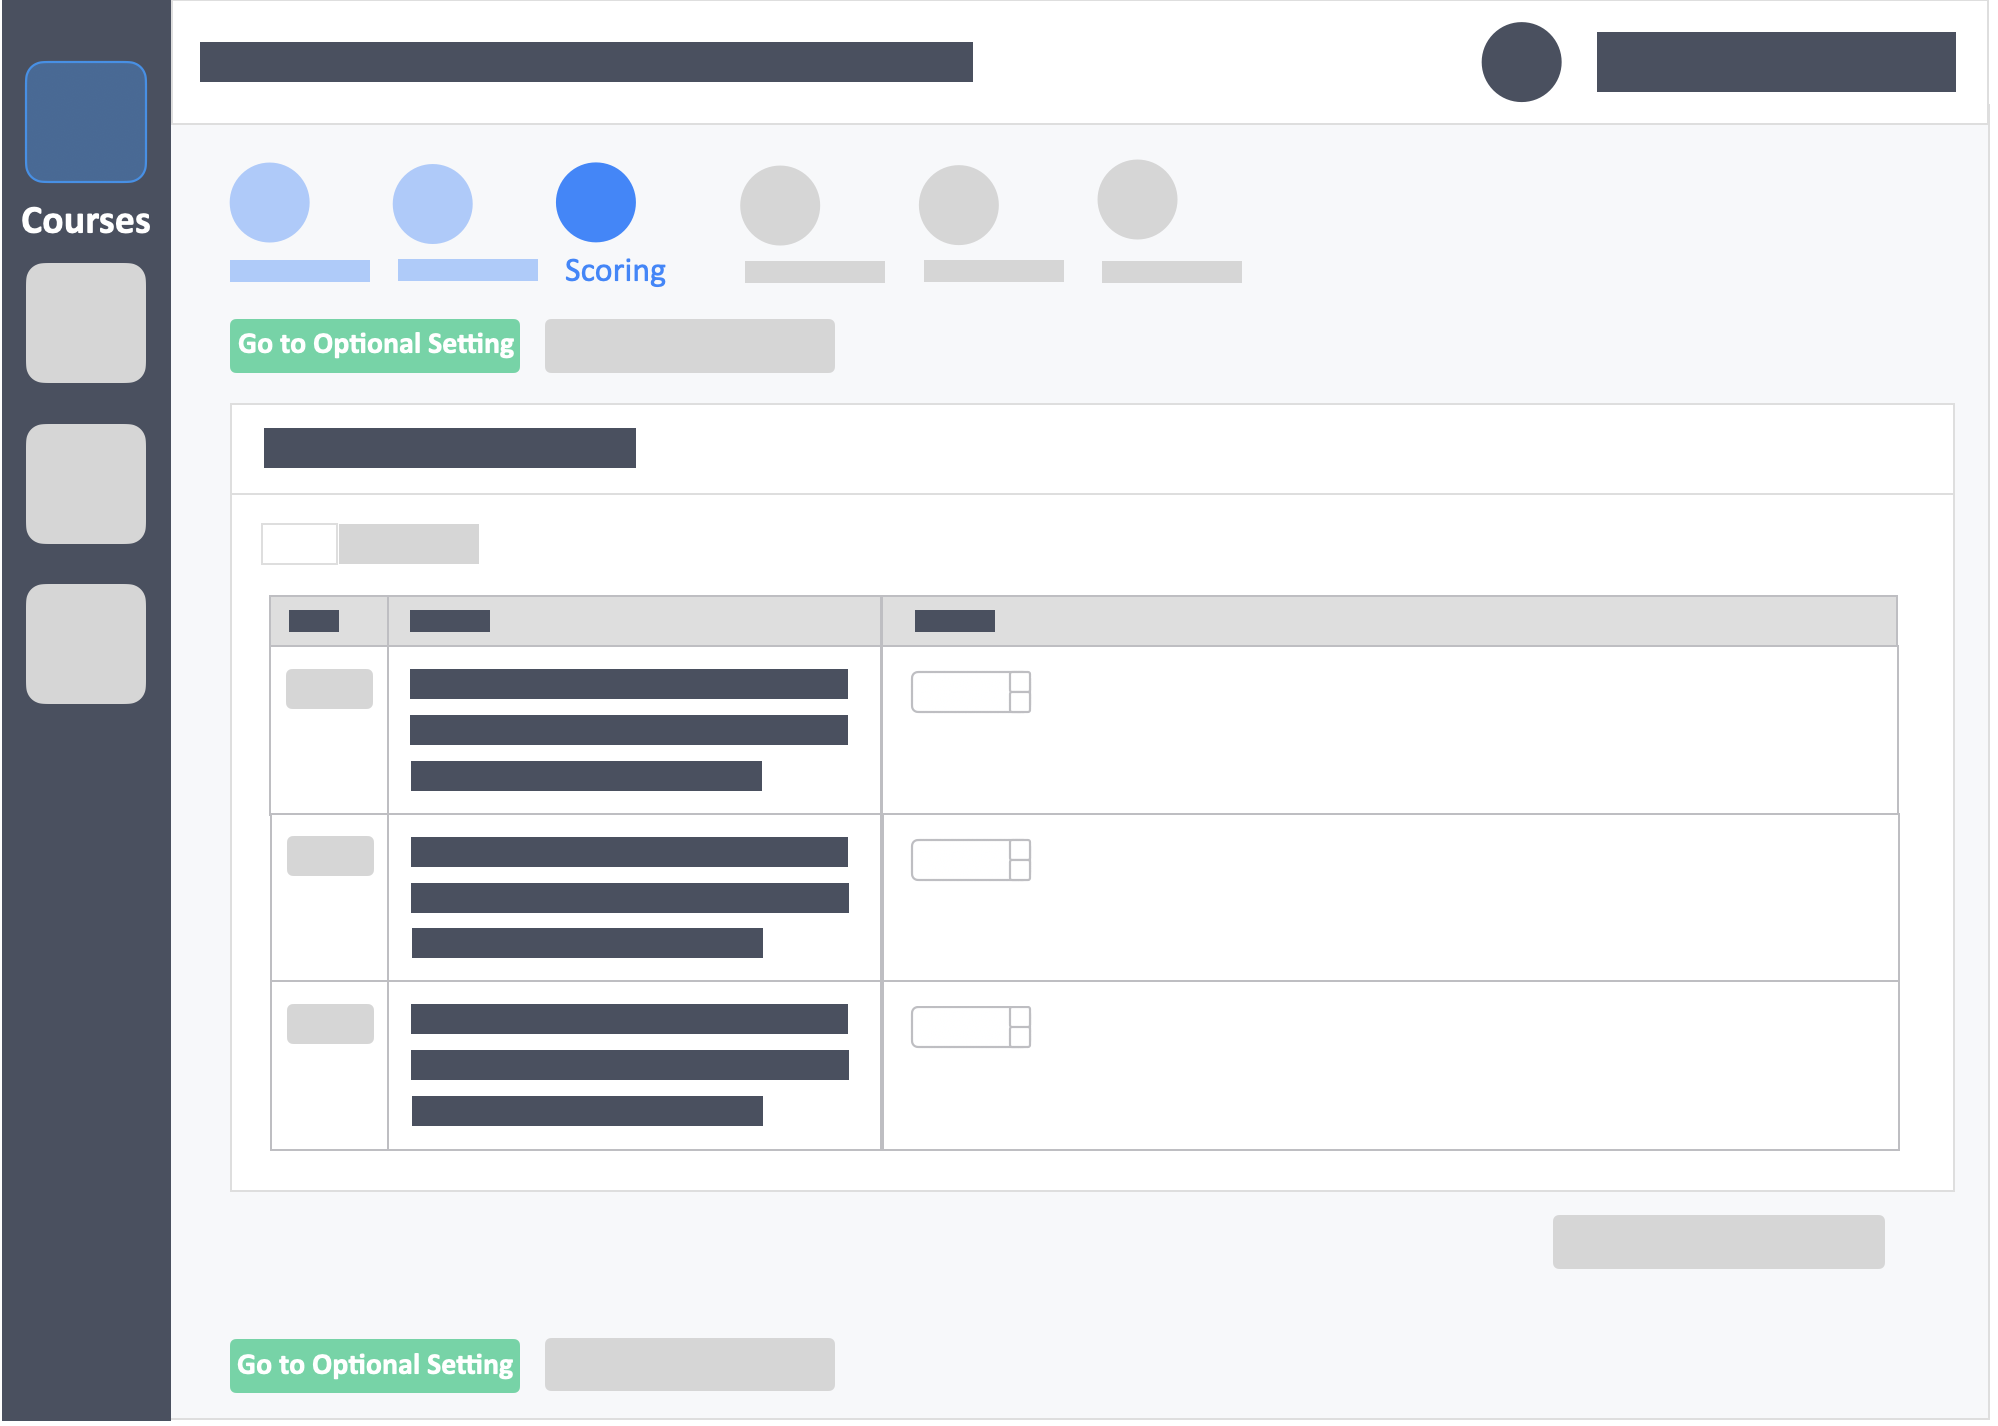
Step 4 – Click the green button “Go to Scoring” on the bottom-left of the page (to save your questions and go to the next step).
Set points for each question. You can set the same point for all questions or set different points for each question. Click on the plus (+) or (-) buttons to add or deduct points per question.
Step 5 – Click the green button “Go to Optional Settings“ on the top-left of the page (to save scores and go to the next step).
- Interaction Settings – (required) select options on how learners will answer the activity.
- Instructions to Learners – (optional) Input or upload instructions for learners.
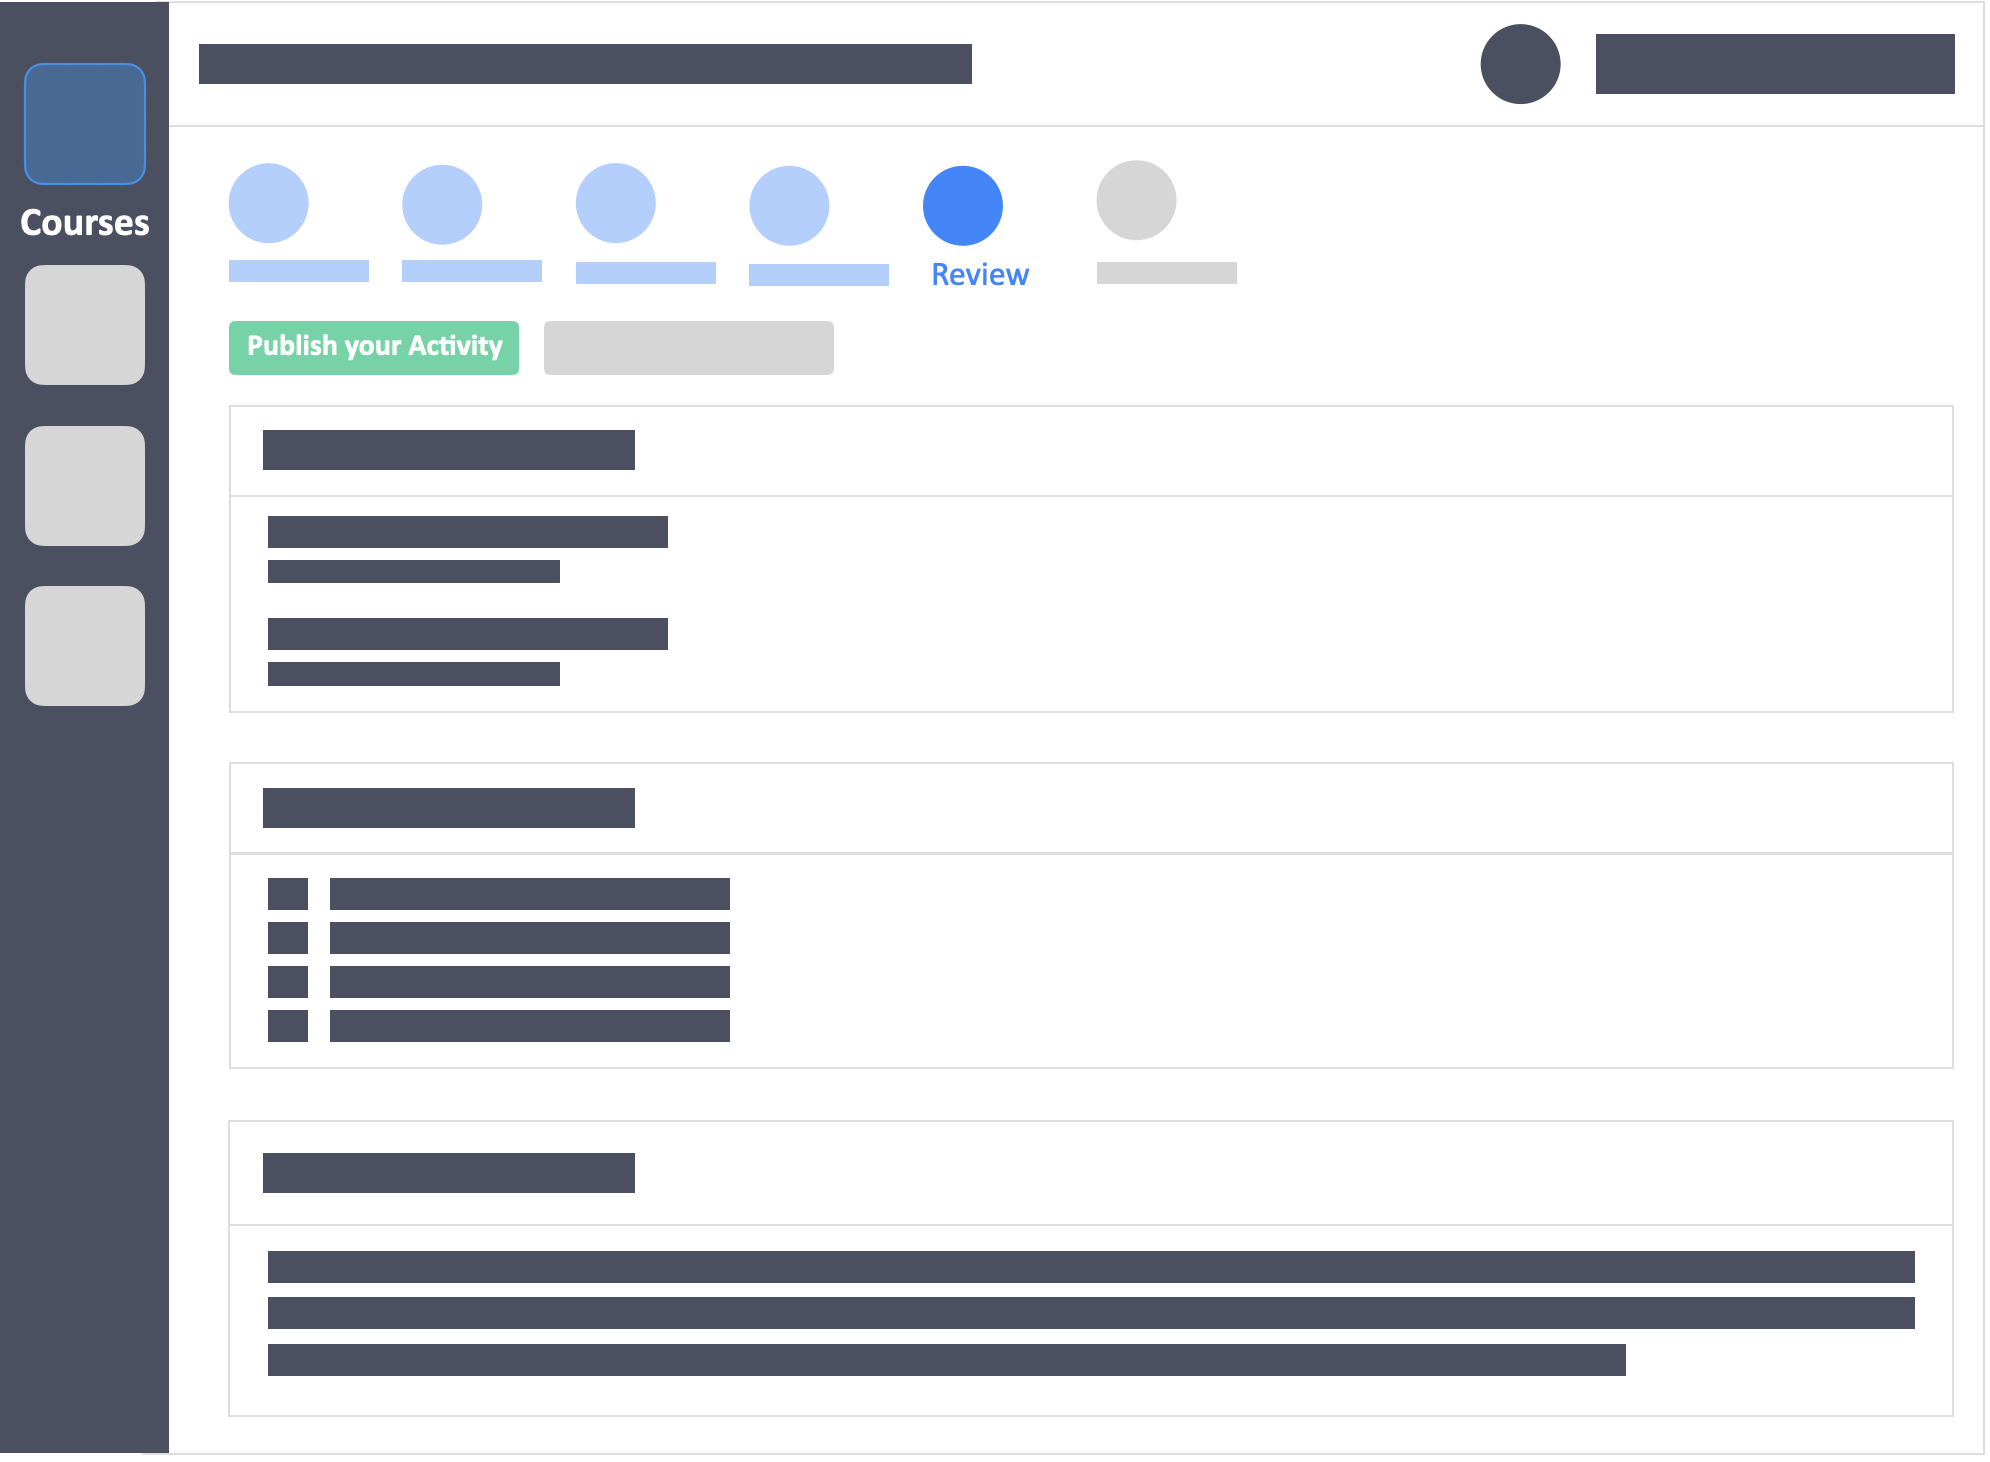
Step 6 – Click the green button “Review Your Activity“ on the top-left of the page (to save settings and go to the next step).
This page will show you all the content and settings of the activity. We recommend that you go over the entire activity and do a final scan before proceeding to publish.
Step 7 – Click the green button “Publish your Activity“ on the top-left of the page to publish the activity.
- Type – (required)
- Activity Duration – (required)
- Learner’s Access Password – (optional)
Once you publish the activity, you won’t be able to go back and change the values set until you reset or duplicate the activity.
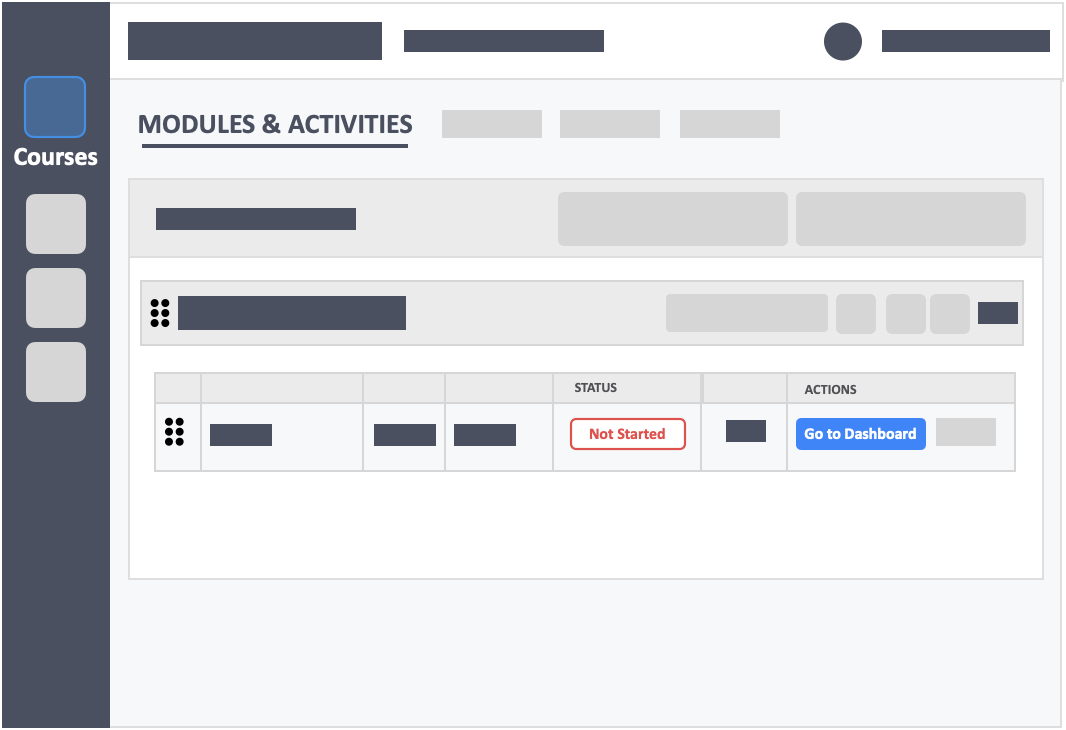
Step 8 – Run Your Activity with learners.
- You’ll be taken back to the Modules and Activities page upon publishing.
- Click the blue button “Go to Dashboard”.
- Start your activity.