This Guide is for:
- Super Admin
- Teacher Admin (Full-Access)
- Teacher (Owner Full-Access)
Steps on How o Create a 360 Degree Evaluation Activity.
Step 1 – Click the button “Courses” on the left-side navigation.
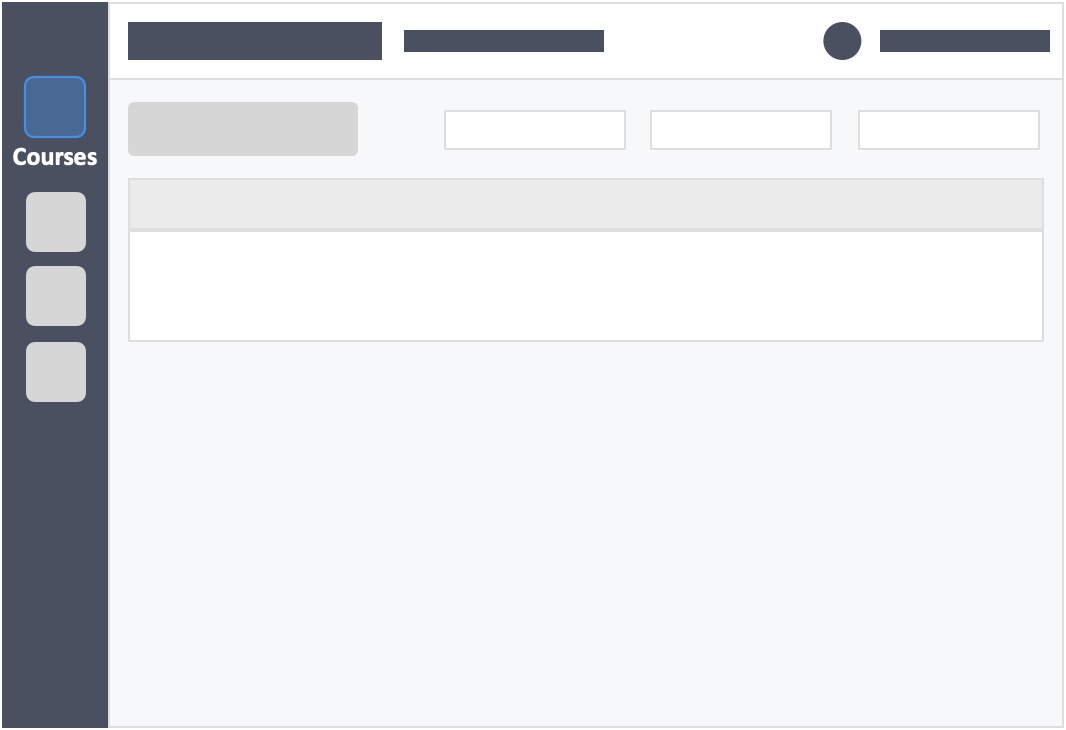
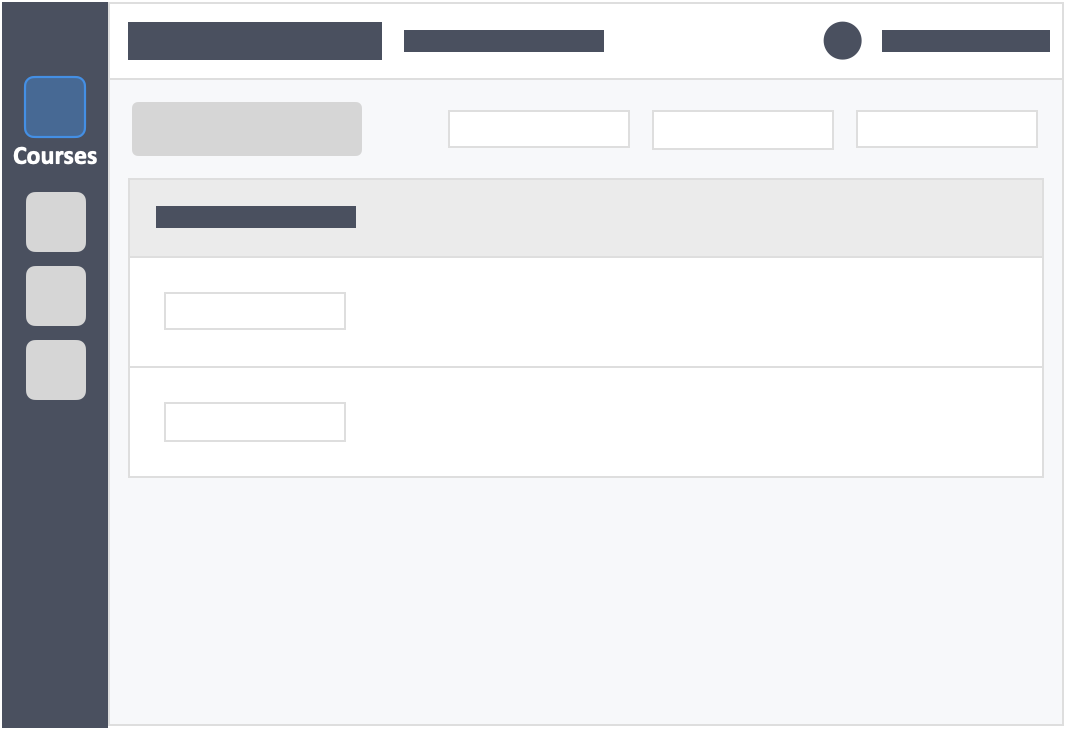
Step 2 – Click on the course you want to add your activity in.
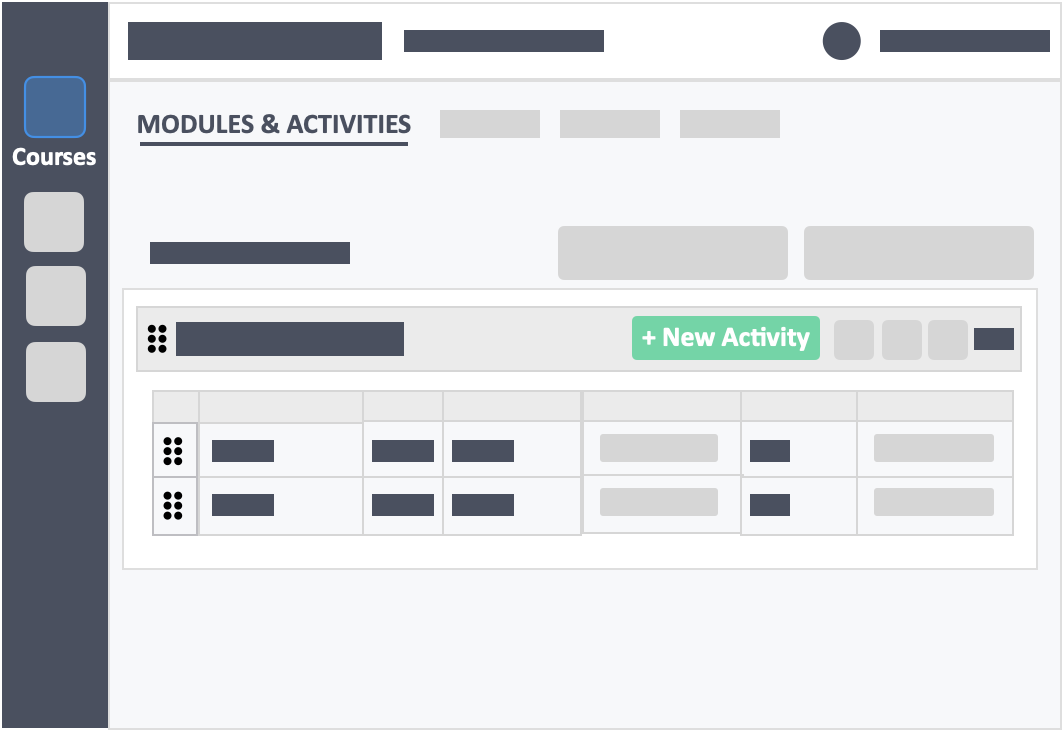
Step 3 – Click the green button “+New Activity“ within the module header you want your activity in.
Step 4 – Fill out the activity details.
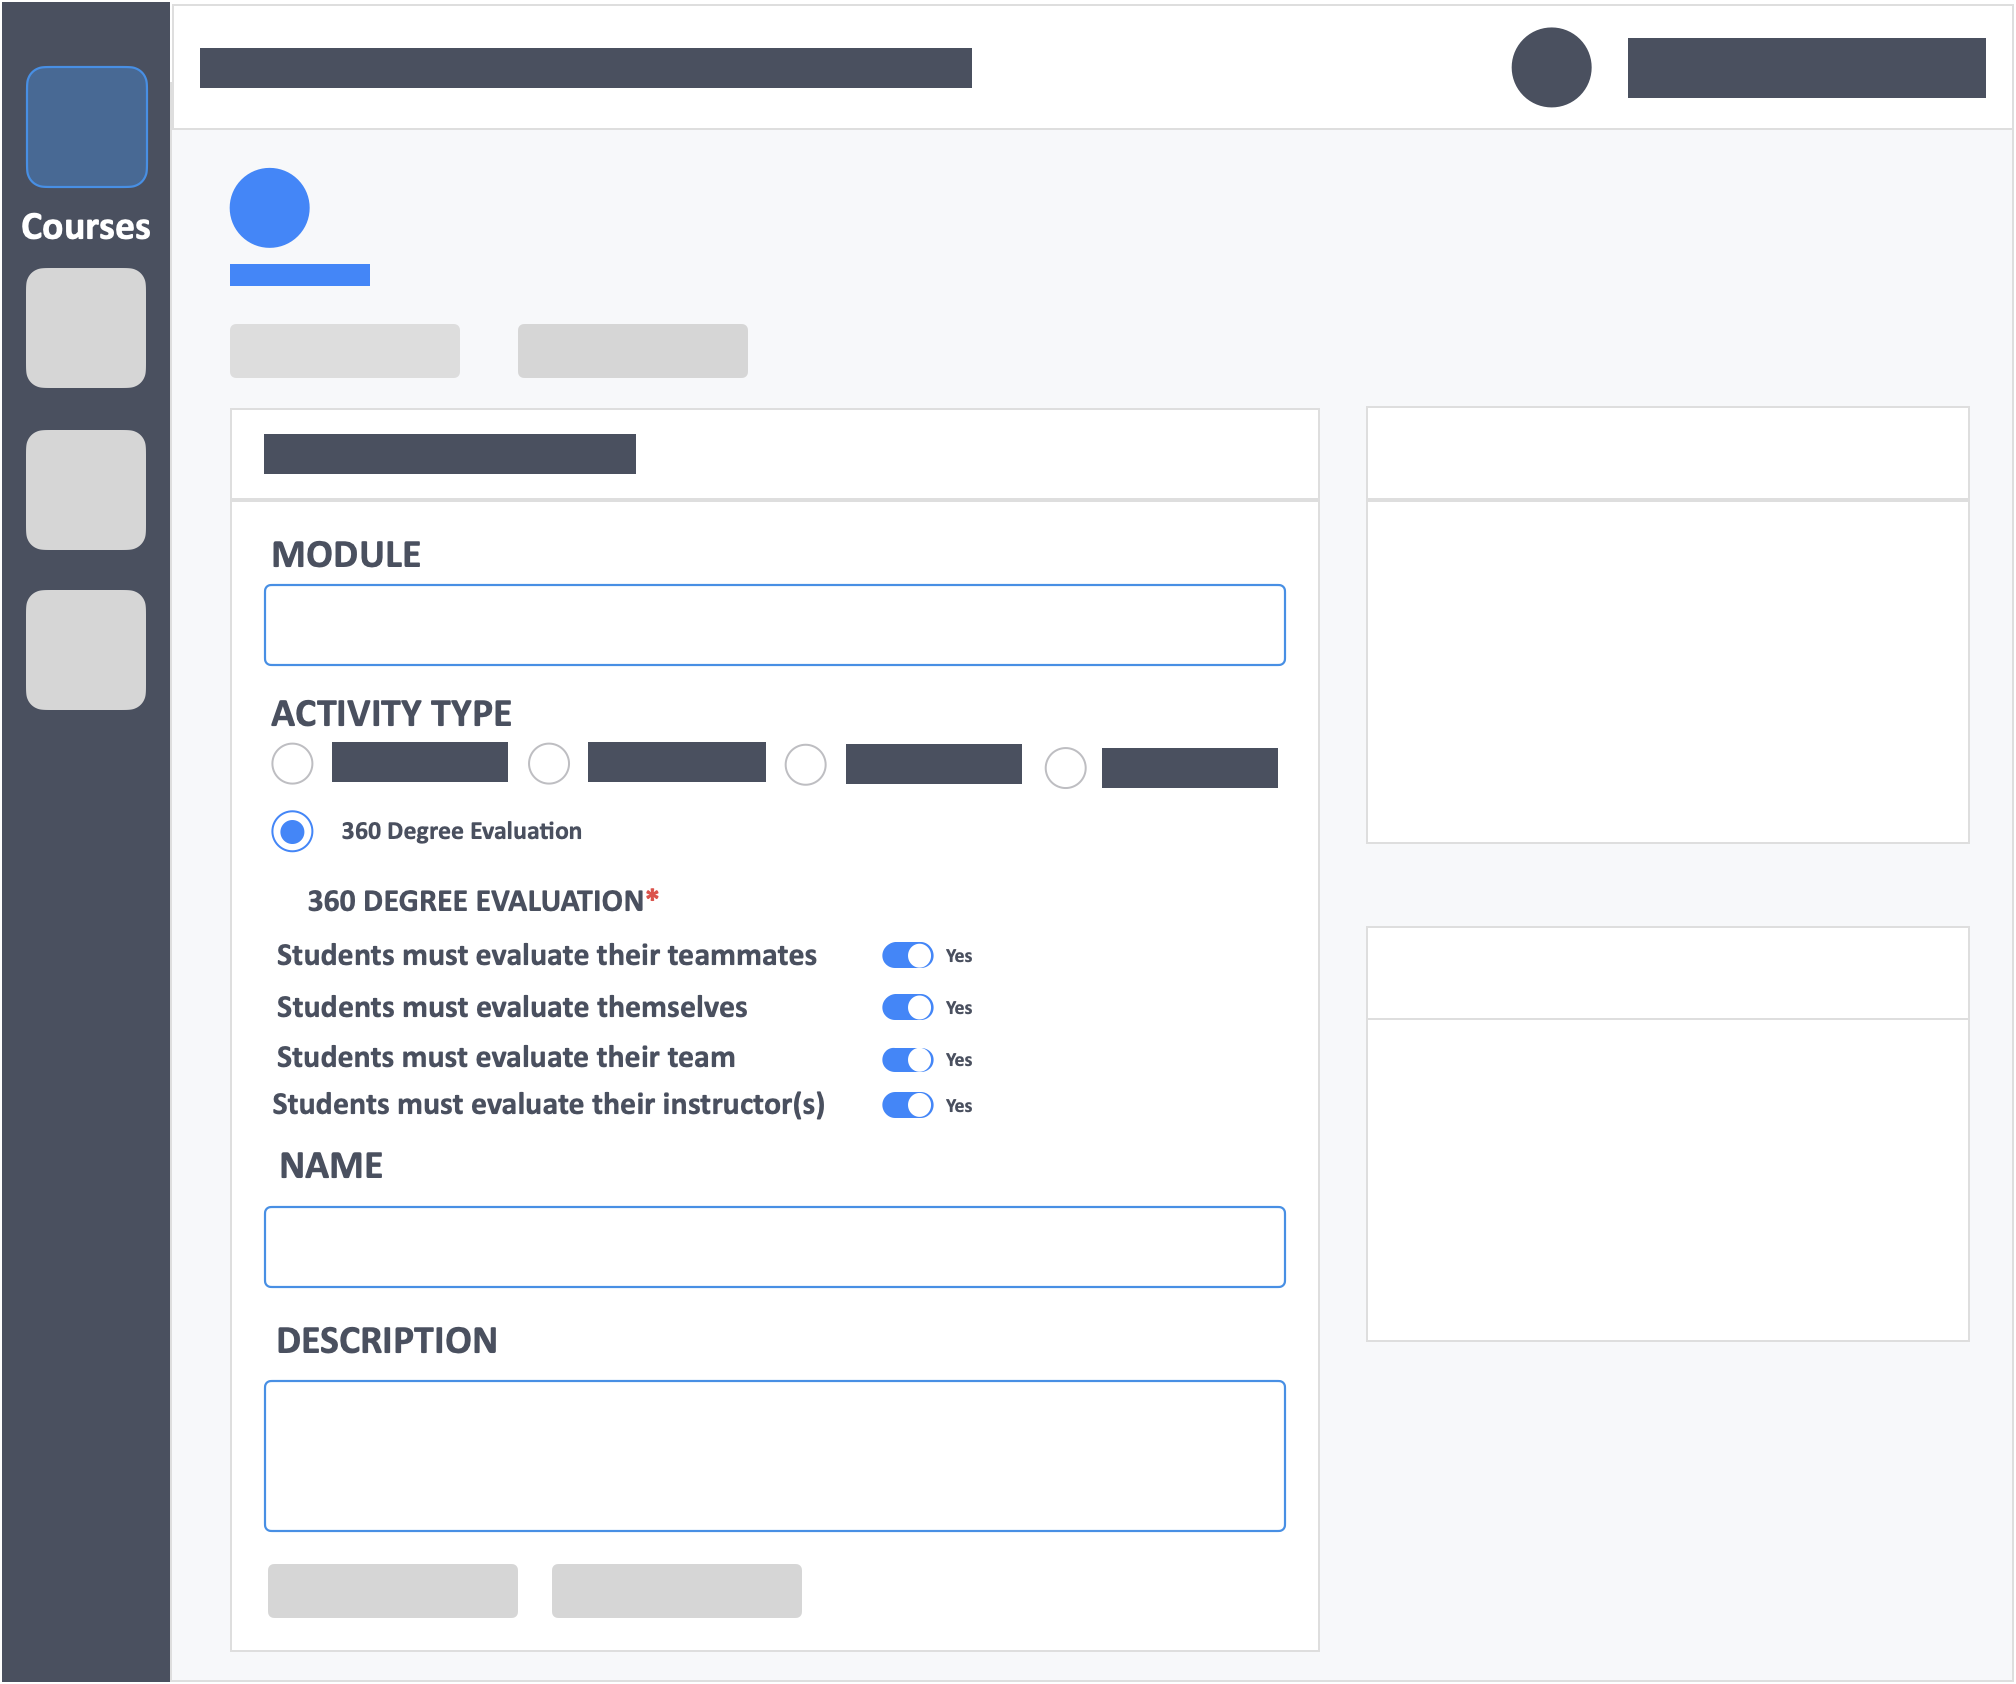
- Module – (required) Click the drop-down to select the module to add activity to.
- Activity Type – (required) Select 360 Degree Evaluation
- 360 Degree Evaluation – (required) Toggle as required.
- Students must evaluate their teammates – toggle this YES if the evaluation questions consist of questions evaluating the performance/conduct of each person in their respective team.
- Students must evaluate themselves – toggle this YES if the you want the learners to evaluate themselves.
- Students must evaluate their team – toggle this YES if the evaluation questions are aimed to evaluate the performance/conduct of their team as a whole.
- Students must evaluate their instructors – toggle this YES if the evaluation questions consist of questions that will evaluate the instructors/teachers/professors/facilitator.
- Name – (required) This is the name of the activity you are teaching.
- Description – (optional) Concise statements which informs a learner about the subject matter, approach, scope, and applicability of the activity. This could include learning objectives or any details you would like to reference.
Step 5 – Click the green button “Go to Questions” on the bottom-left of the page (to save basic settings and go to the next step).

Step 6 – Add your questions.
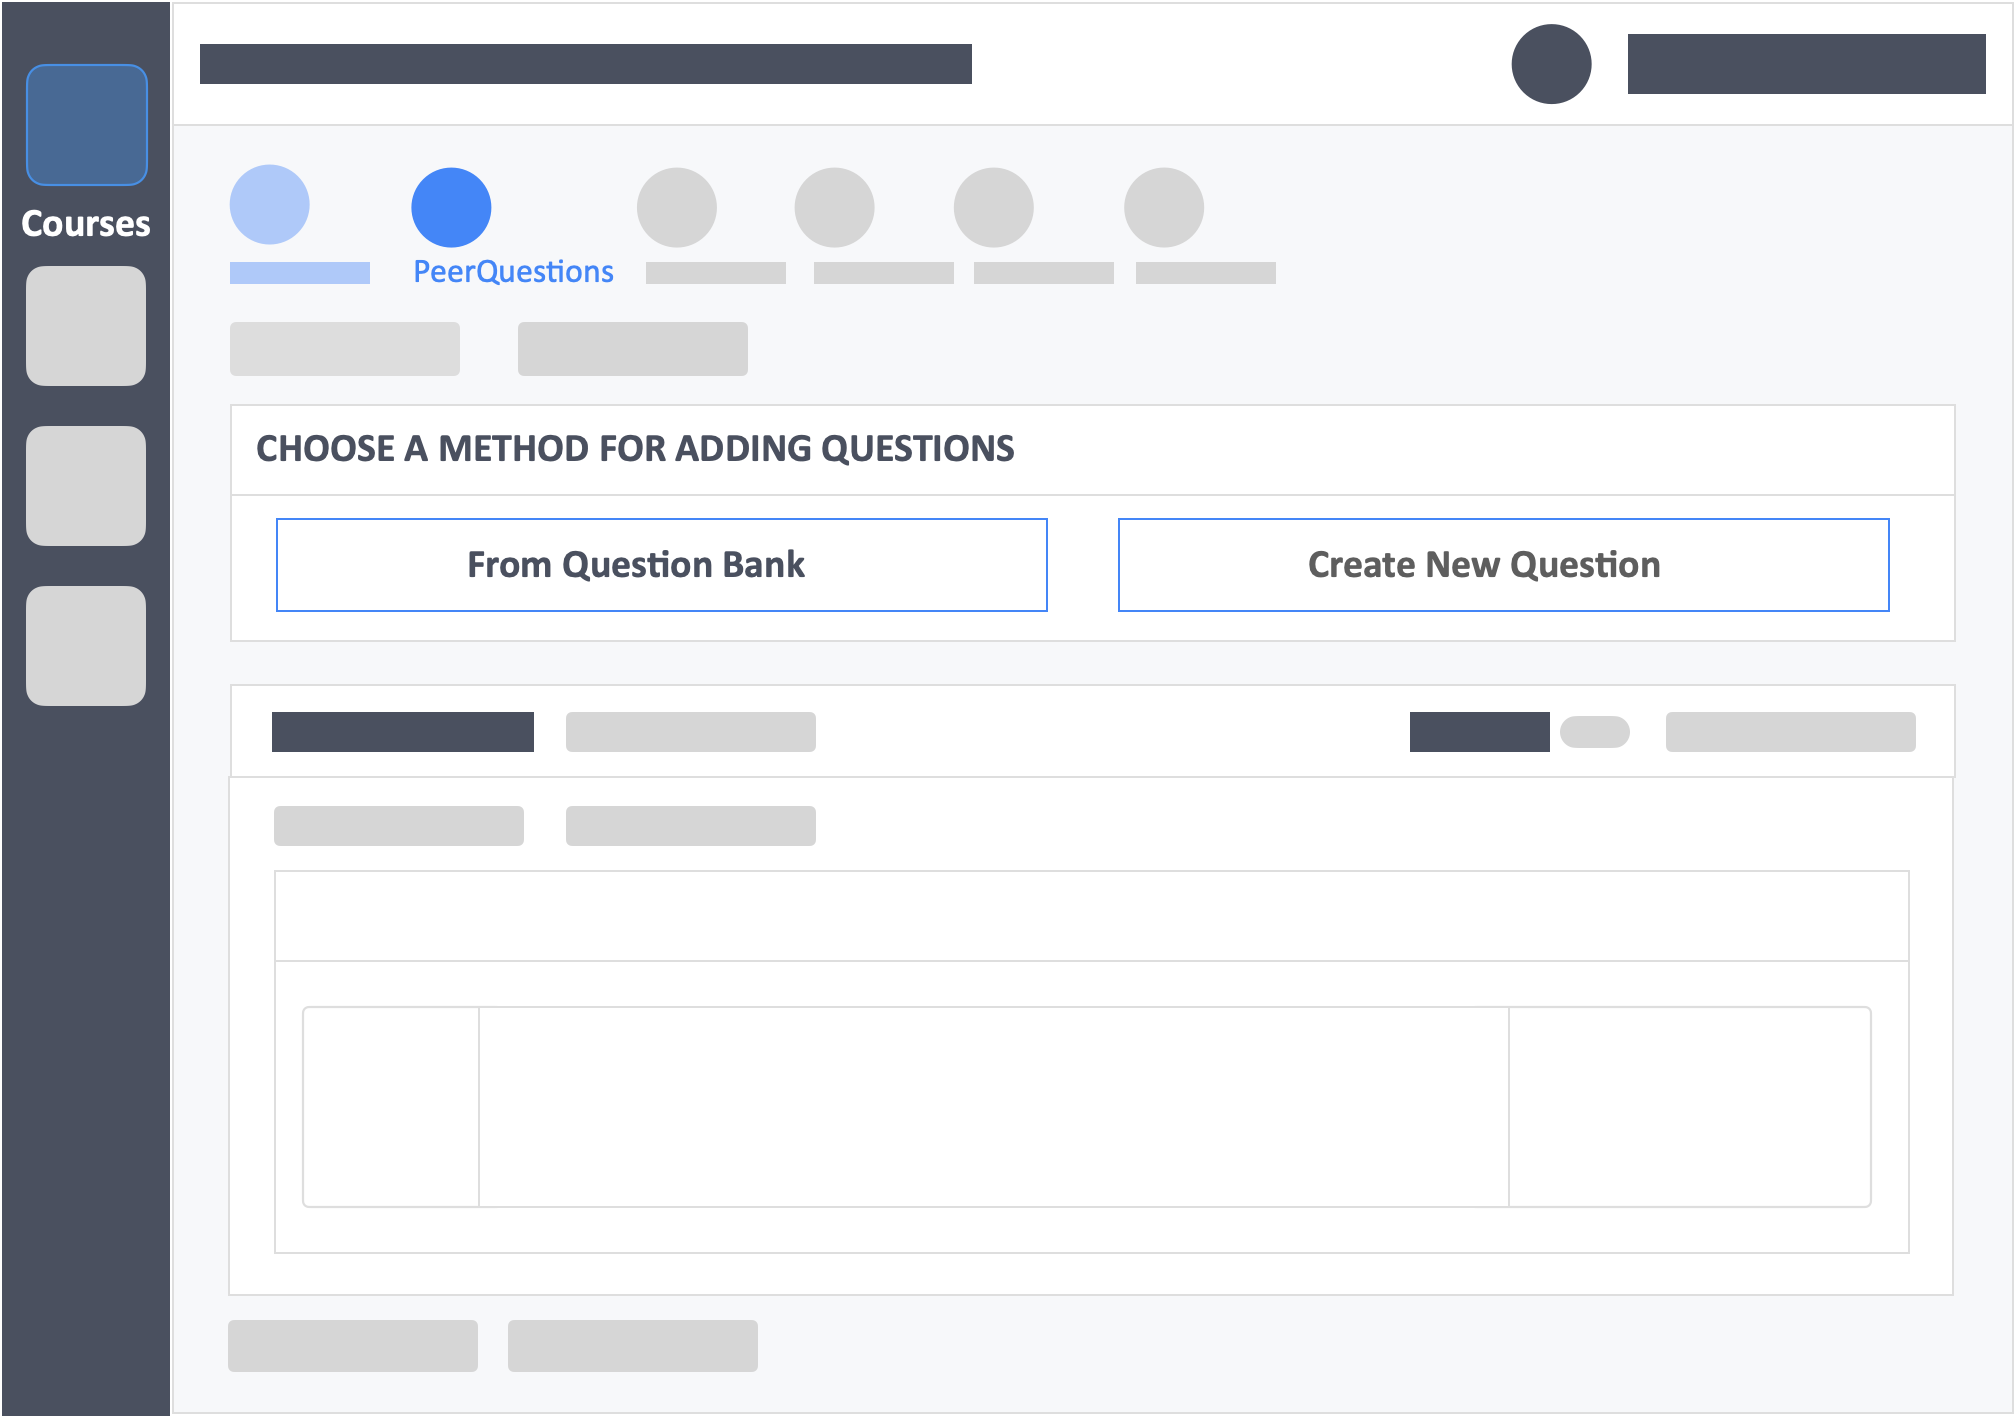
- Choose a method for adding questions:
- Question Bank – These are questions that you have already in your InteDashboard account. –Click link to learn how
- Create New Question – Add questions one at a time. –Click link to learn how
Step 7 – Click the green button “Go to Team Questions / Go to Instructor Questions” on the bottom-left of the page (to save basic settings and go to the next step).
- “Peer Questions” page will only appear when you toggle “Students must evaluate their teammates” and/or “Students must evaluate themselves” in the Basic Settings.
- “Team Questions” page will only appear when you toggle “Students must evaluate their team“.
- “Instructor Questions” page will only appear when you toggle “Students must evaluate their instructors“.
Step 8 – Click the green button “Go to Optional Settings“ on the top-left of the page (to save questions and go to the next step).
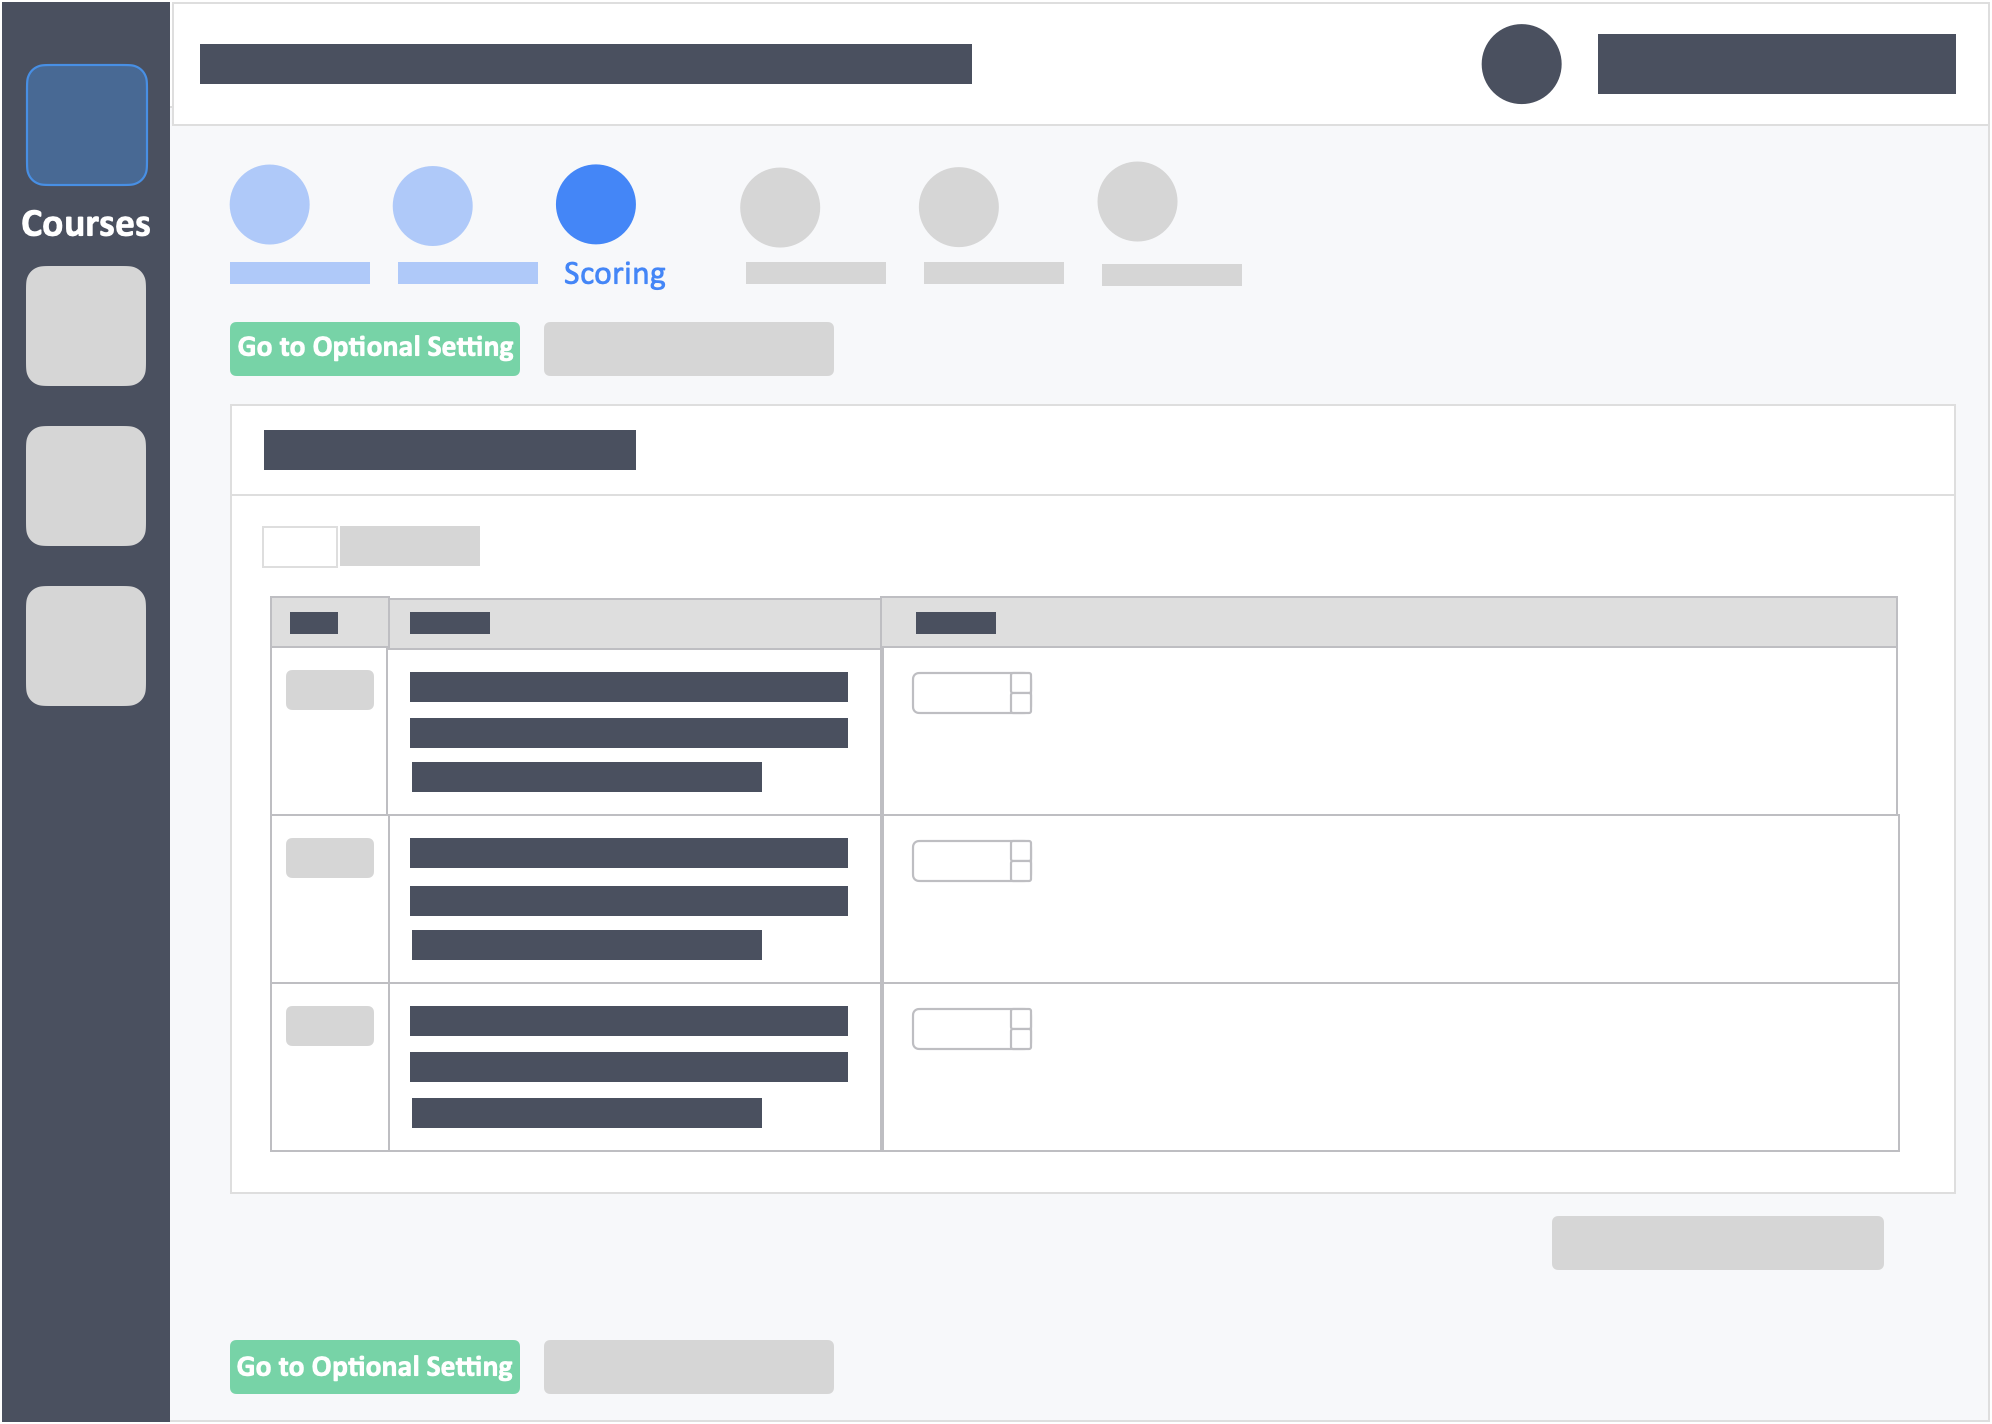
Step 9 – Set the Optional Settings.
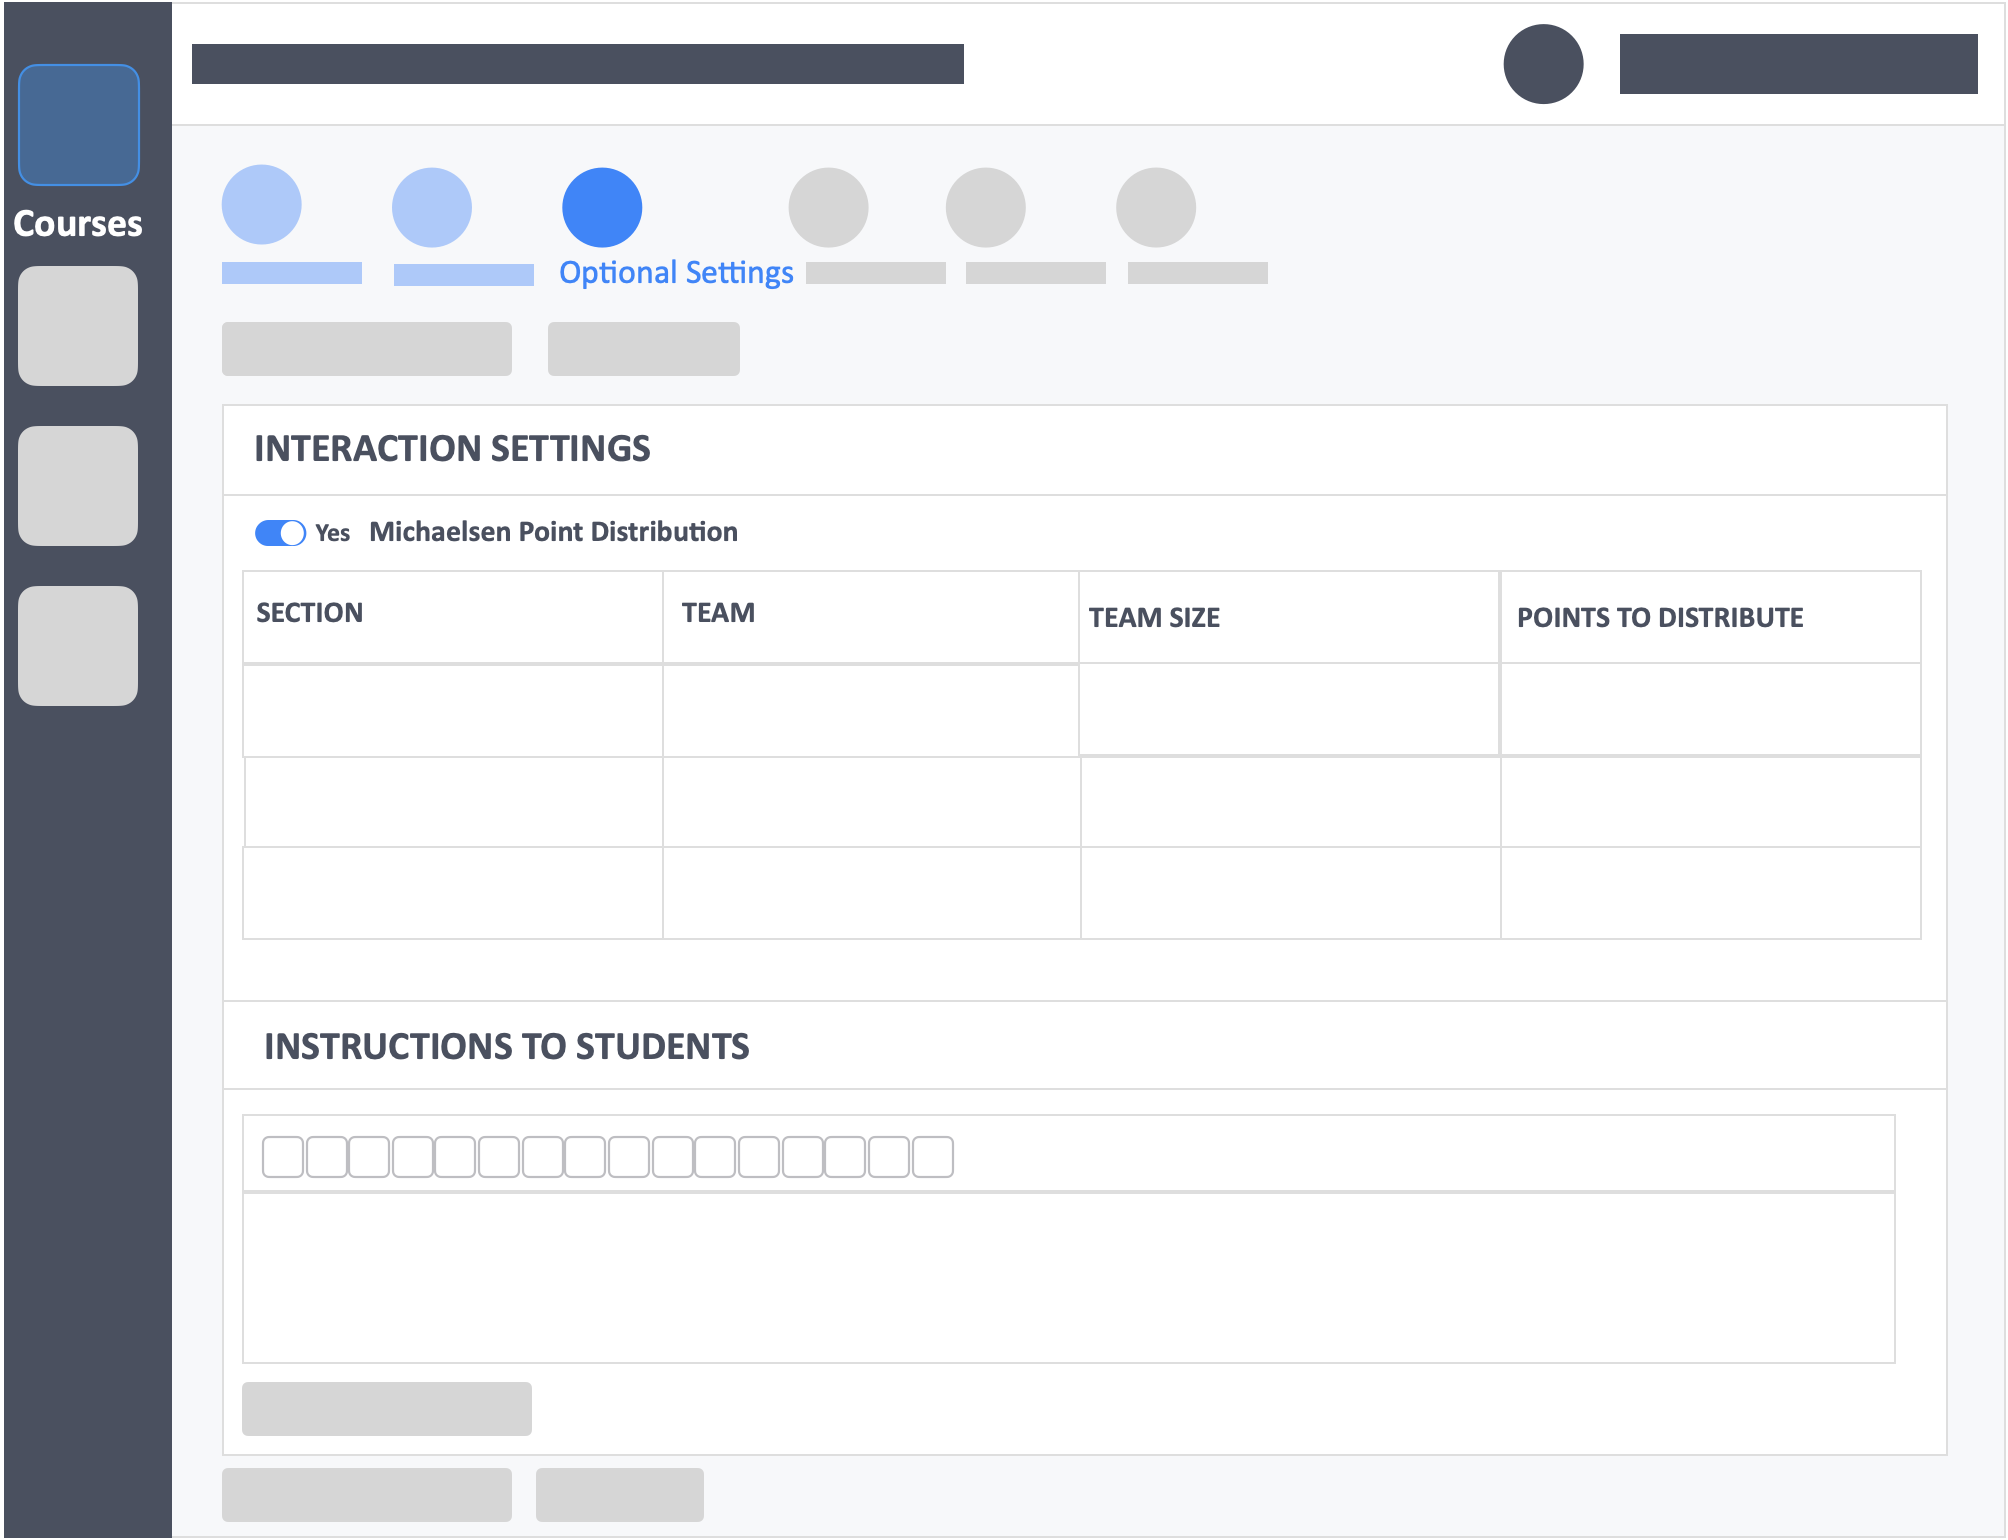
- Optional Settings for the 360 Degree Evaluation involve Michelsen Point Distribution.
- Toggle Michelsen Point Distribution YES/NO.
- Instructions to Students – Add instructions or upload attachments if any.
Step 10 – Click the green button “Review Your Activity“ on the top-left of the page (to save settings and go to the next step).
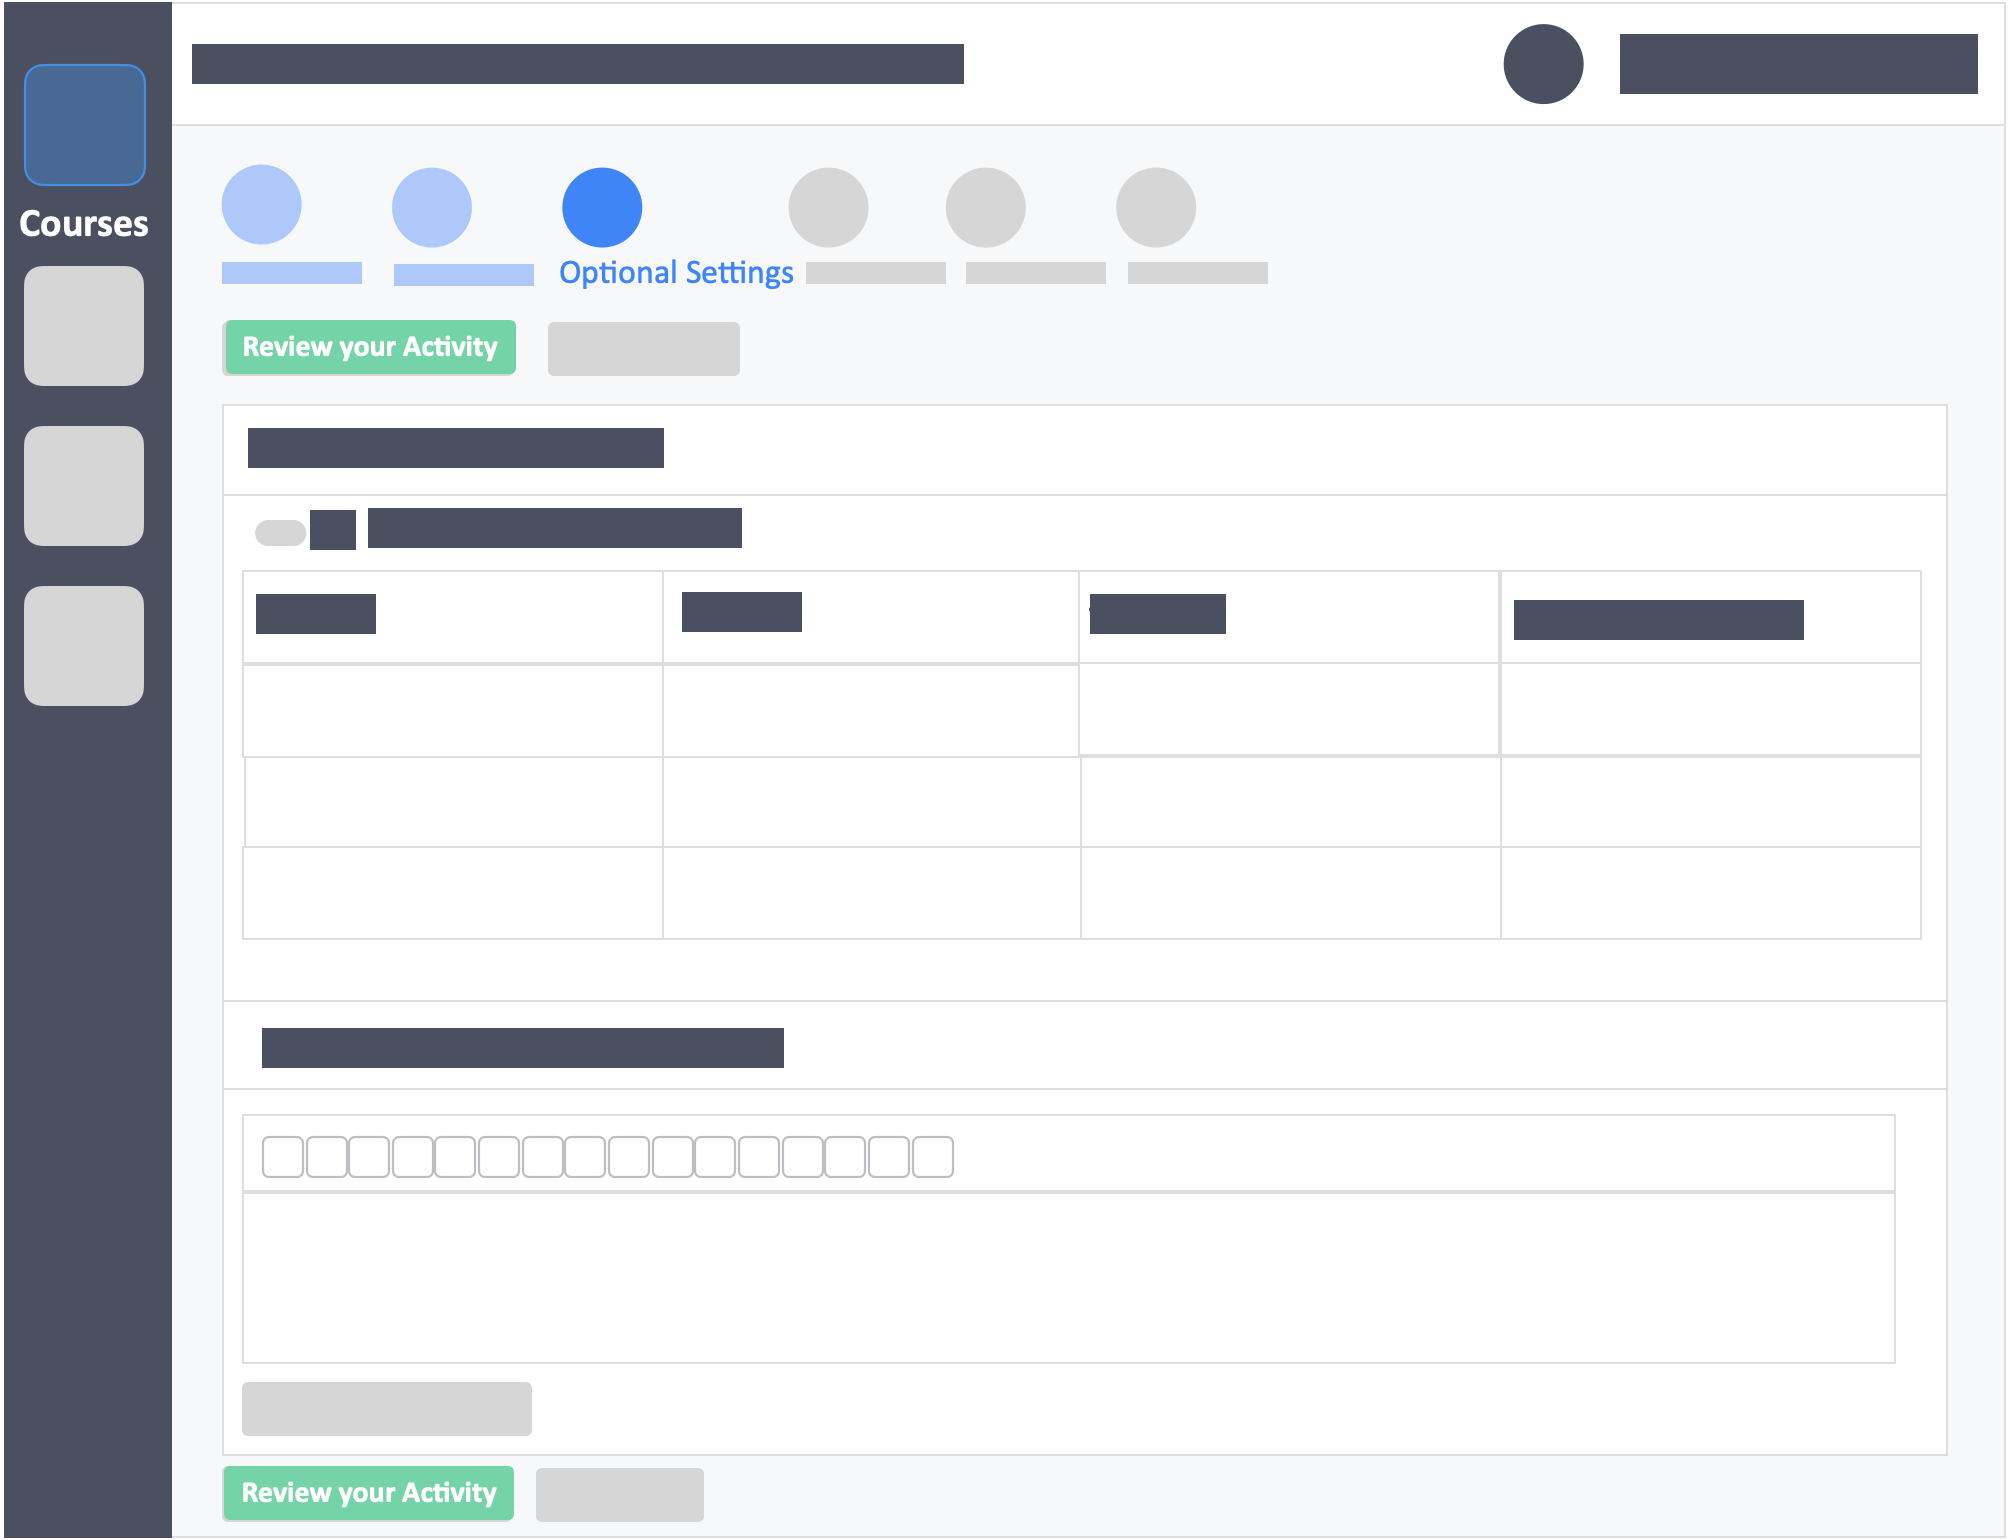
- Take the time here to review the content and settings of your 360 Degree Evaluation activity. From this page, you’ll be able to edit any part of your activity, or you can click on the steps above (in blue) to go back to any part of the activity.
- Do not forget to click the green button “Update” in each block to save your edits in this page.
Our recommendations
This page will show you all the content and settings of the activity. We recommend that you go over the entire activity and do a final scan before proceeding to publish.
Step 11 – Click the green button “Publish your Activity“ on the top-left of the page to go to next step.

- Type – (required)
- Synchronous – All learners will take the test at the same time.
- Activity Duration- You can choose to set a time limit or not.
- Asynchronous – Set the open period.
- Learners will be able to enter and START this activity anytime within the open period.
- Synchronous – All learners will take the test at the same time.
- Learner’s Access Password – (optional)
Additional Information
- When you set a time limit, for example “20 mins”, this means that teams/learners will have 20 minutes to answer the test and then they’ll be automatically locked from the test once 20 minutes is finished. (Note that you can extend the test duration from the dashboard.)
- No time limit – This means that teams/learners will be able to answer the test indefinitely until the instructor clicks the “End Activity” button from the dashboard.
Step 12 – Click the green button “Publish Activity” on the top-left of the page to publish the activity.
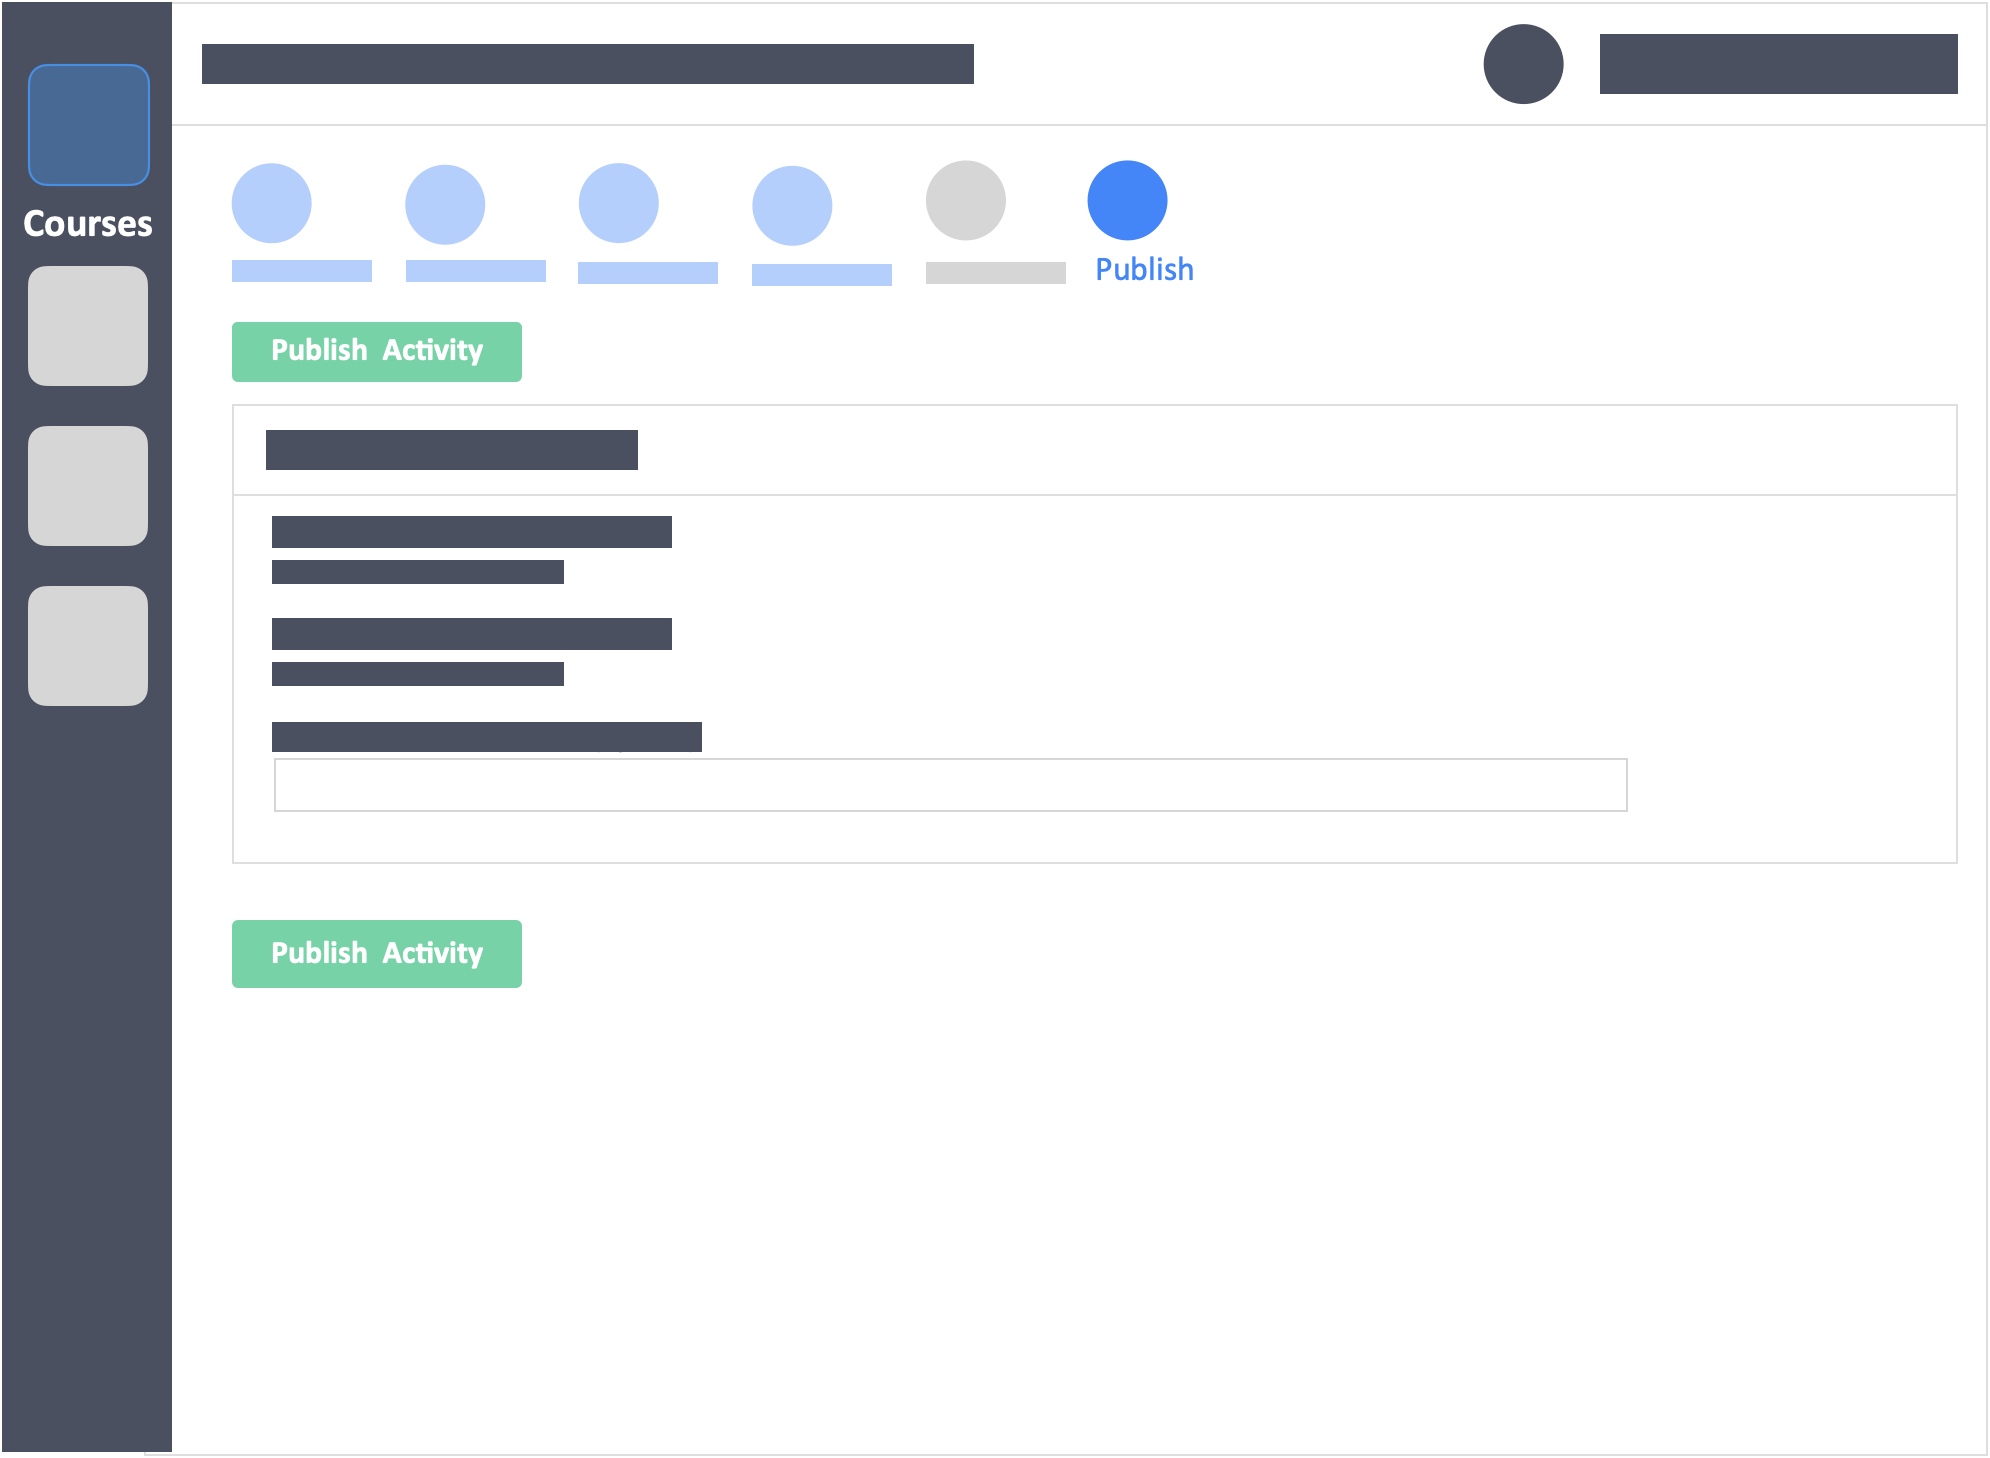
- Once you publish the activity, you won’t be able to go back and change the values set until you reset or duplicate the activity.
Step 14 – Run Your Activity with learners.
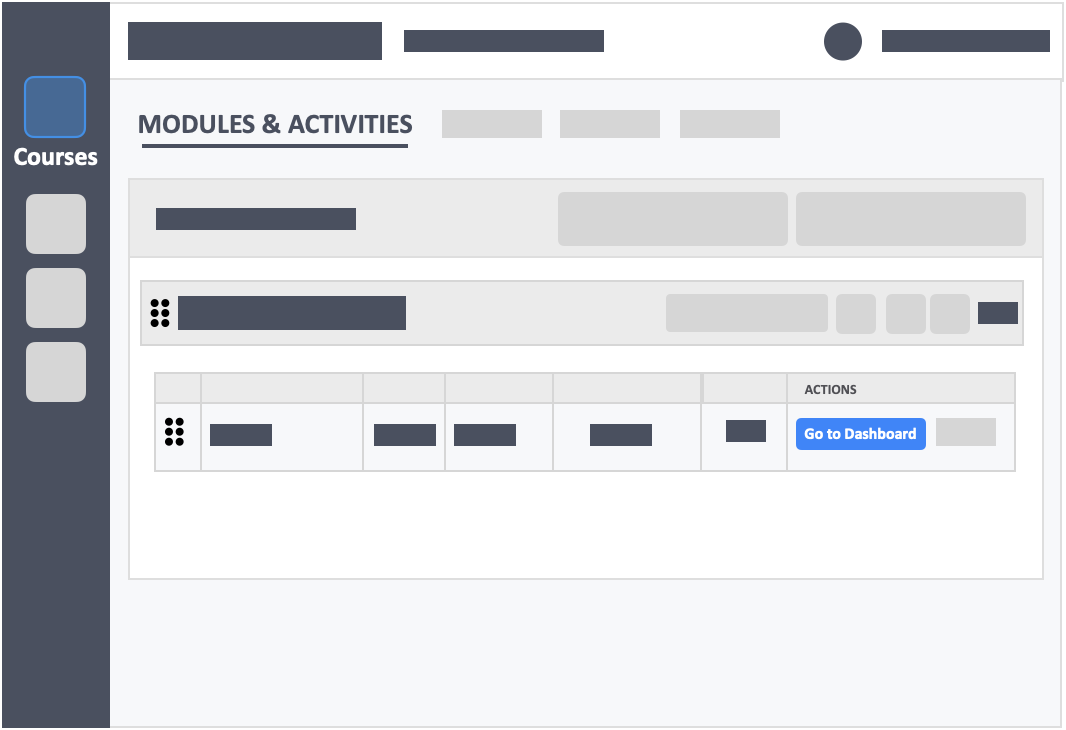
- You’ll be taken back to the Modules and Activities page upon publishing.
- Click the blue button “Go to Dashboard”.
- Start your activity if you have selected Synchronous
- It will automatically start at the appointed start-date-and-time if you have selected Asynchronous